Juried Functional Teapot Show III: Salt Lake City
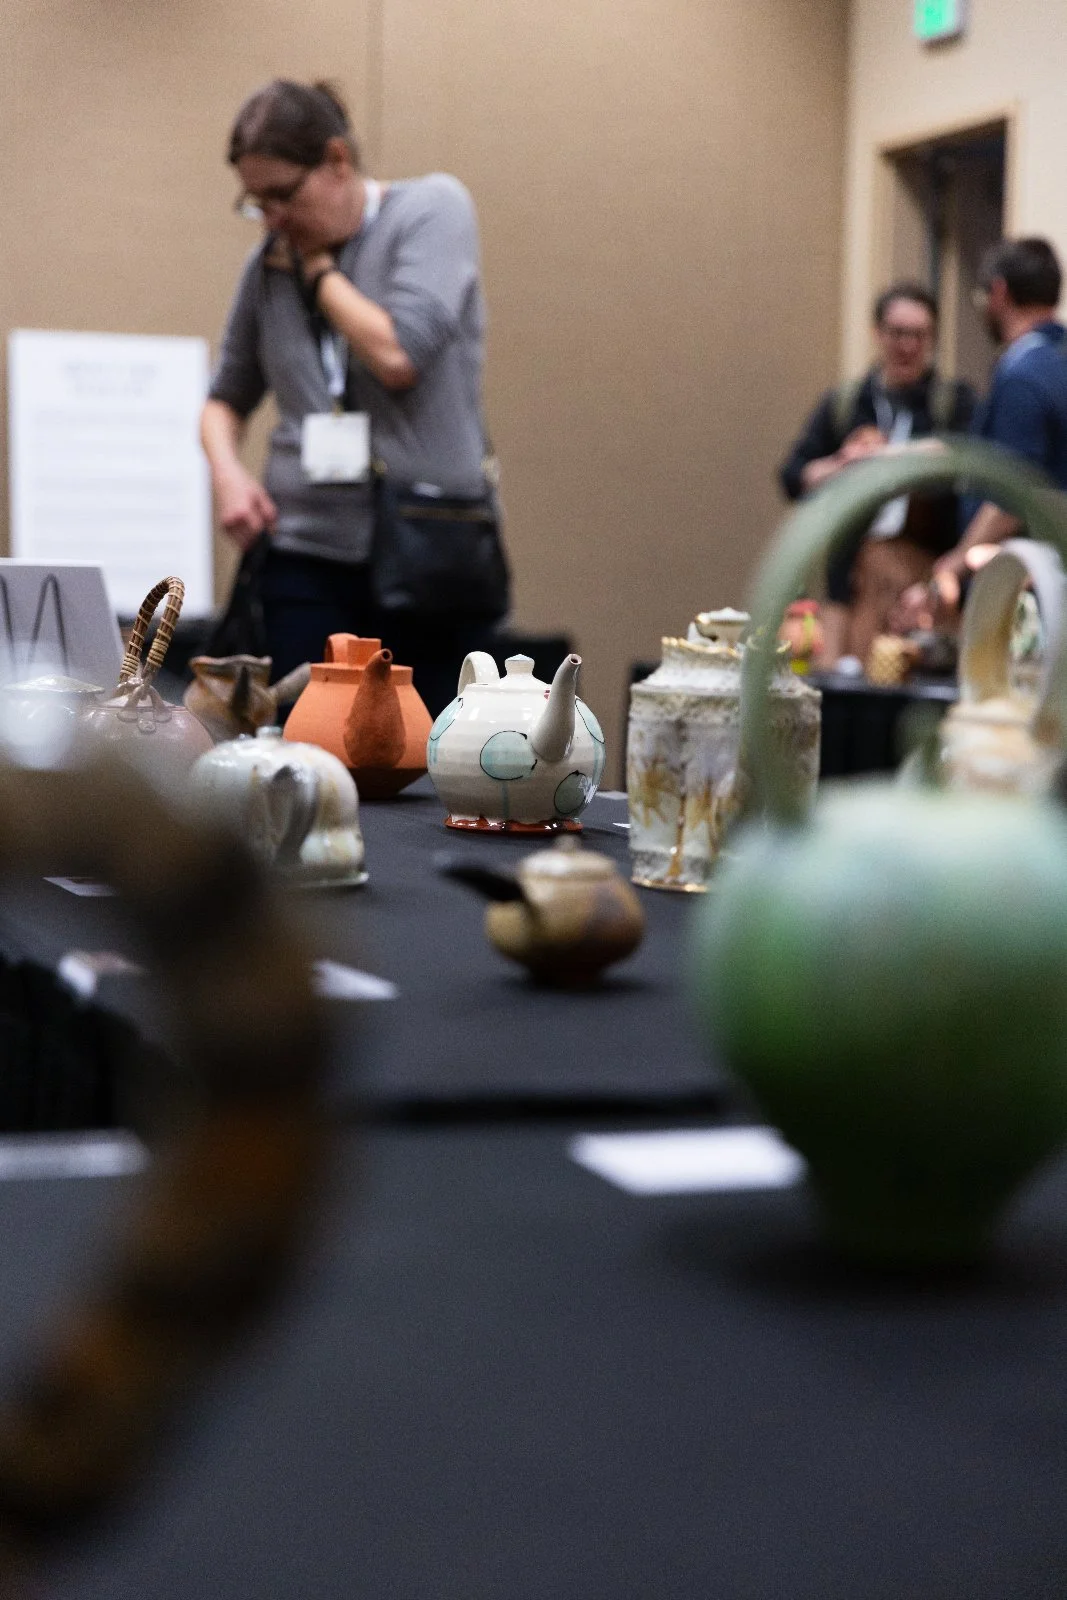
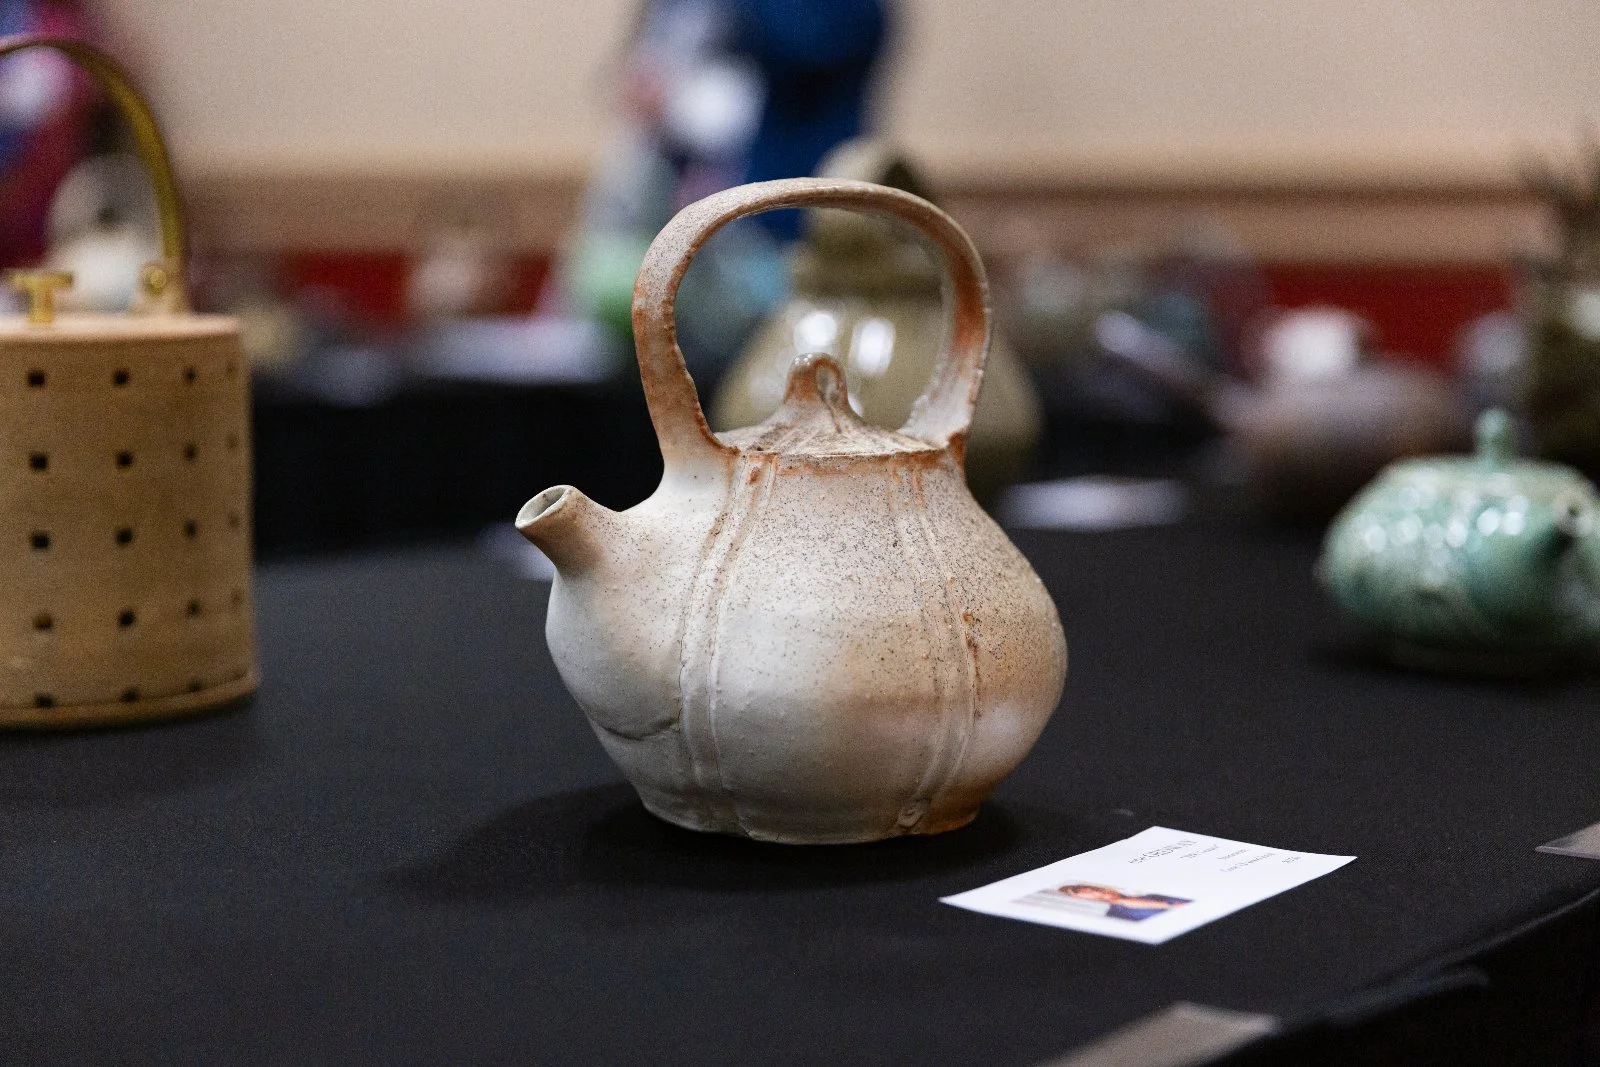
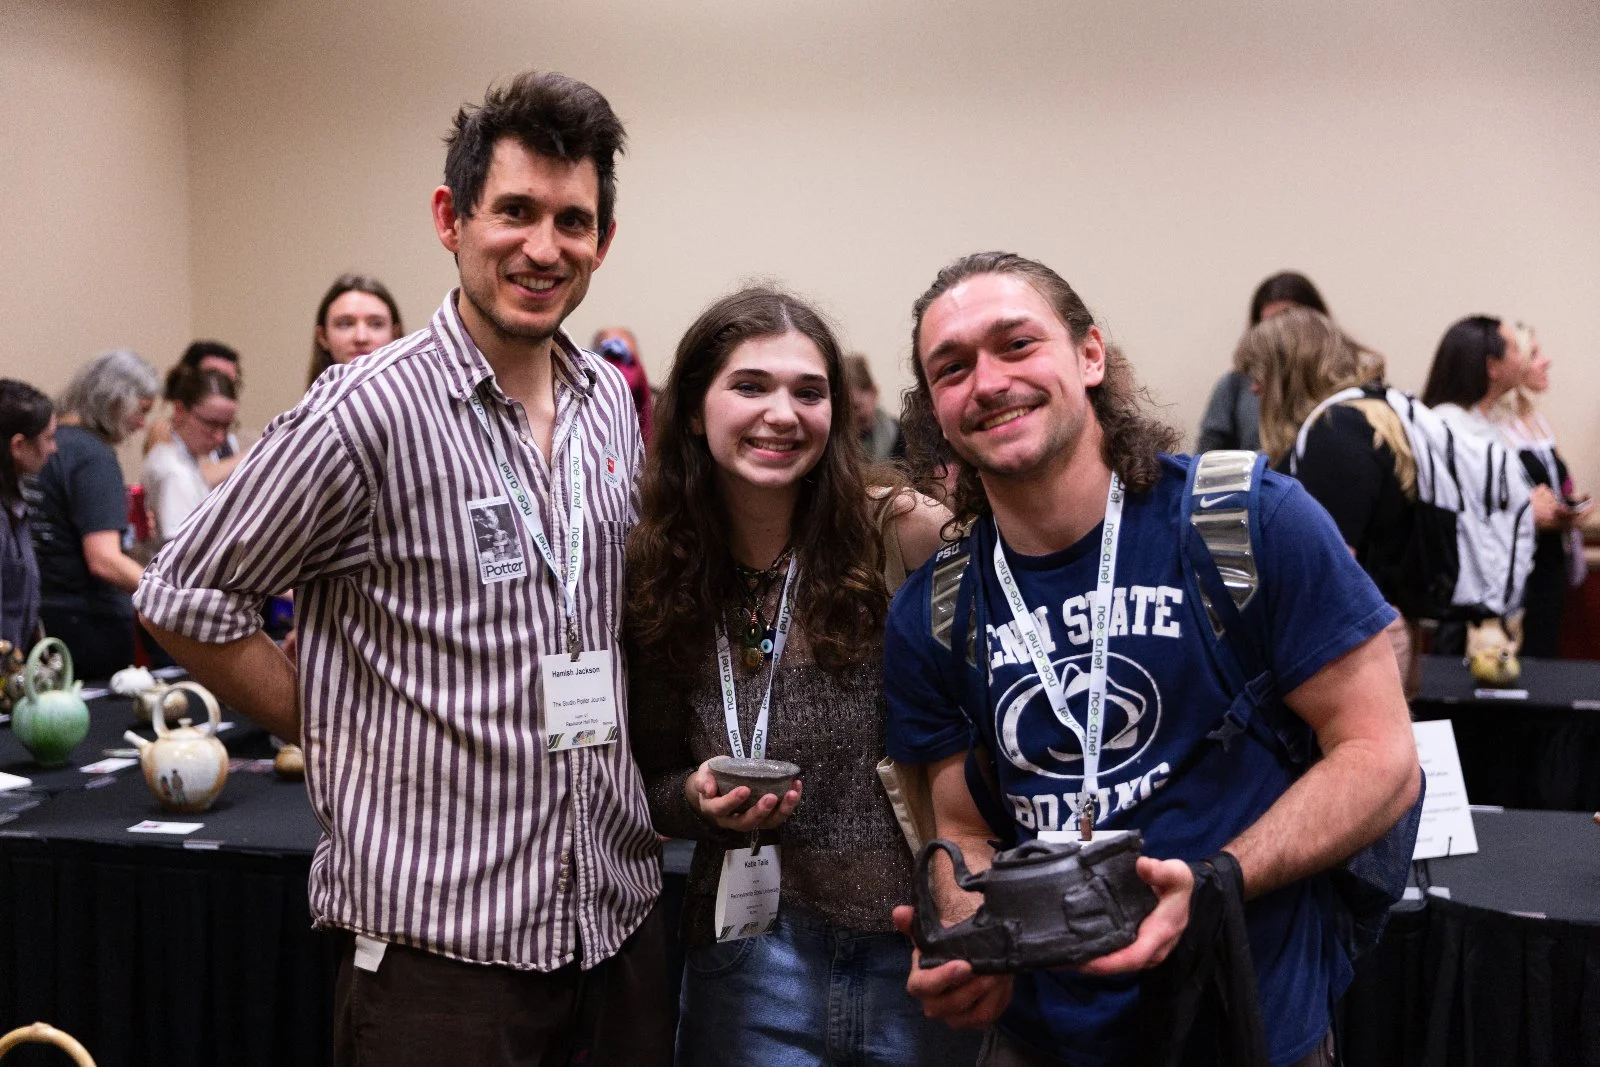
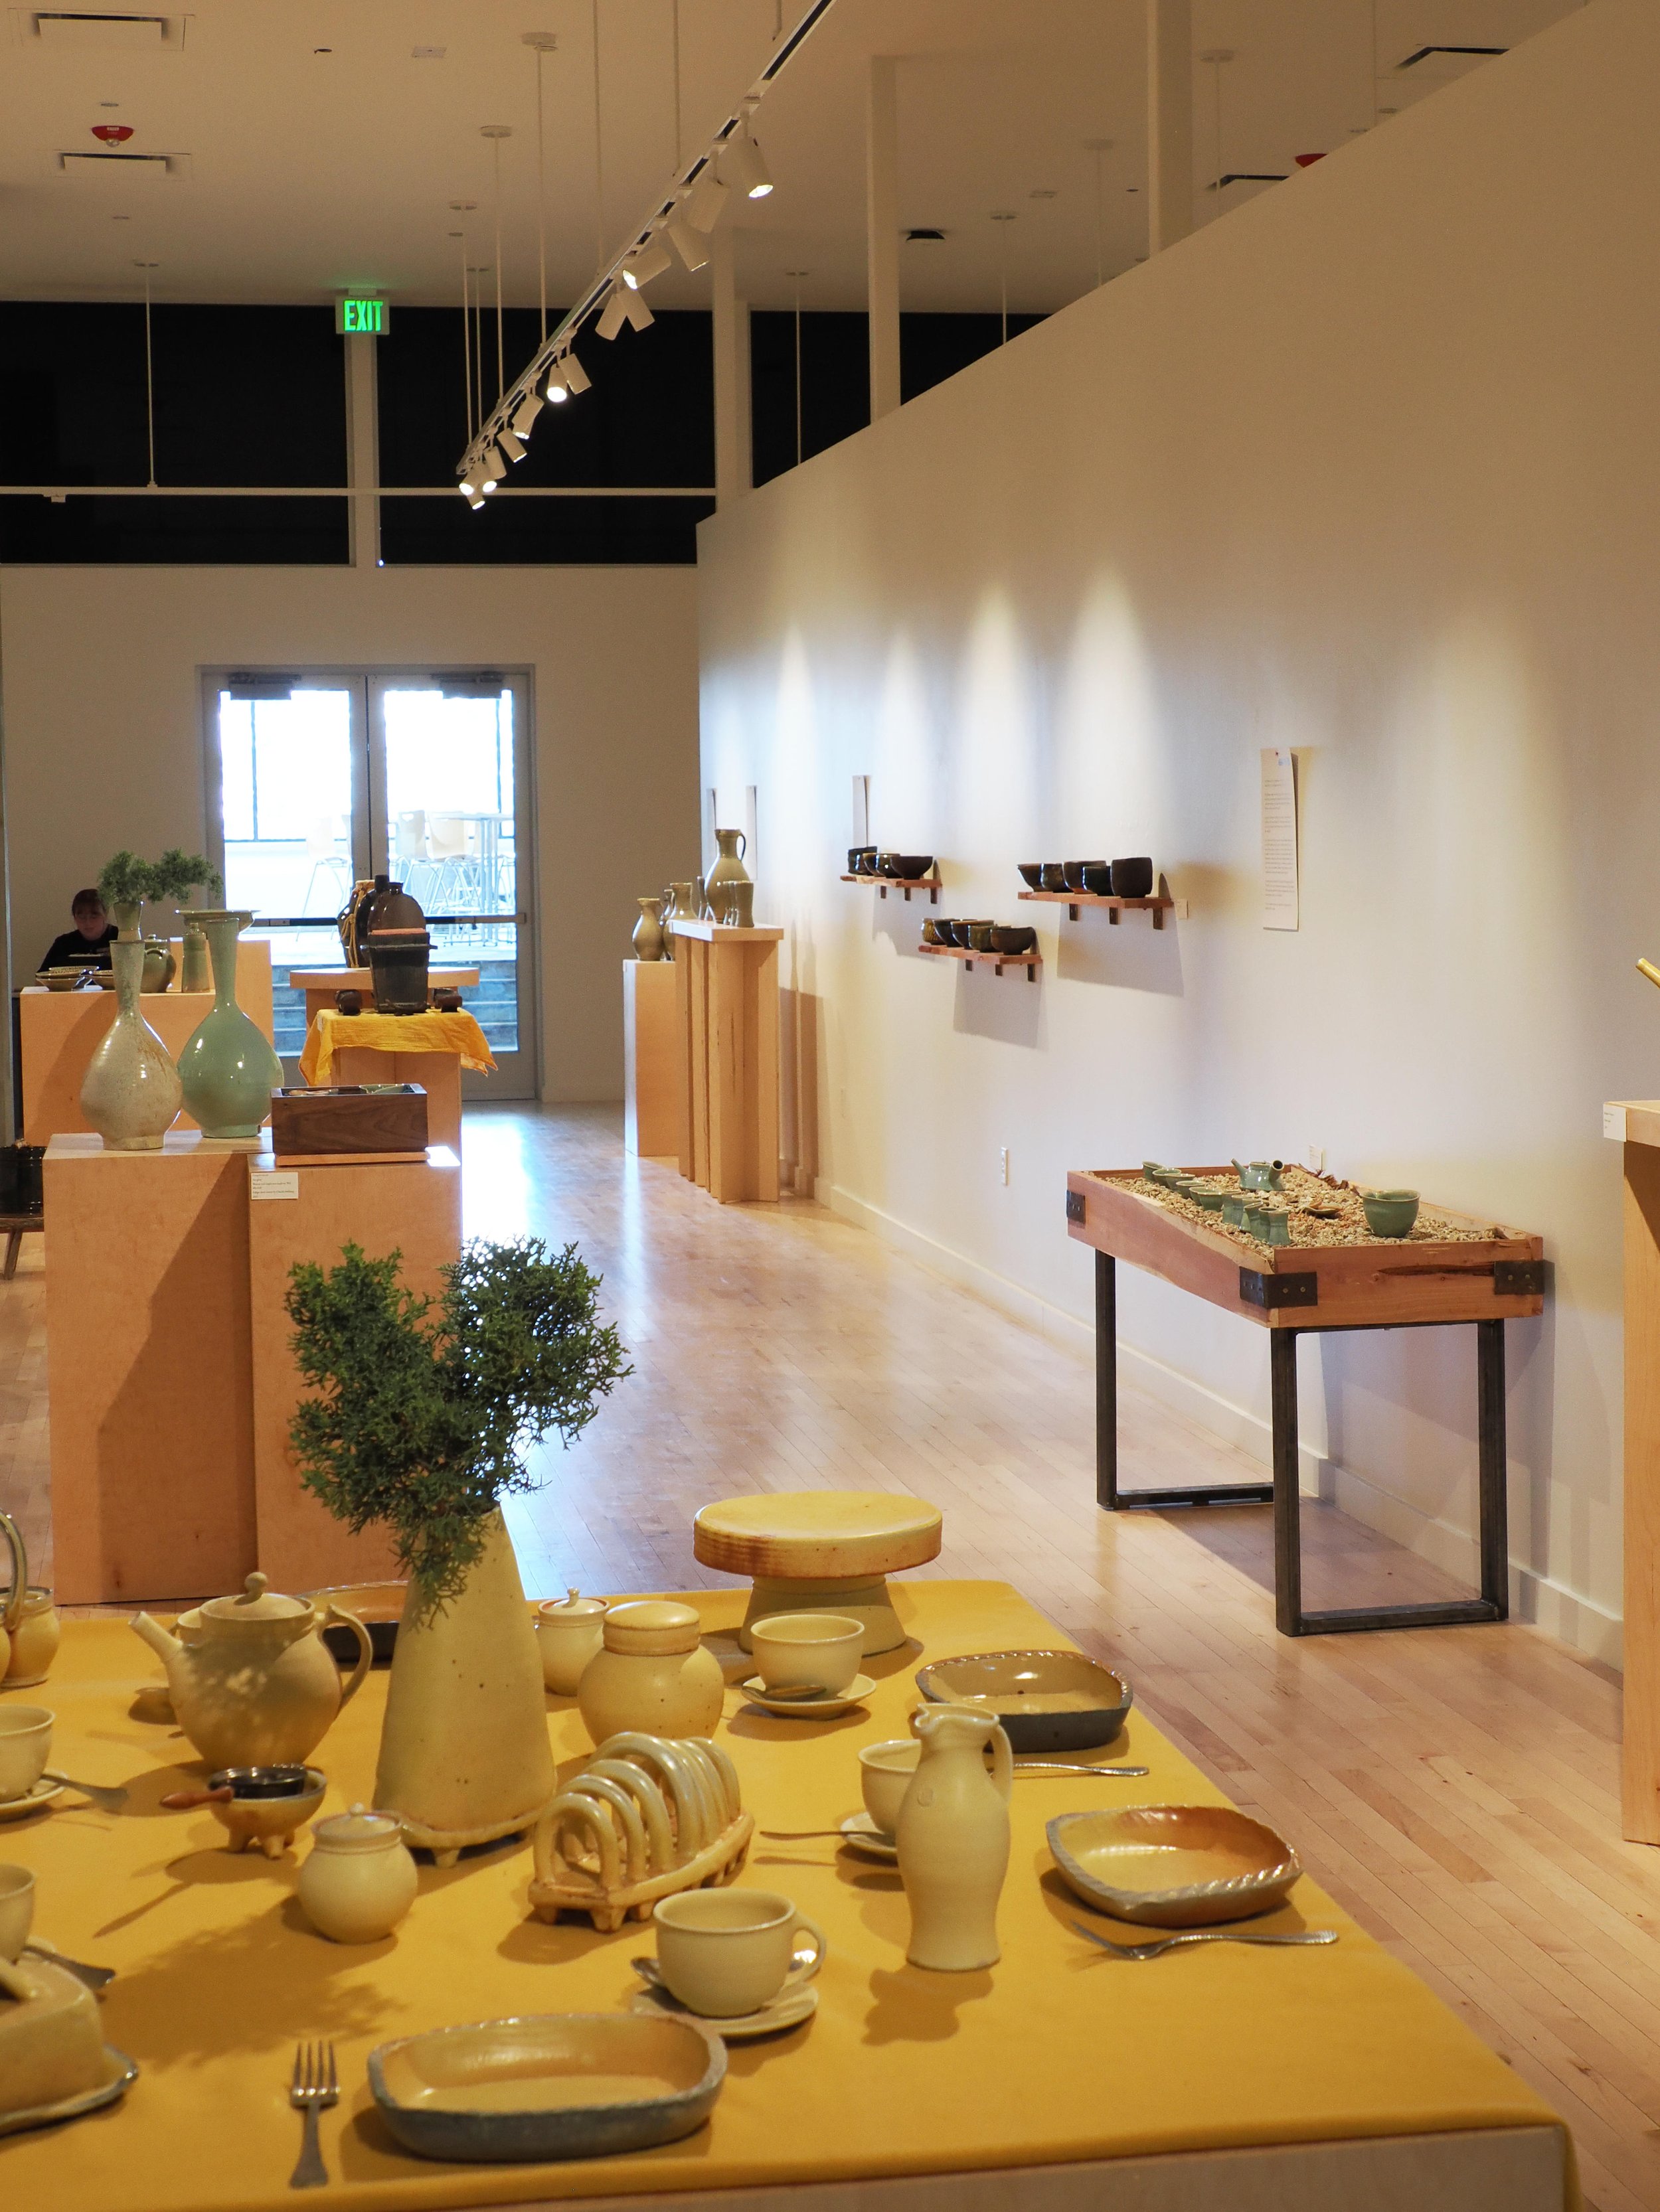
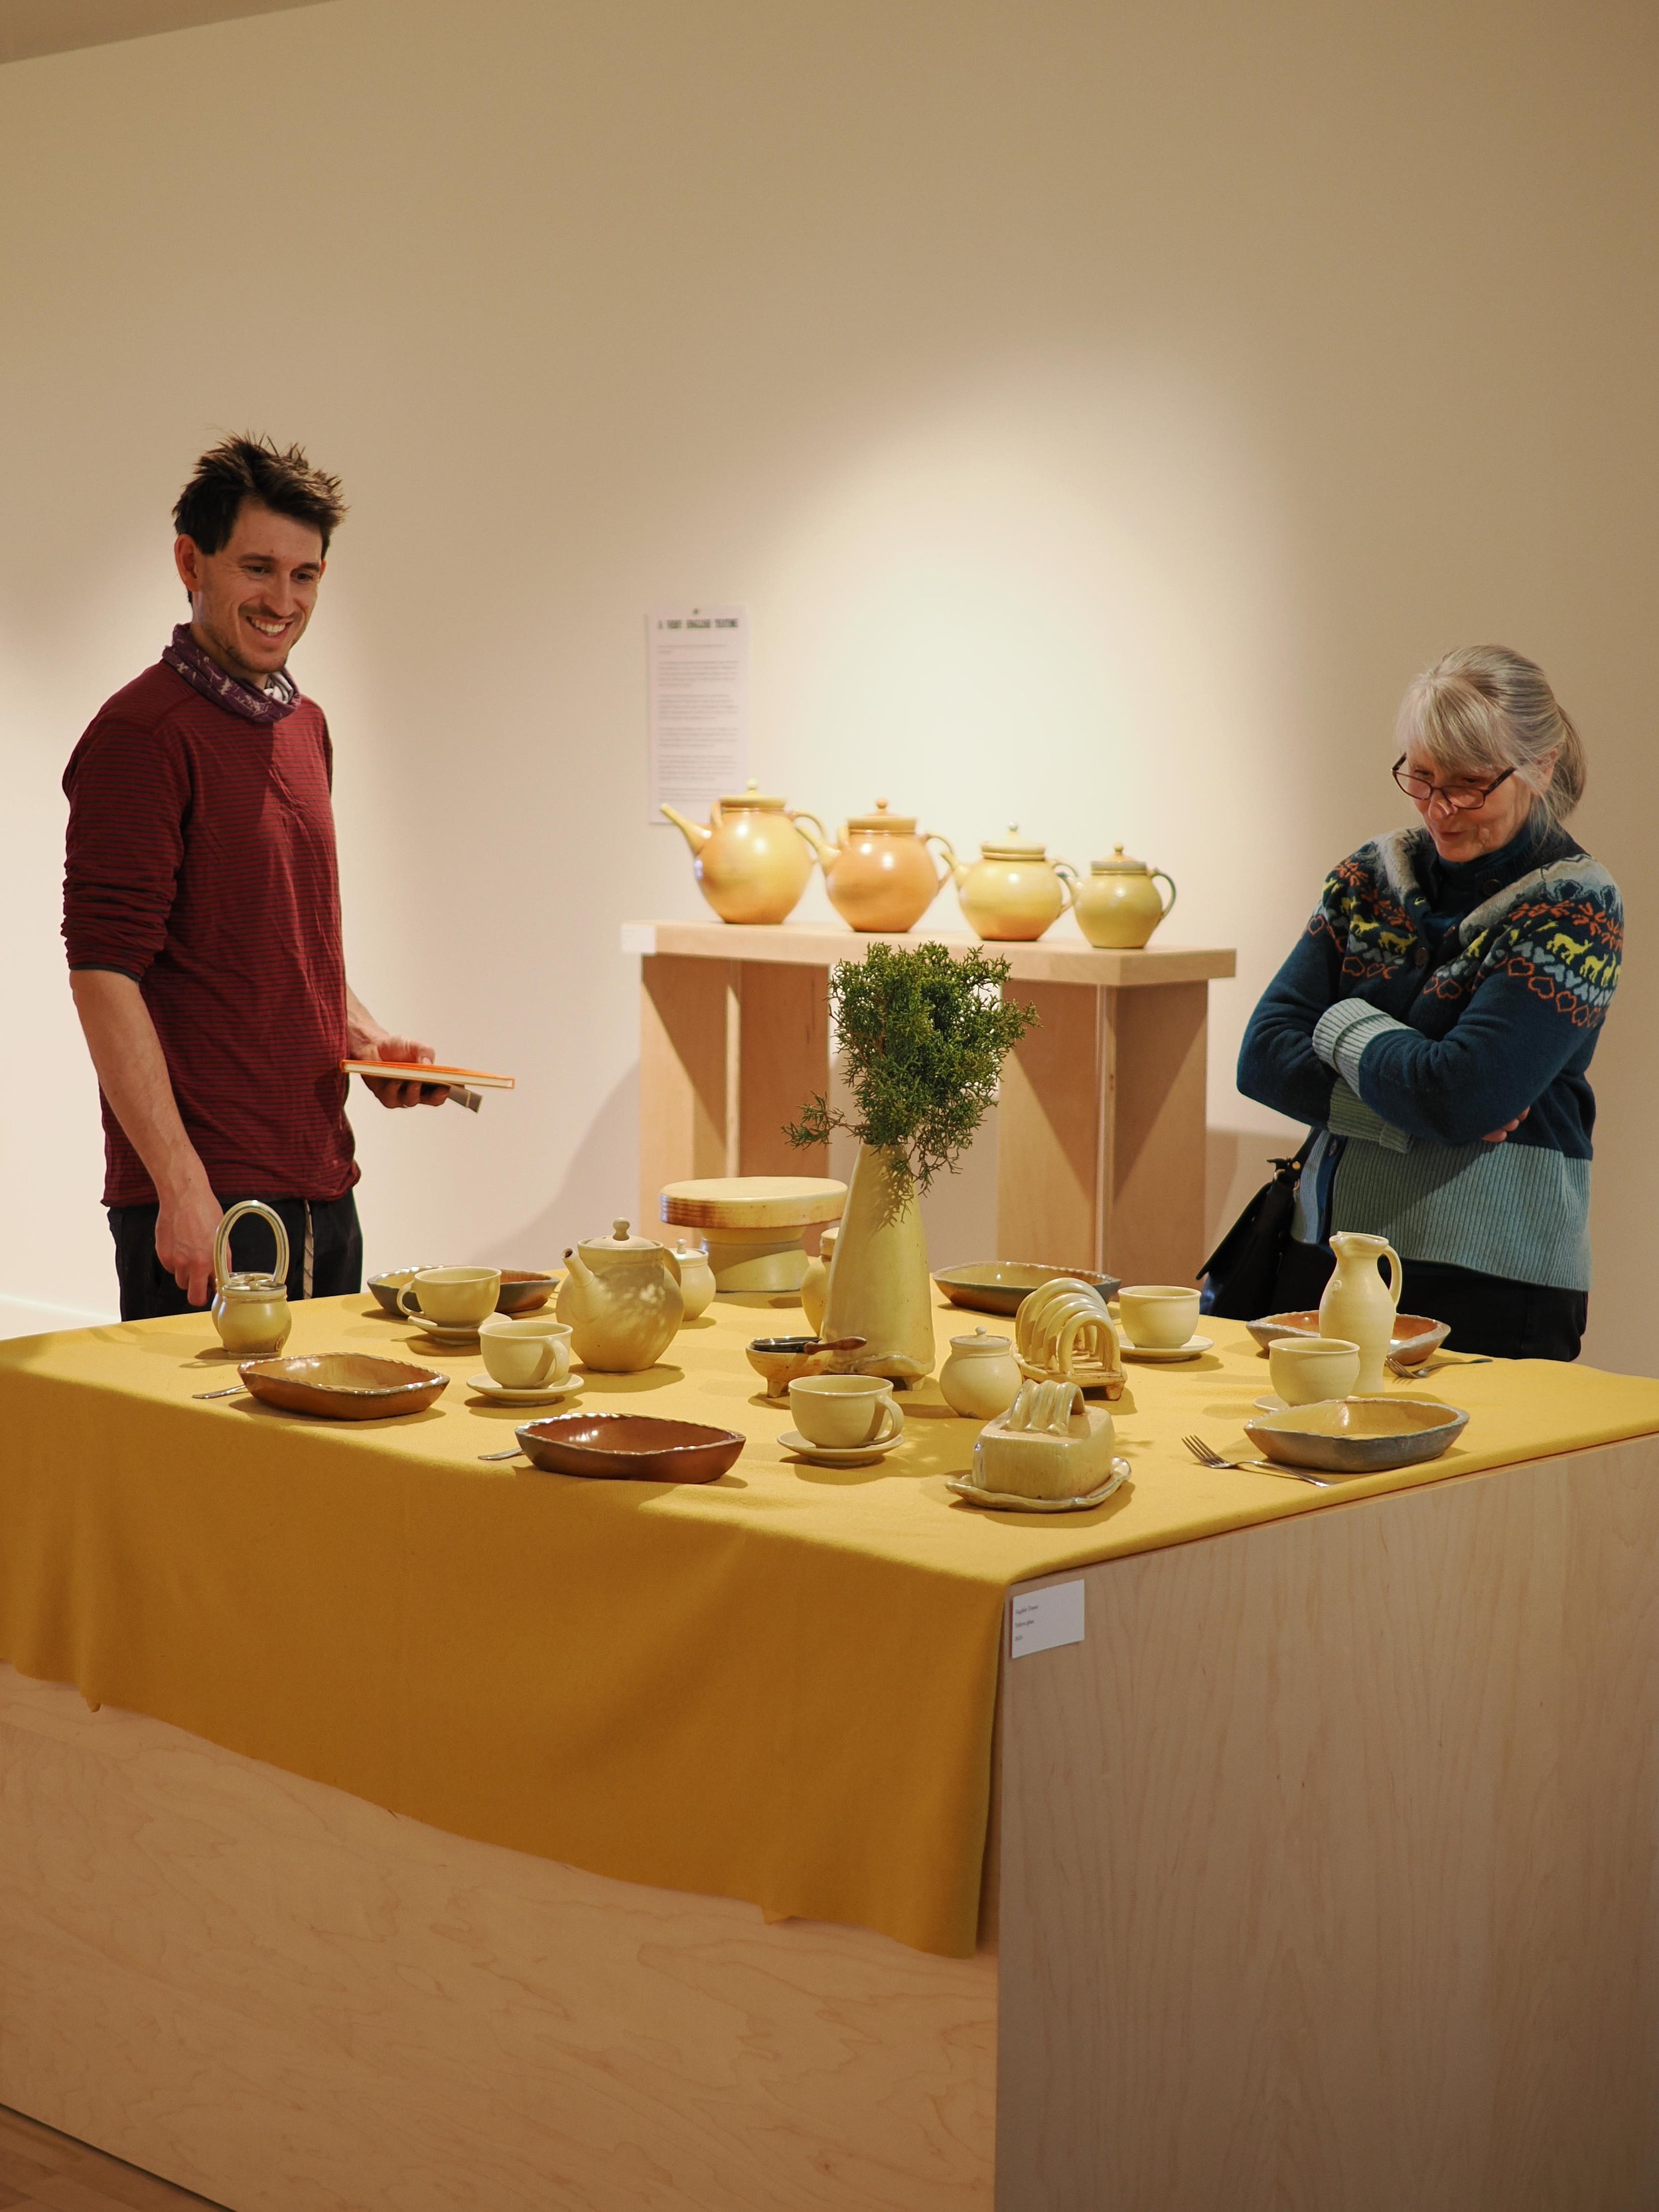
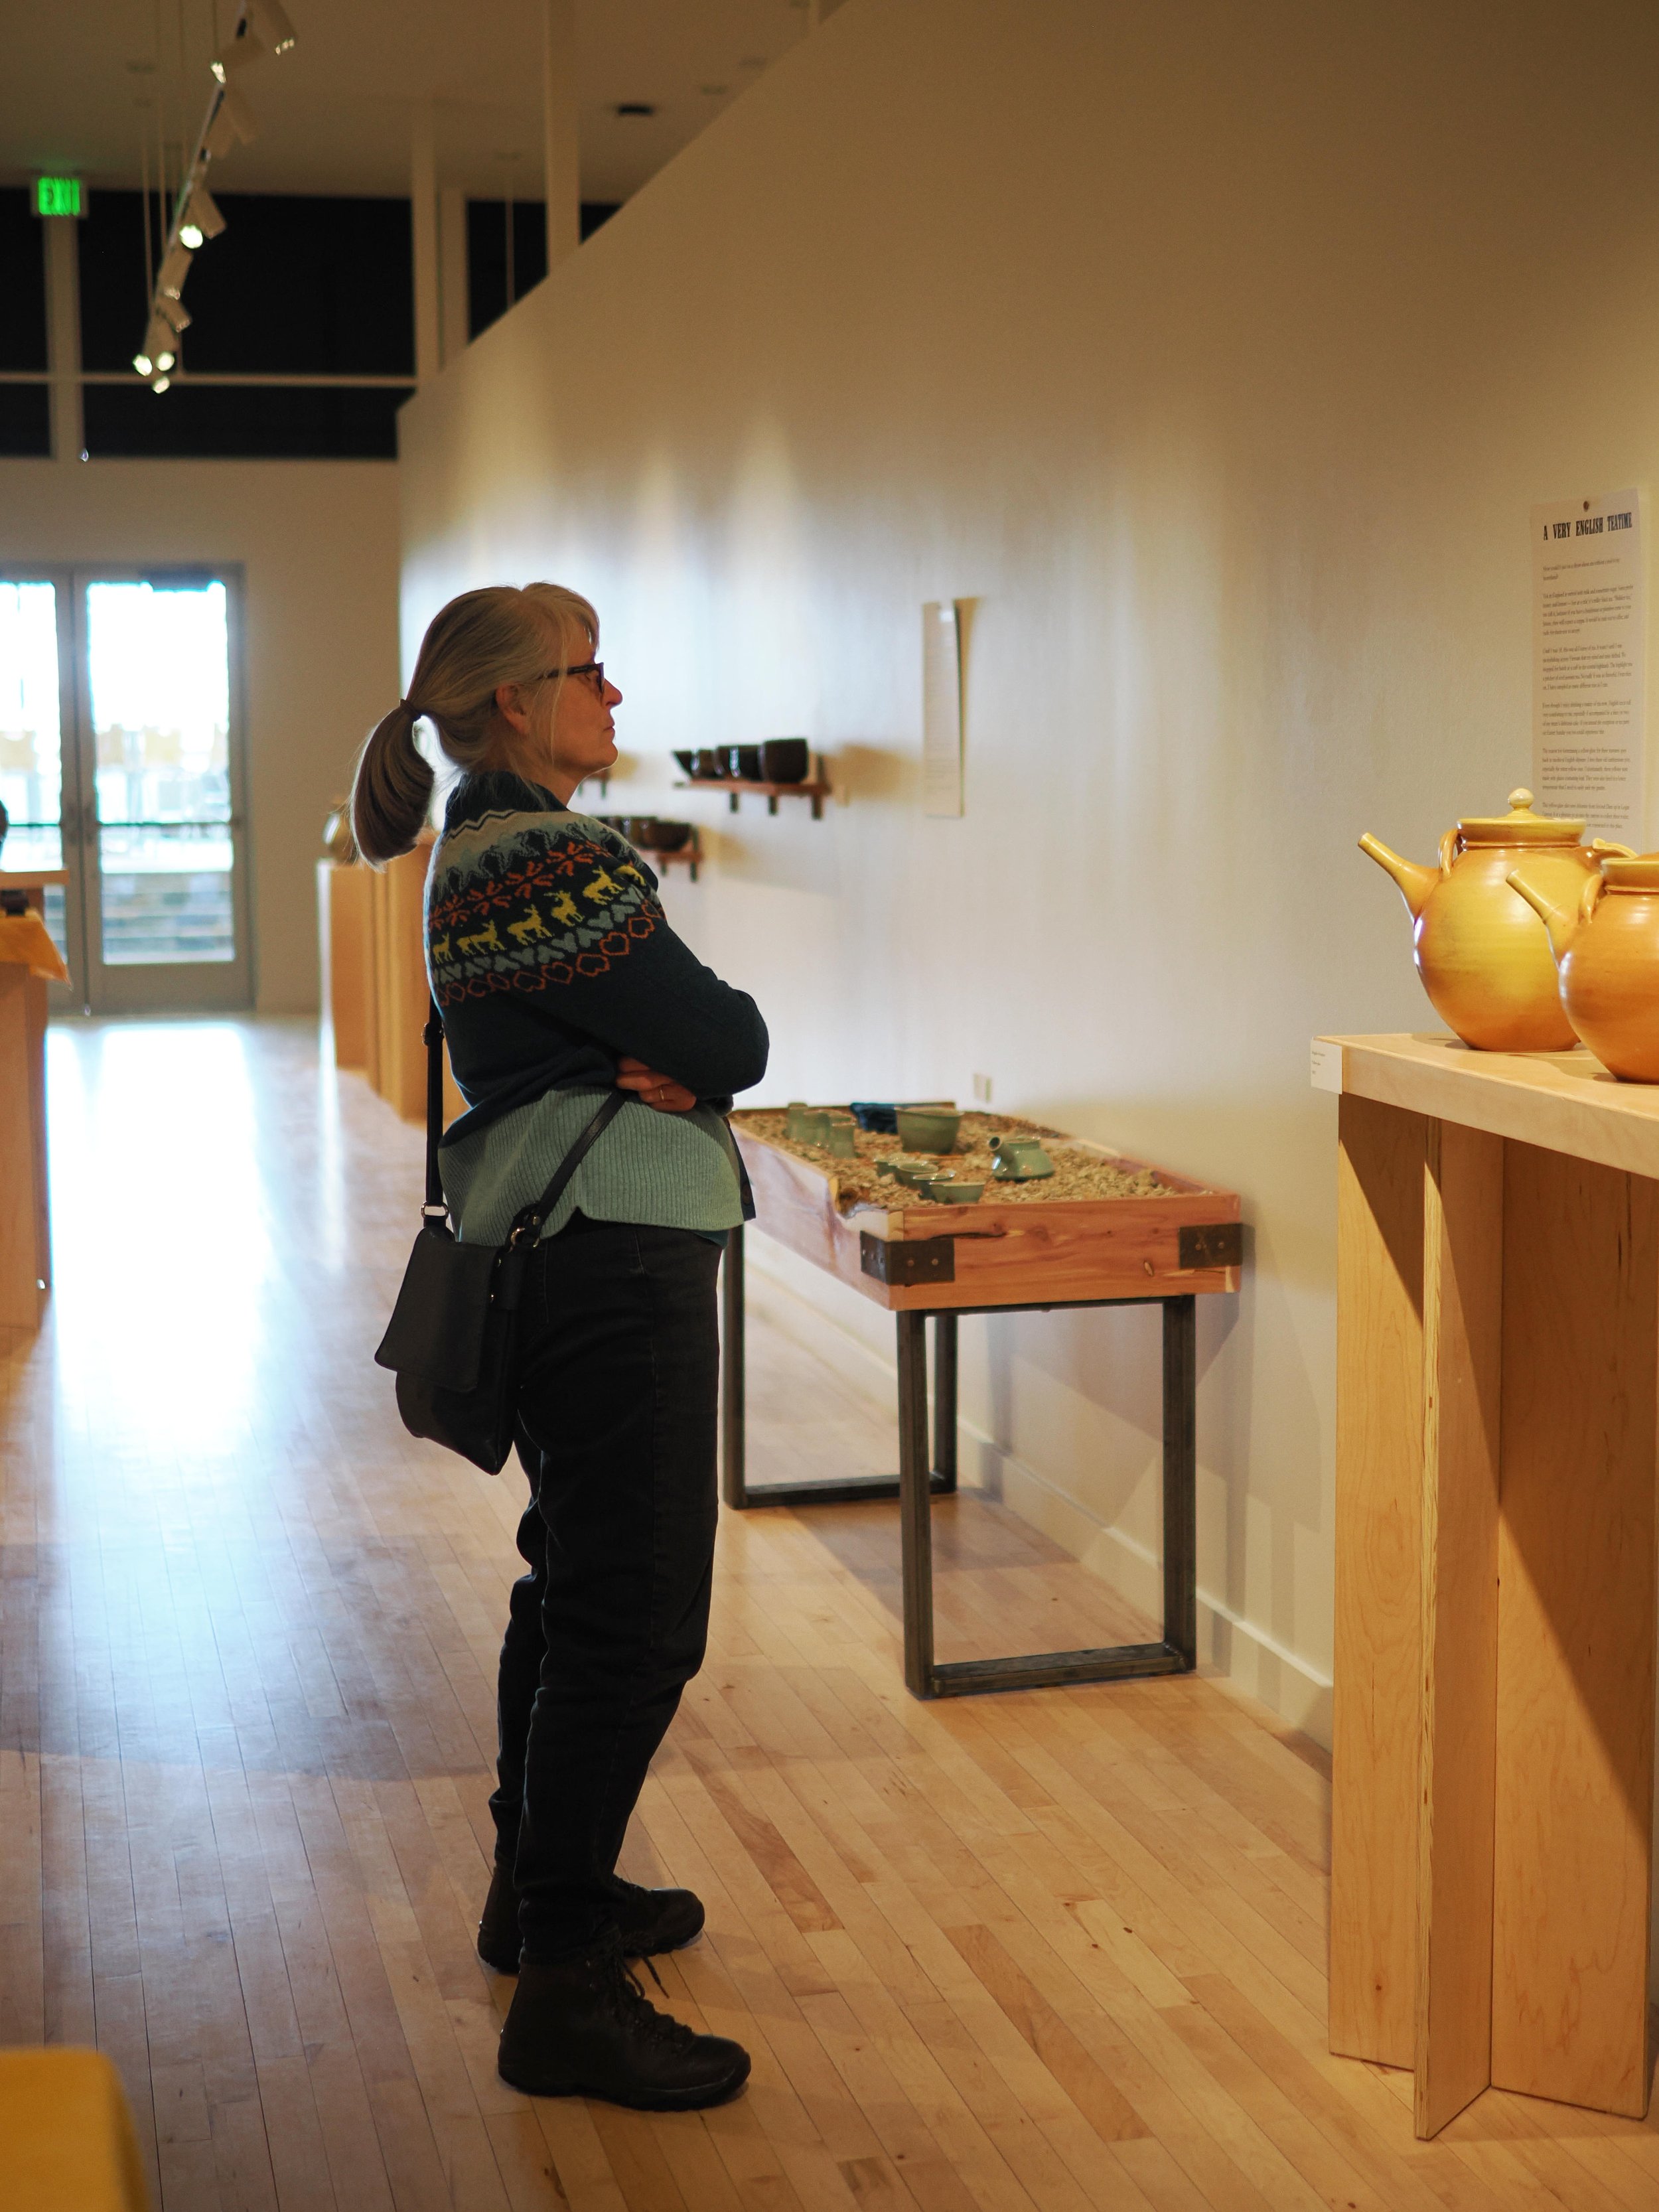
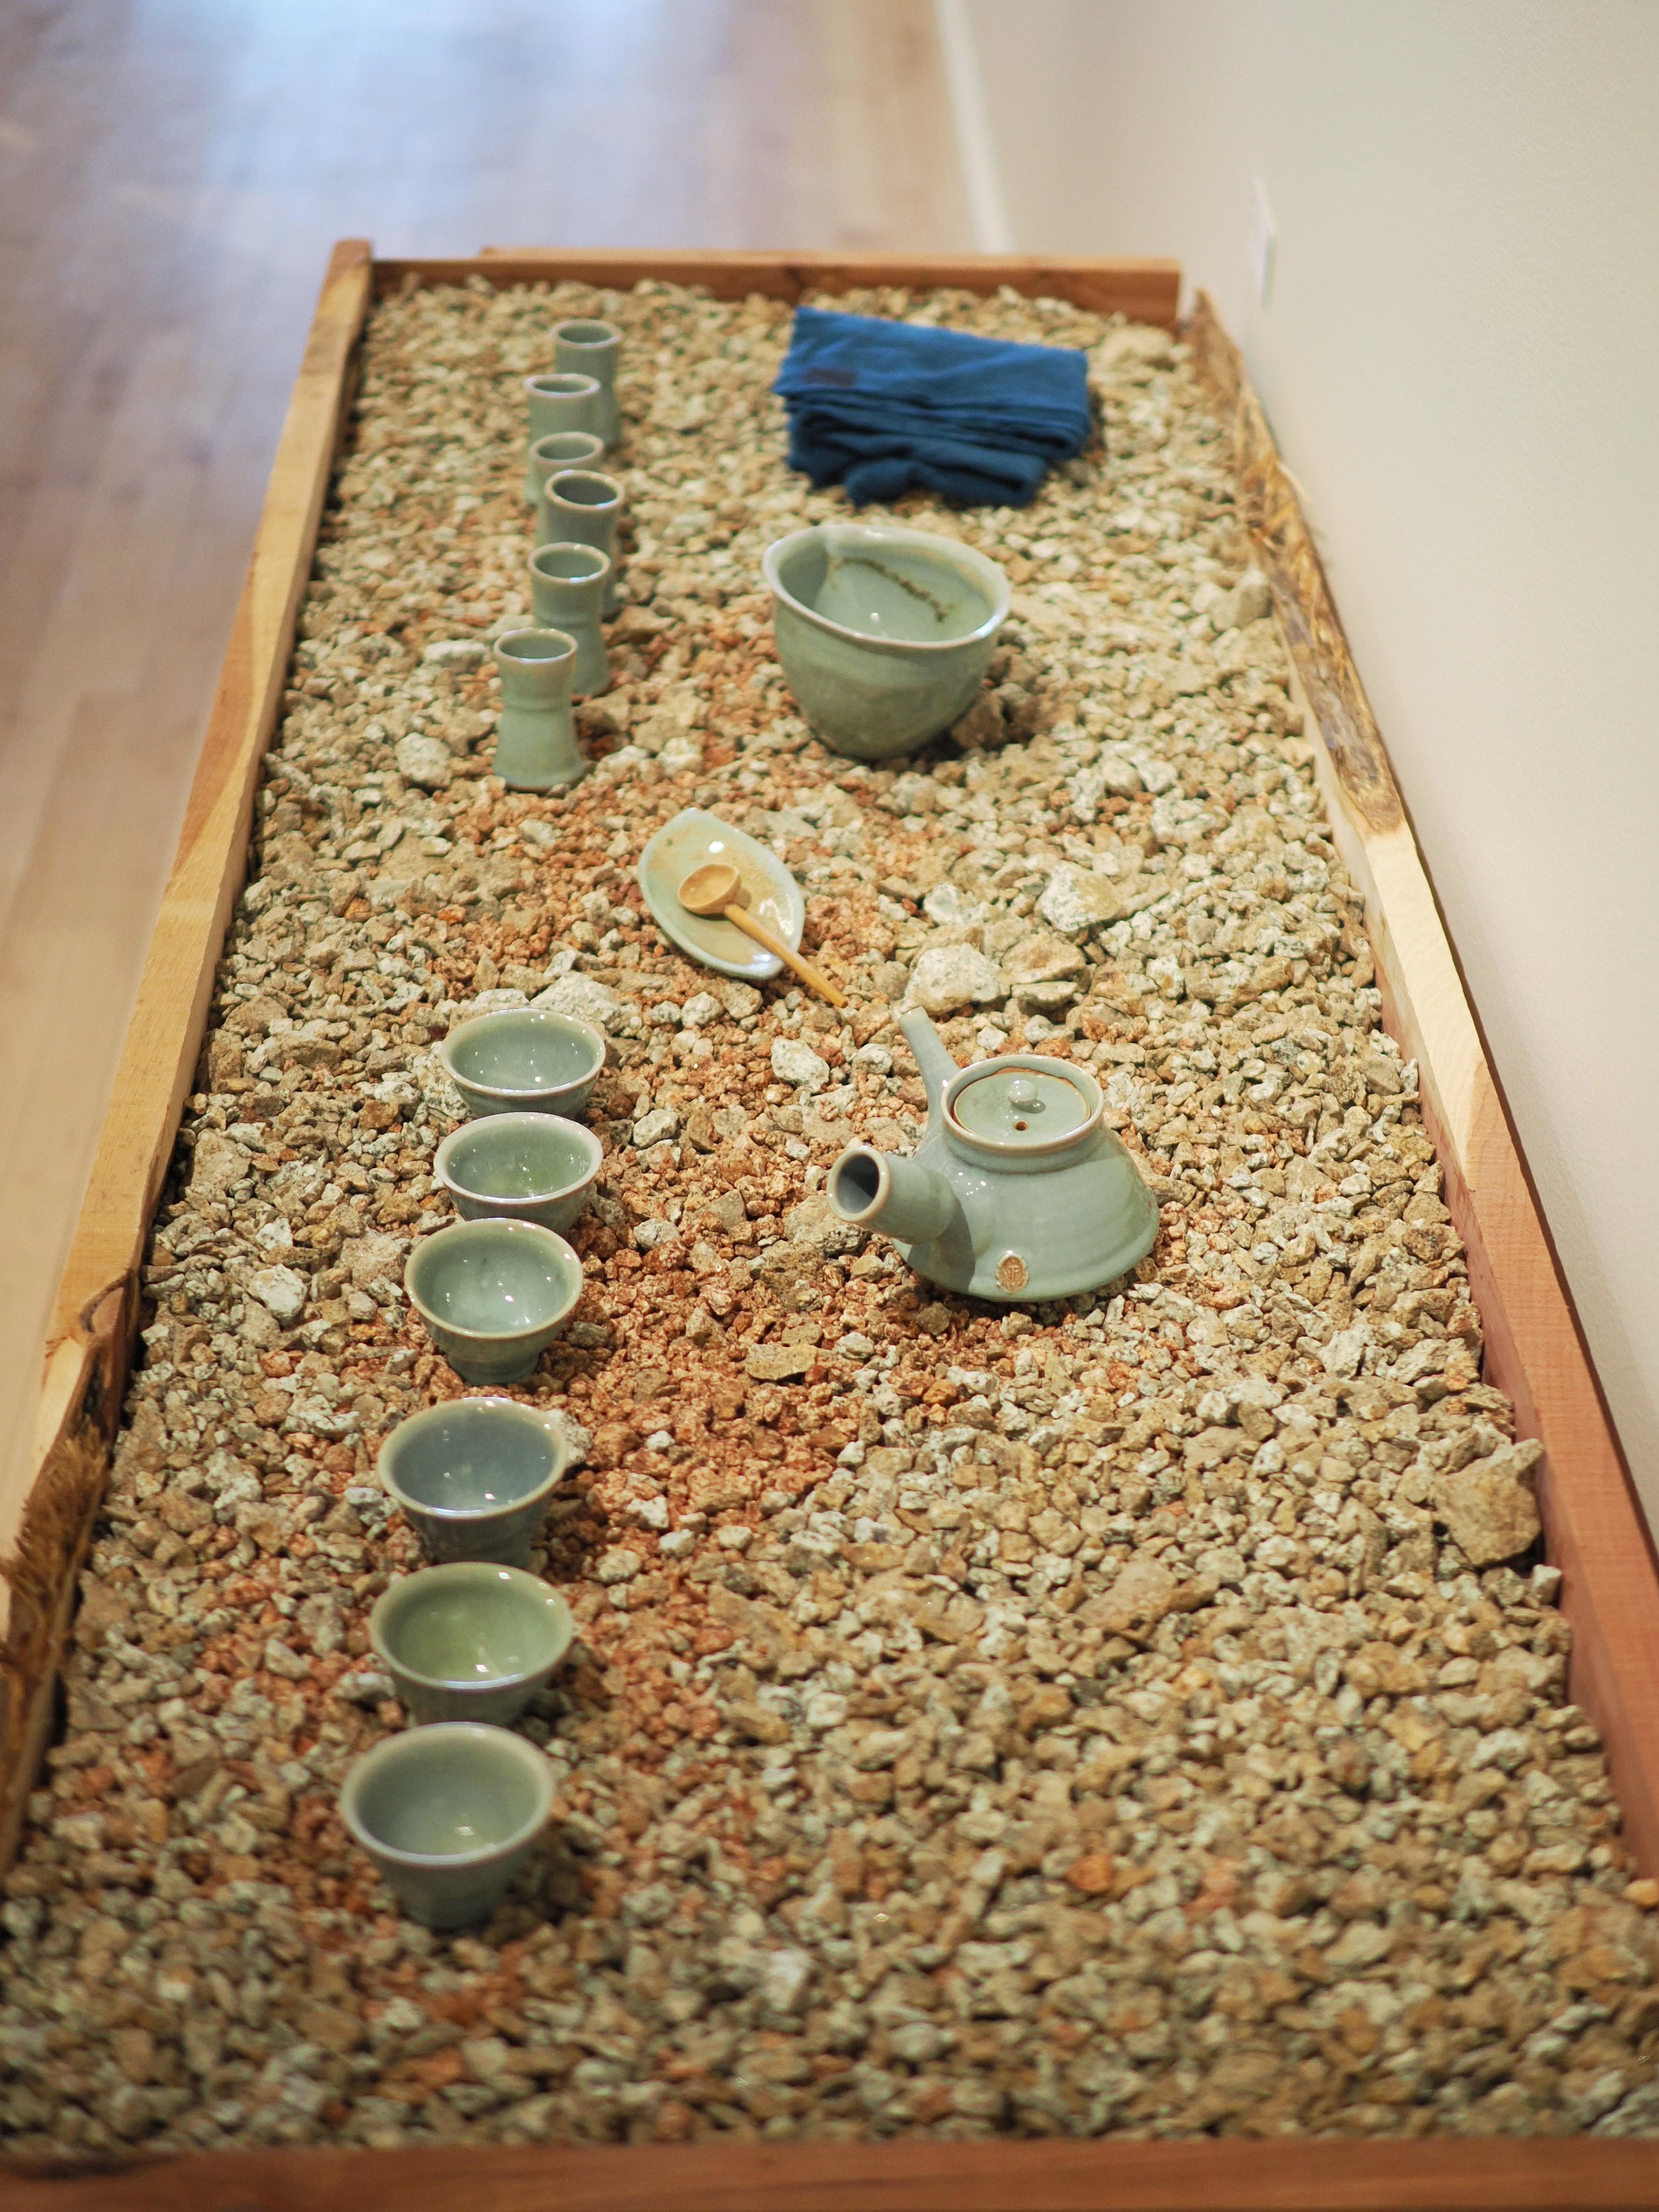
We held the Juried Functional Teapot Show III in the Salt Palace in Salt Lake City, March 26-29th, 2025.
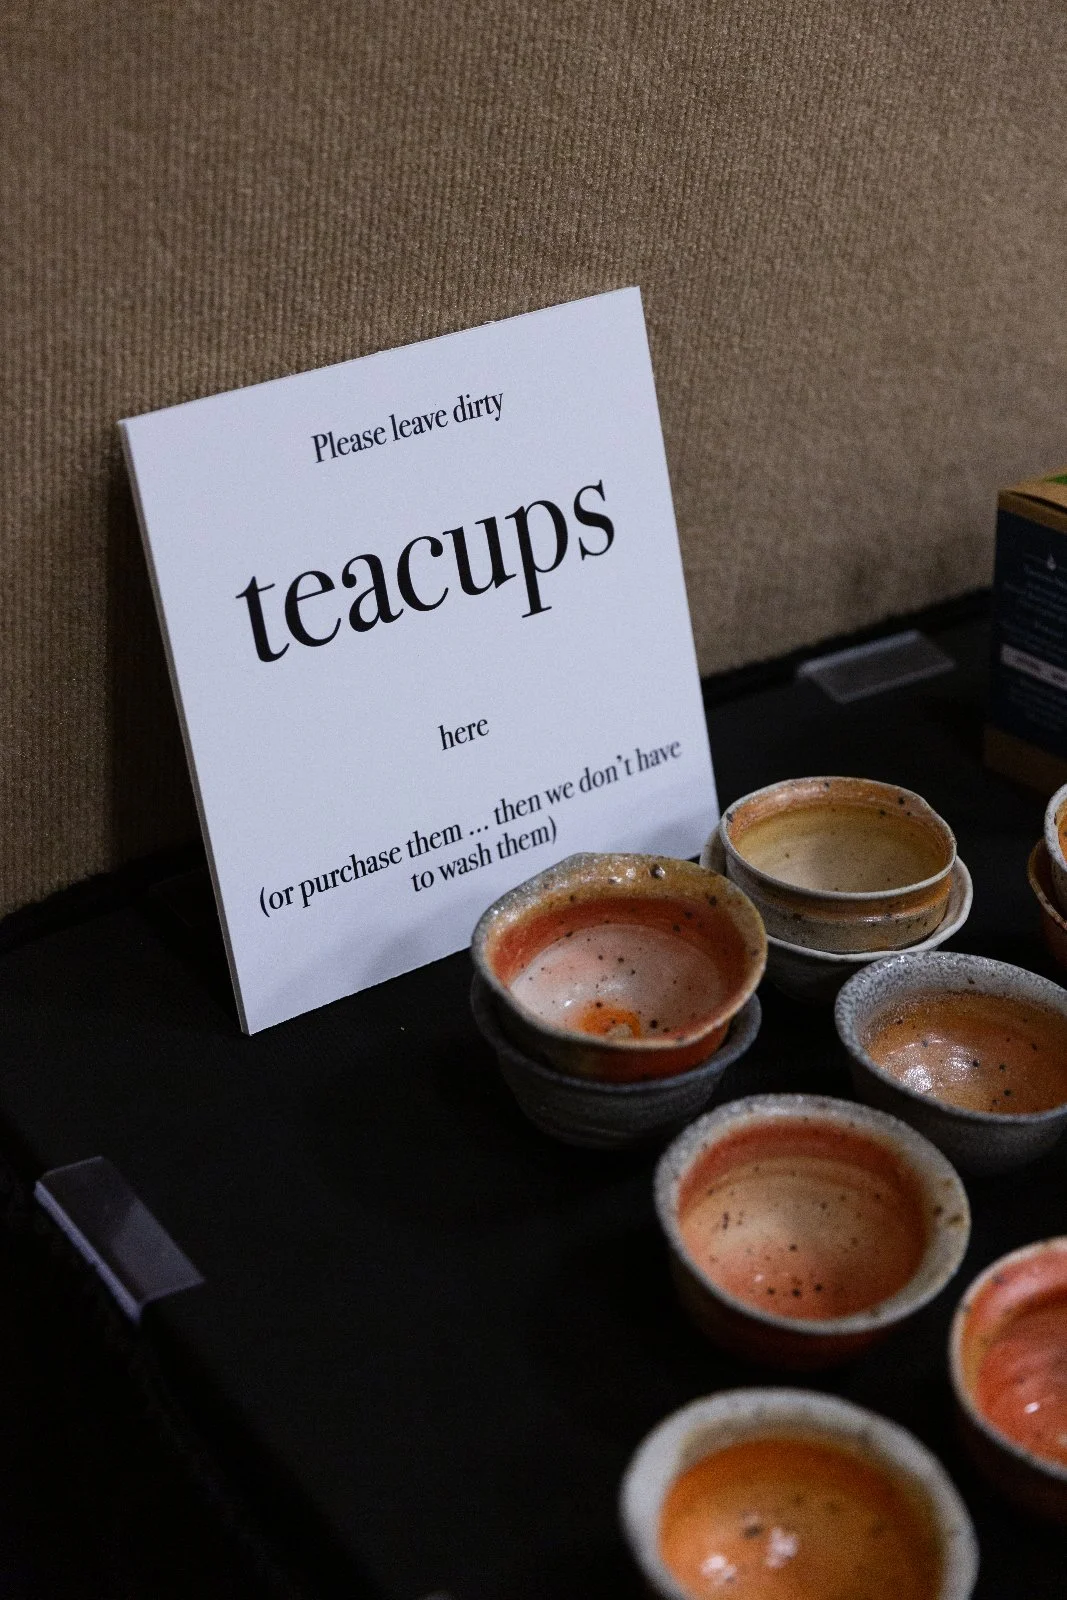
It was a lot of work making the show, but I’m proud of how it came together. The catalogue was particularly labor-intensive. It includes information about each teapot and the makers, as well a note from the jurors, a note about the teacups and a foreword by Pete Pinnell.
You can download a free PDF copy of the catalogue here.
Over 6,000 people came to NCECA in Salt Lake City. Would they come to see the teapot show though? I was a tad worried as we were located in a back corner of the very very large convention center. Unloading the teapots and setting up was a surprisingly athletic event. We had to park and unload a literal mile from room 260B, where the show was. I was worried people would not find us, but I needn’t have been concerned.
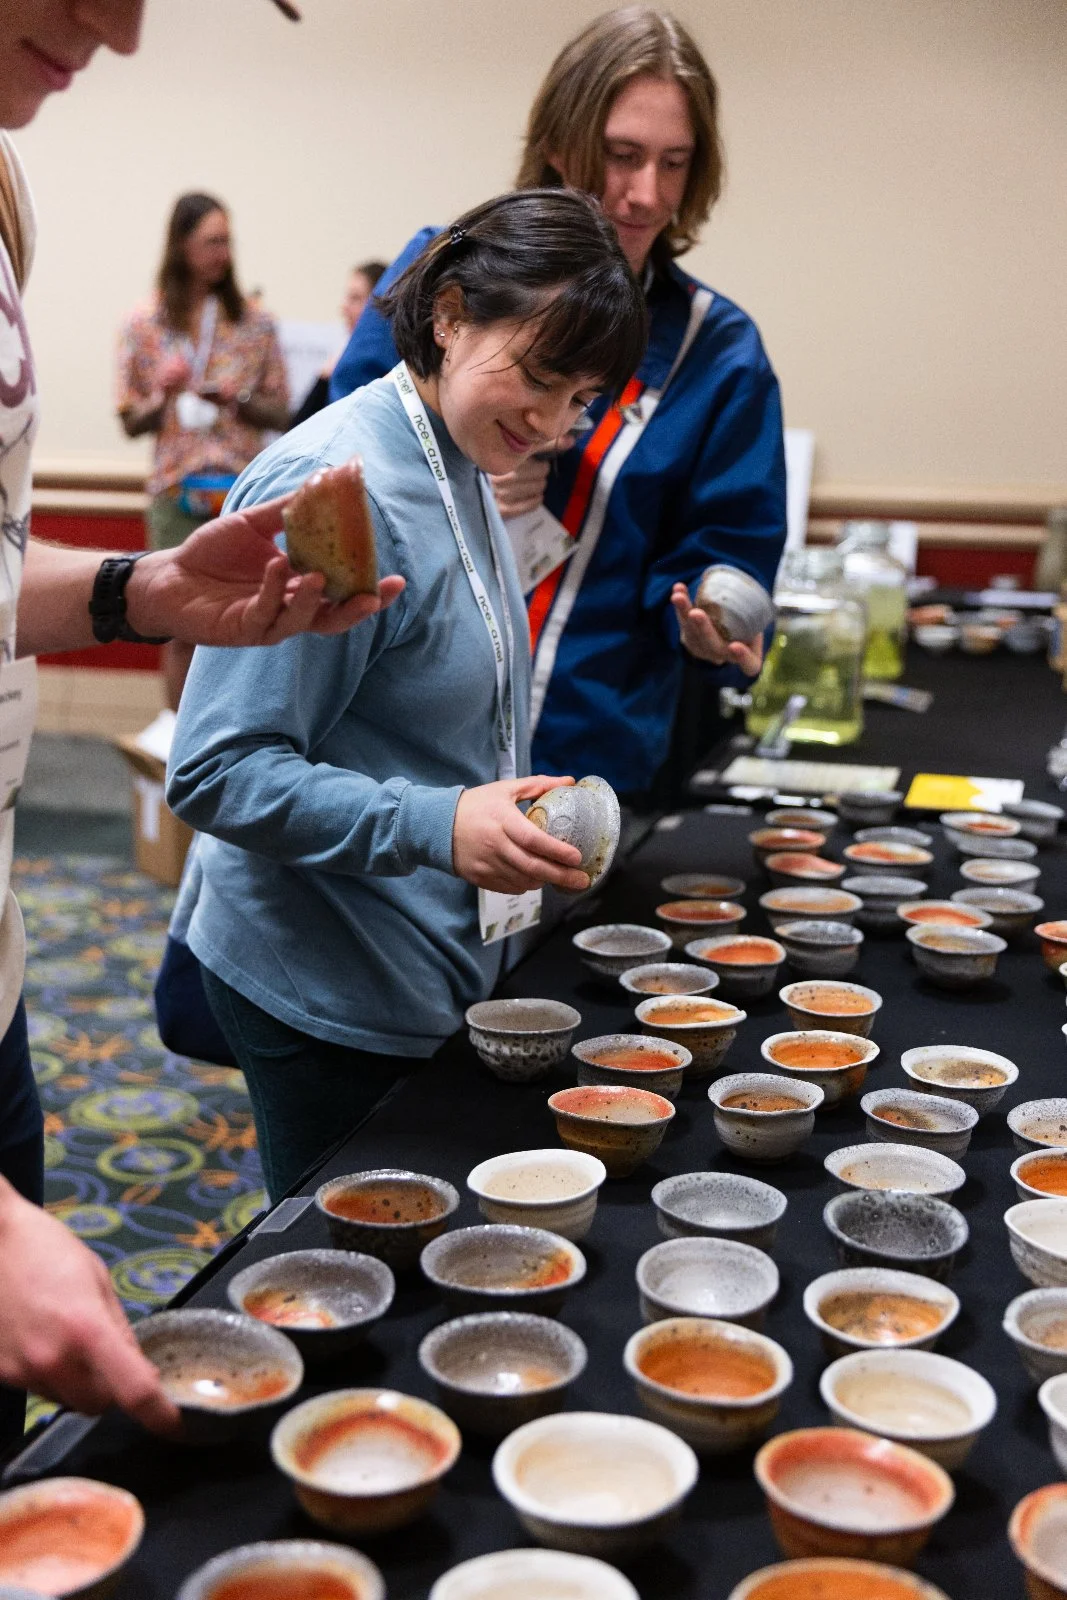
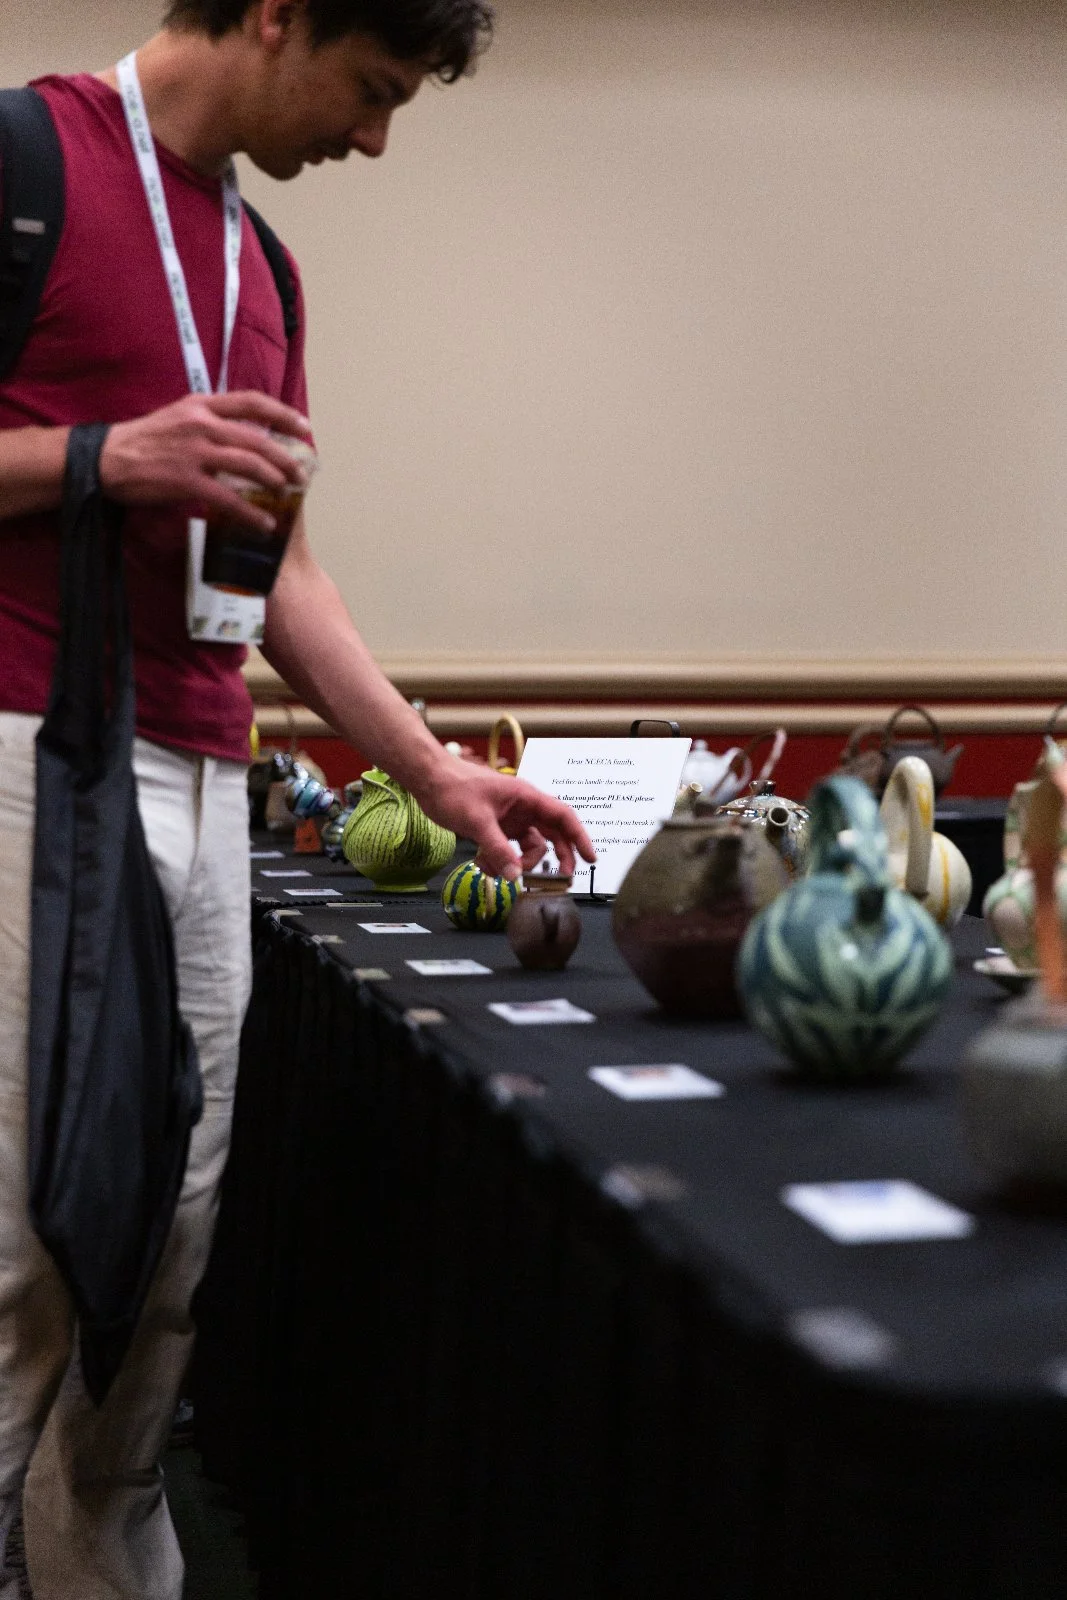
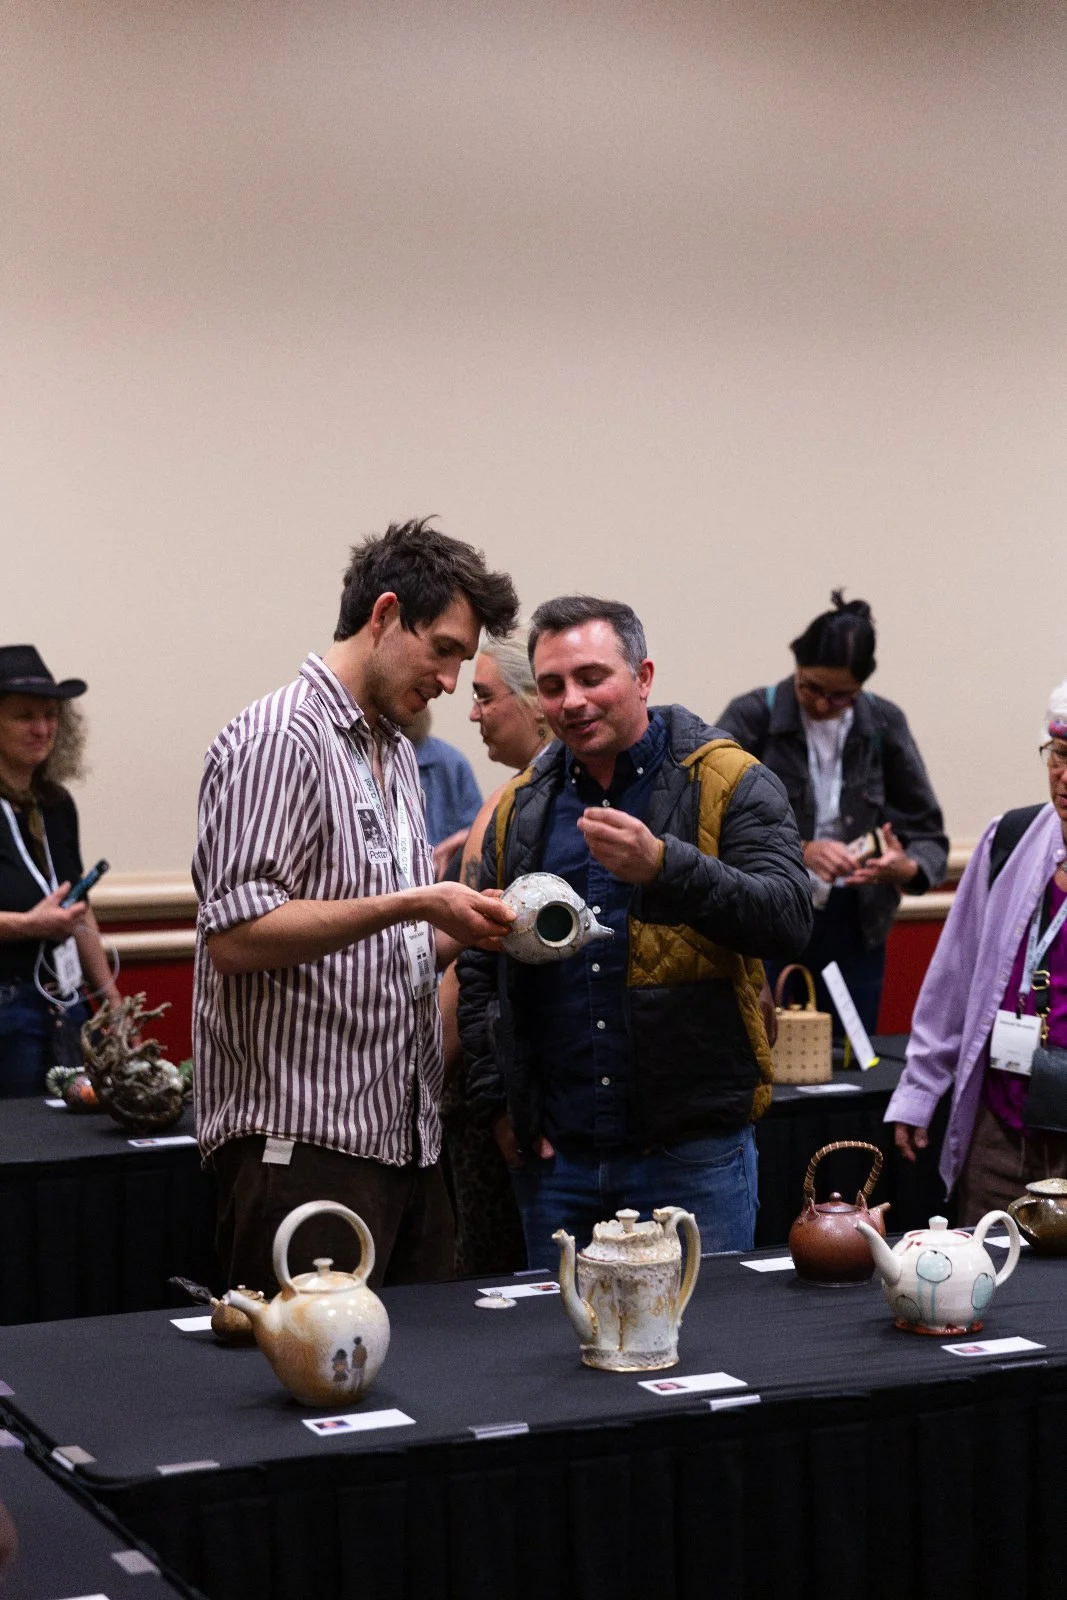
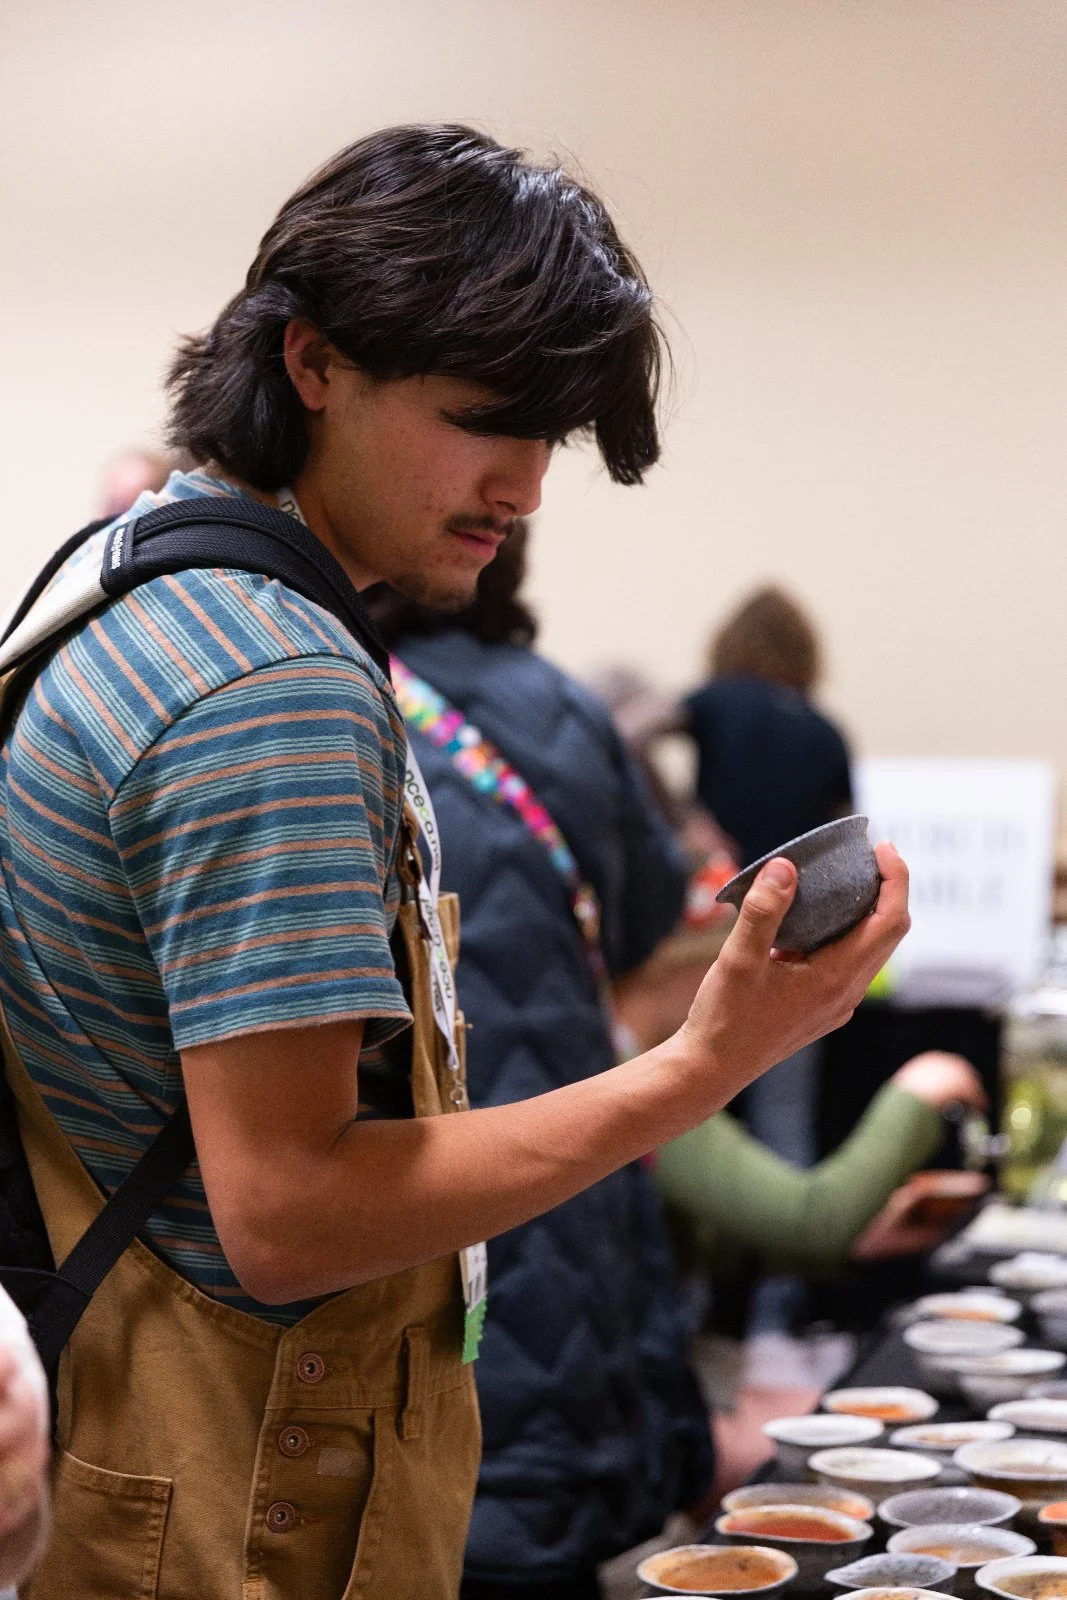
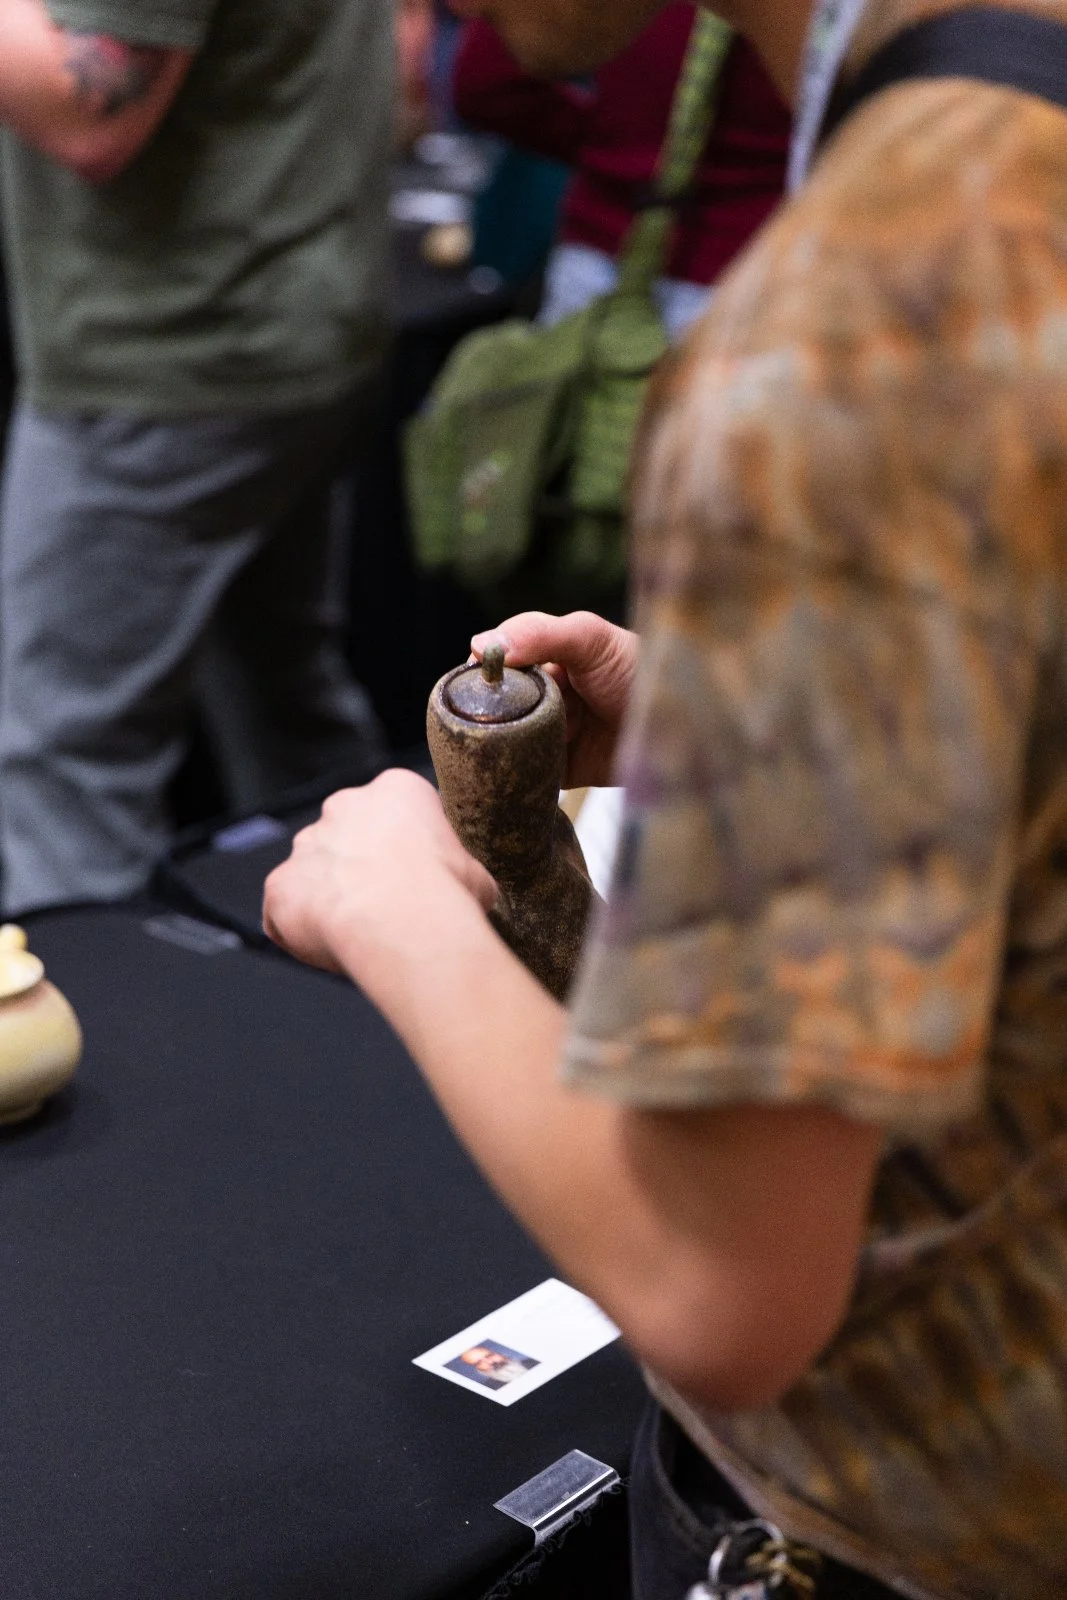
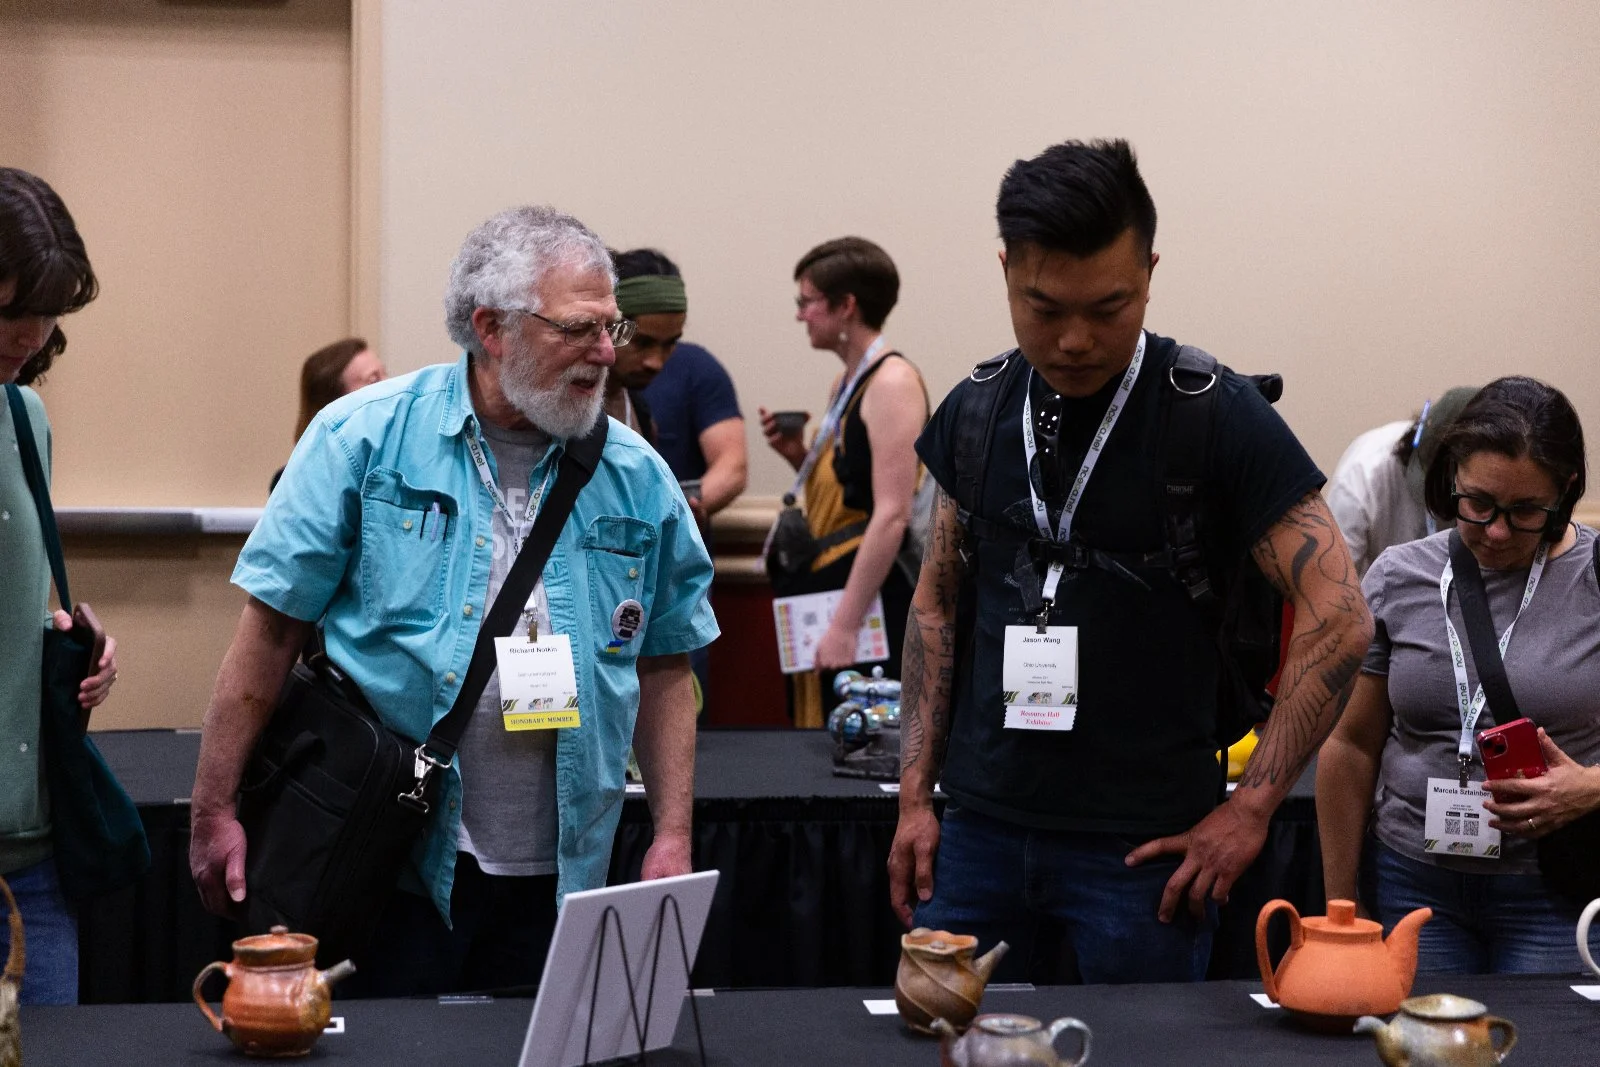
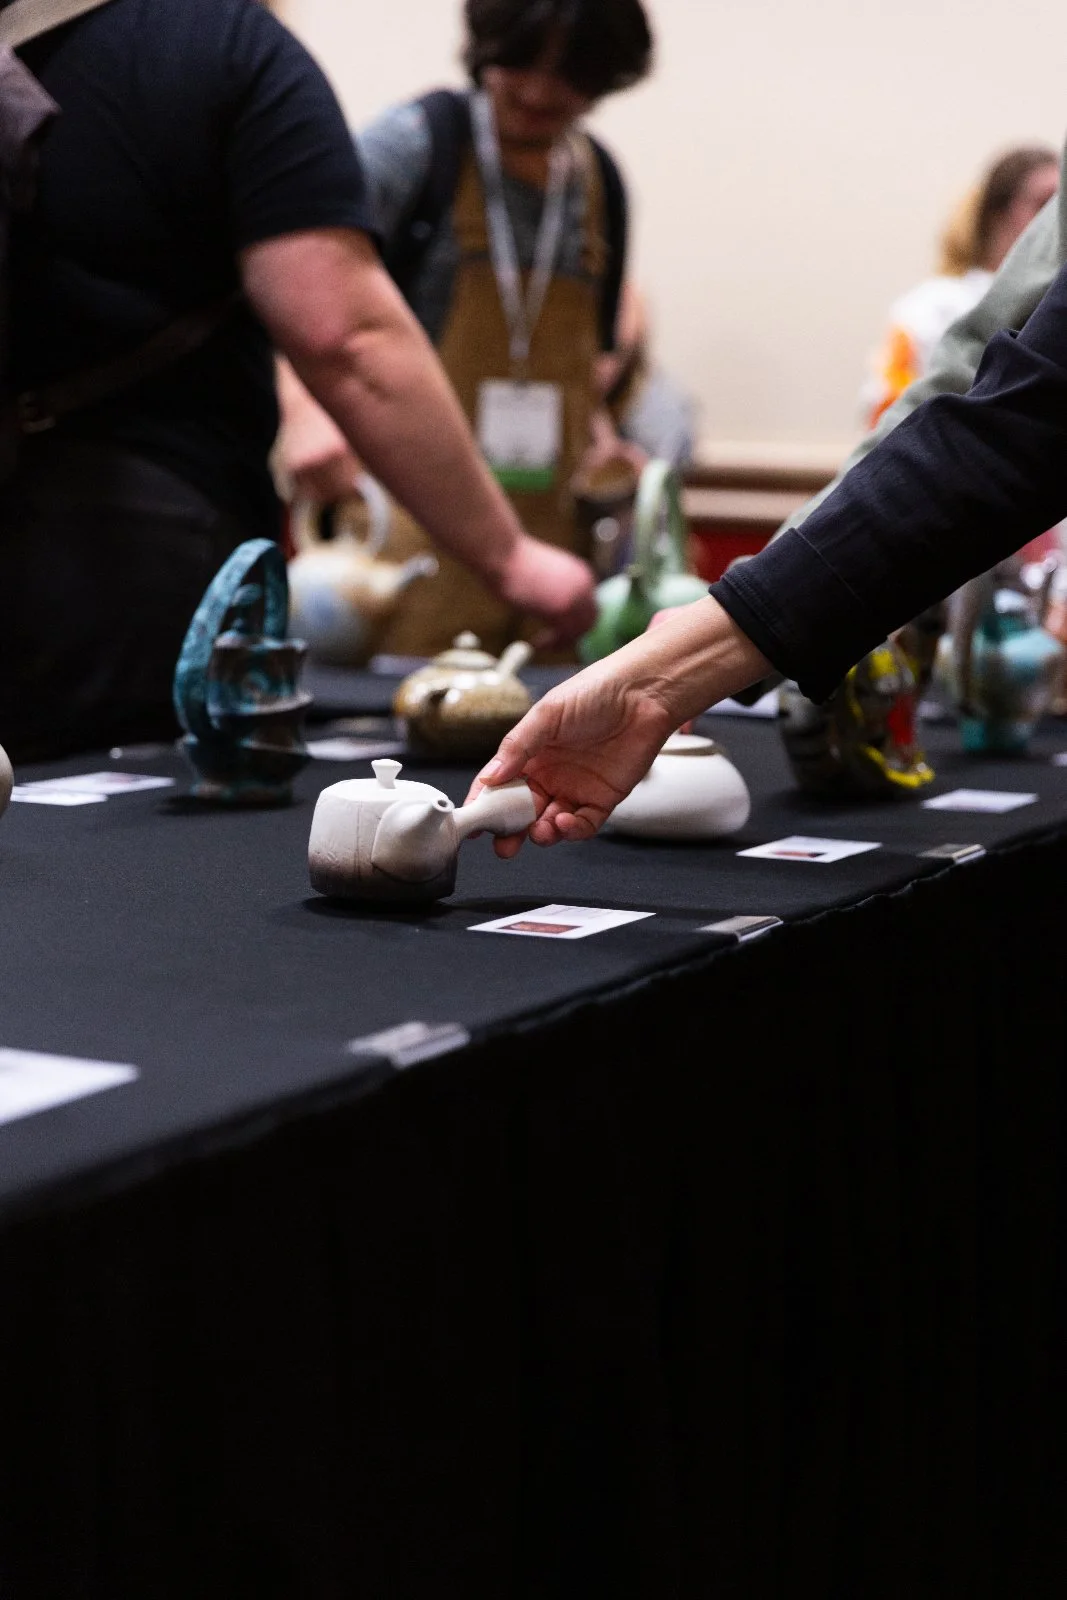
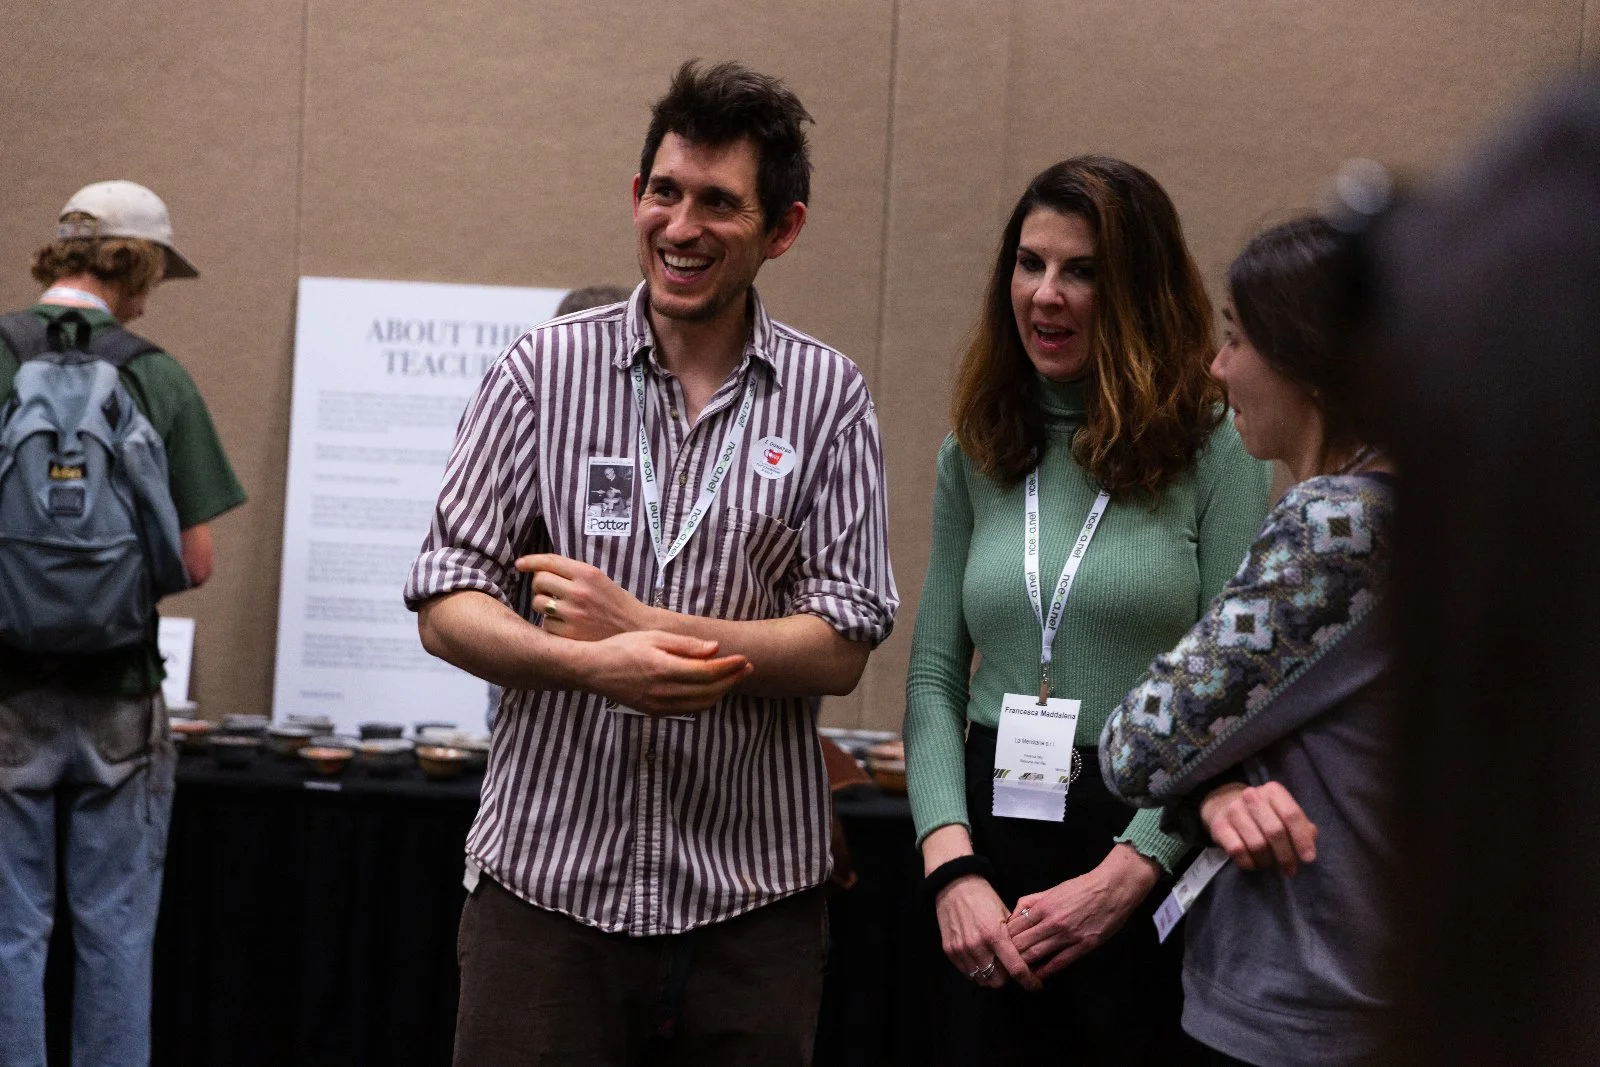
In the end, I was astounded at how many folks came through over the several days it was open to the public. It was always busy! I barely went to other talks and demonstrations as I had to keep the tea flowing and also just enjoyed being in there. There was so much enthusiasm for the selection of teapots we had on display. Attendees were welcome to handle the pots, as long as they were careful. I only had to caution one person who was pawing them with too much abandon.
Before the show, I’d only seen the photographs of the teapots (from the submissions and then the catalogue images taken by Joey Davenport). So it was a real treat for me to handle the teapots, too.
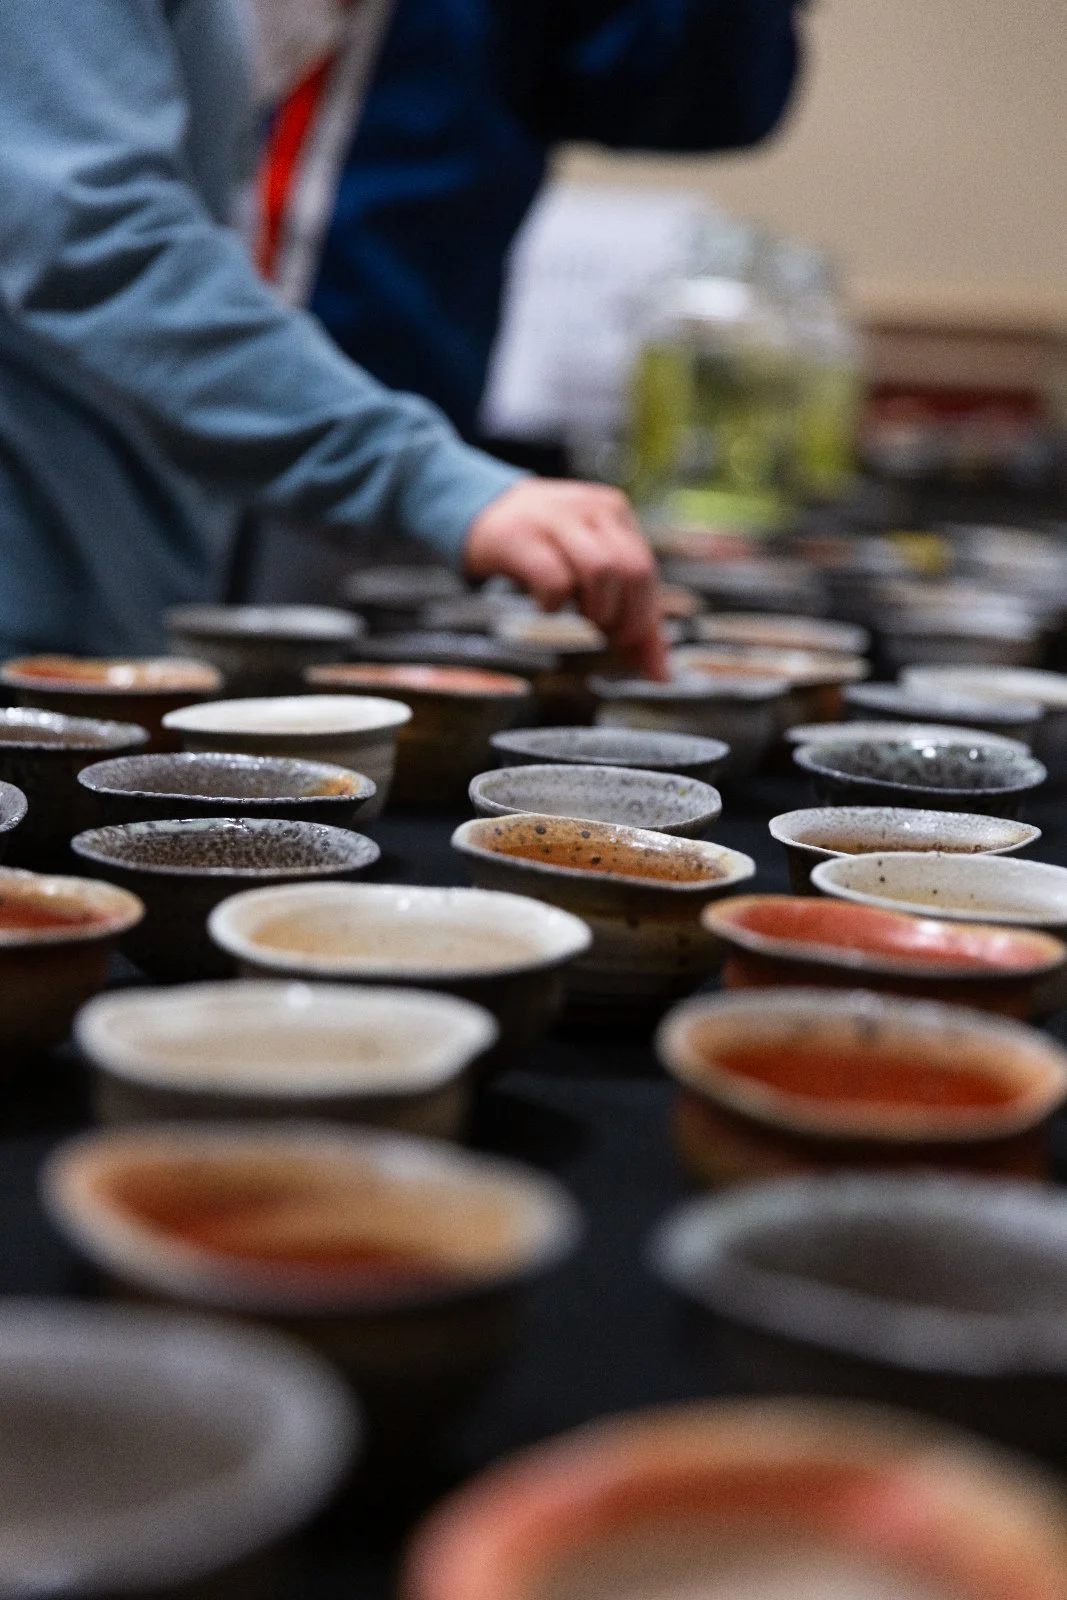
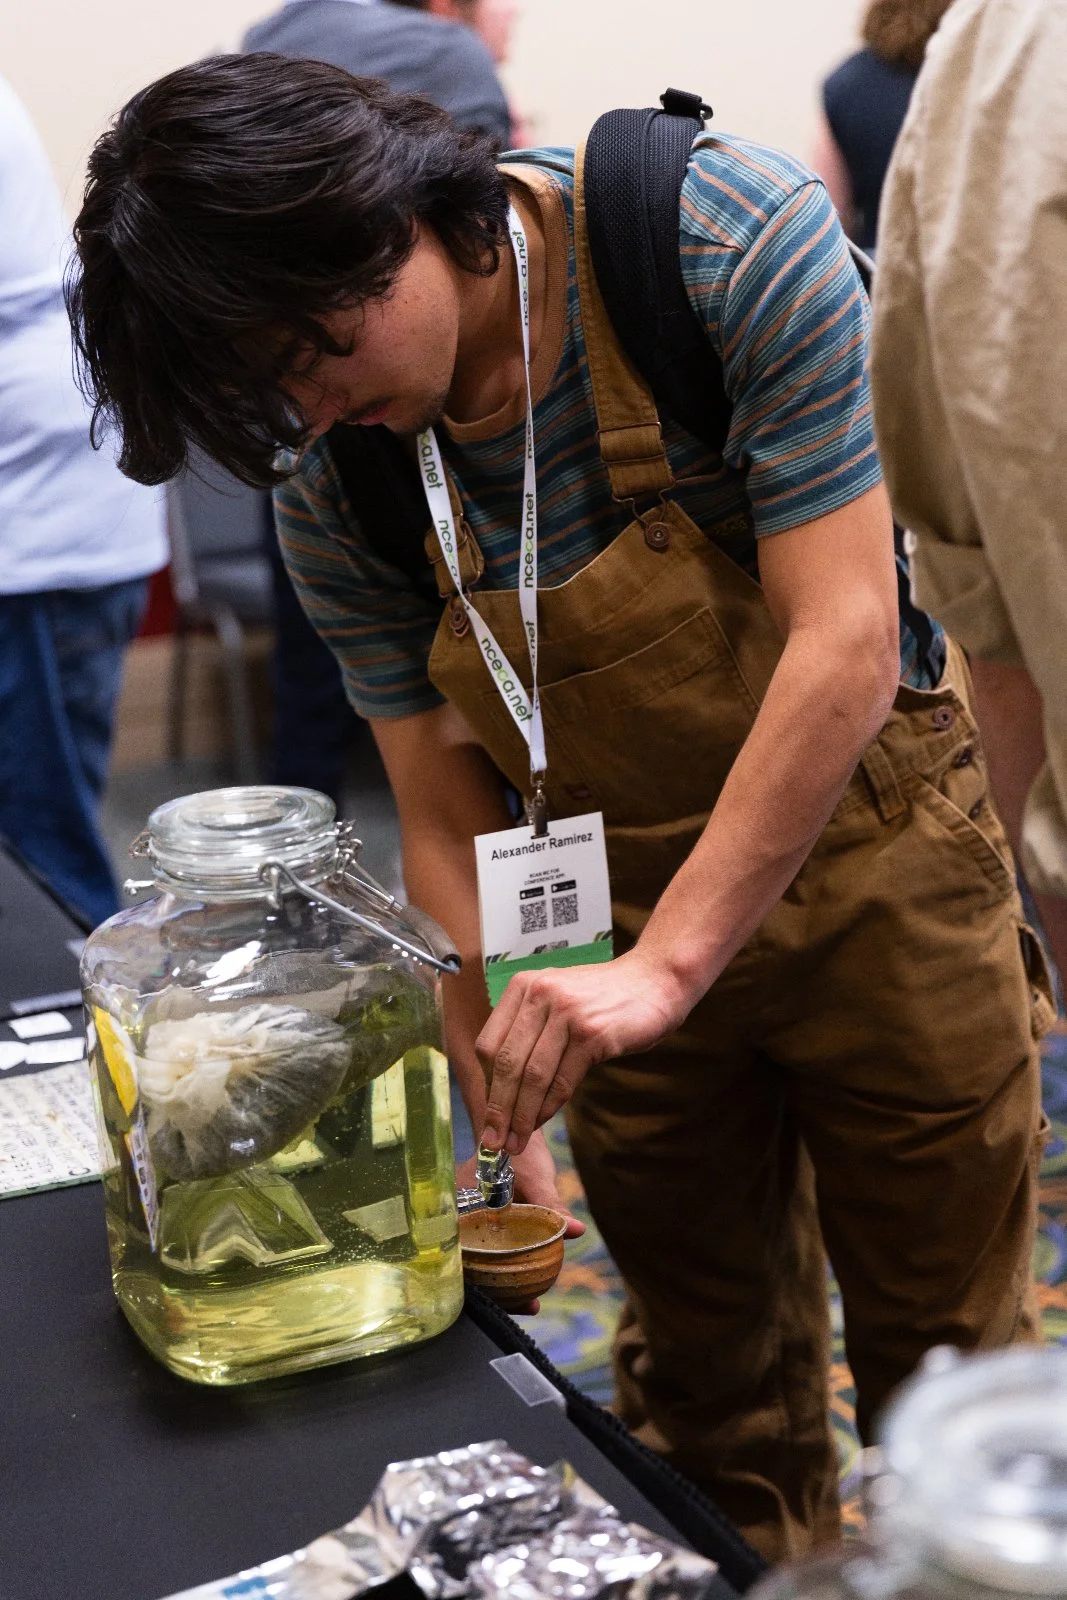
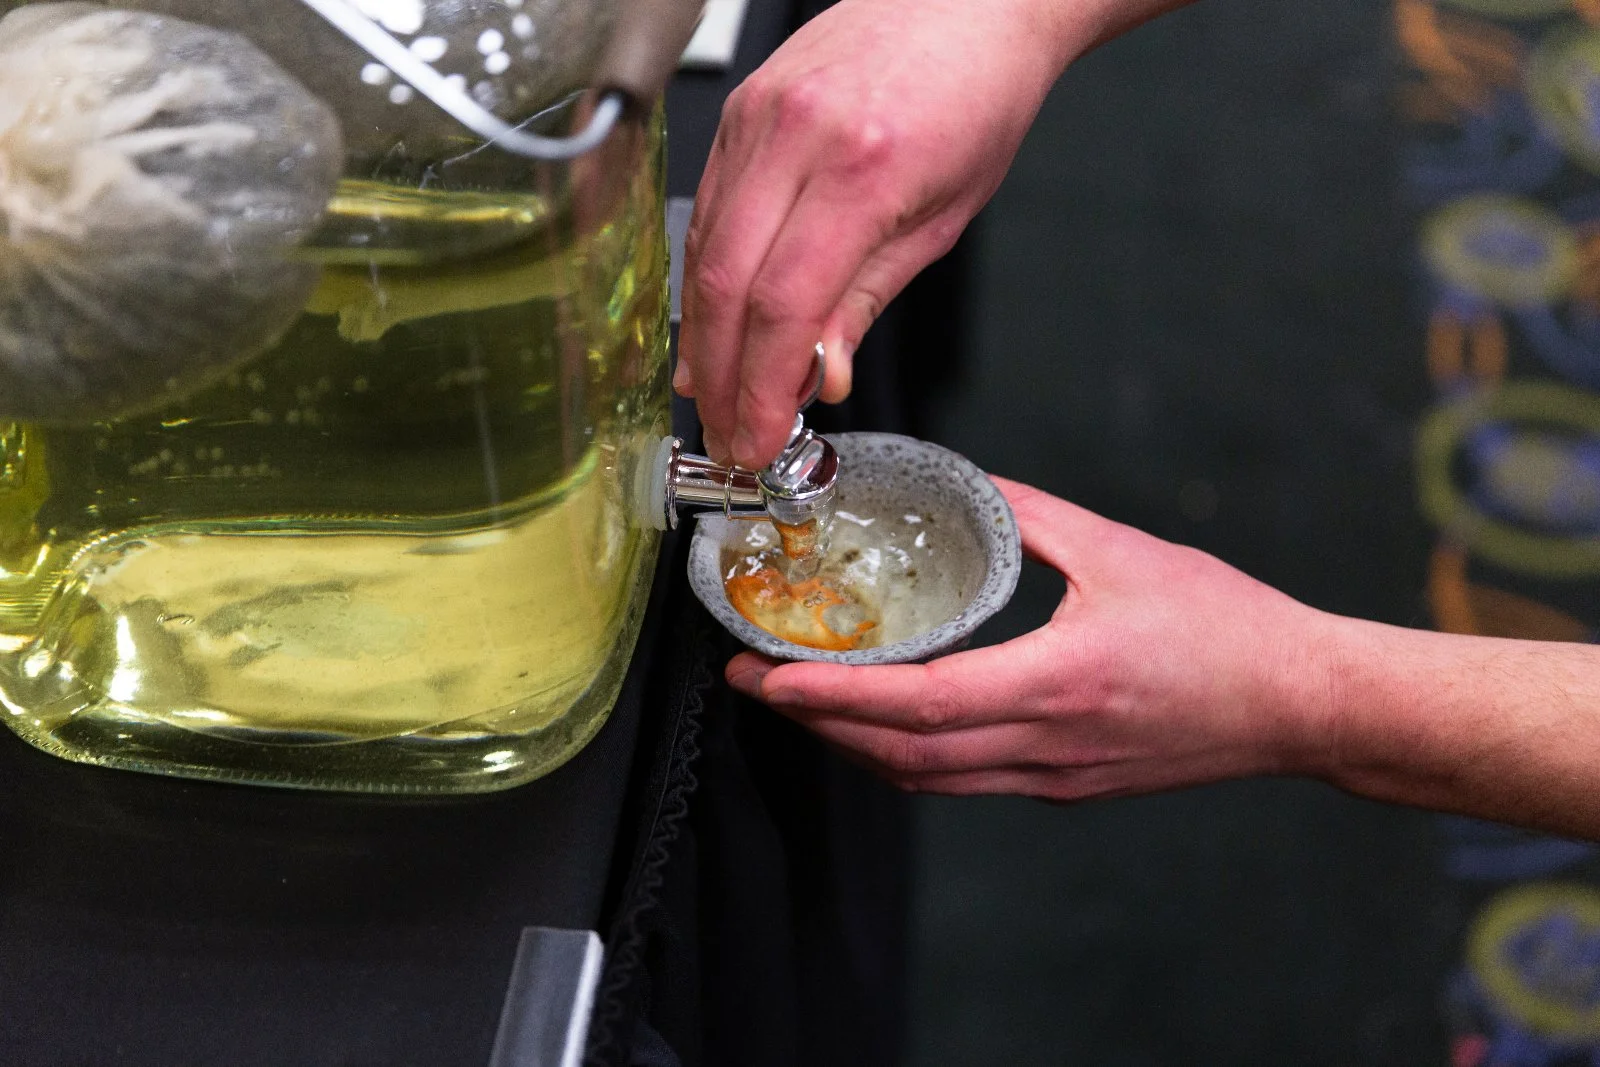
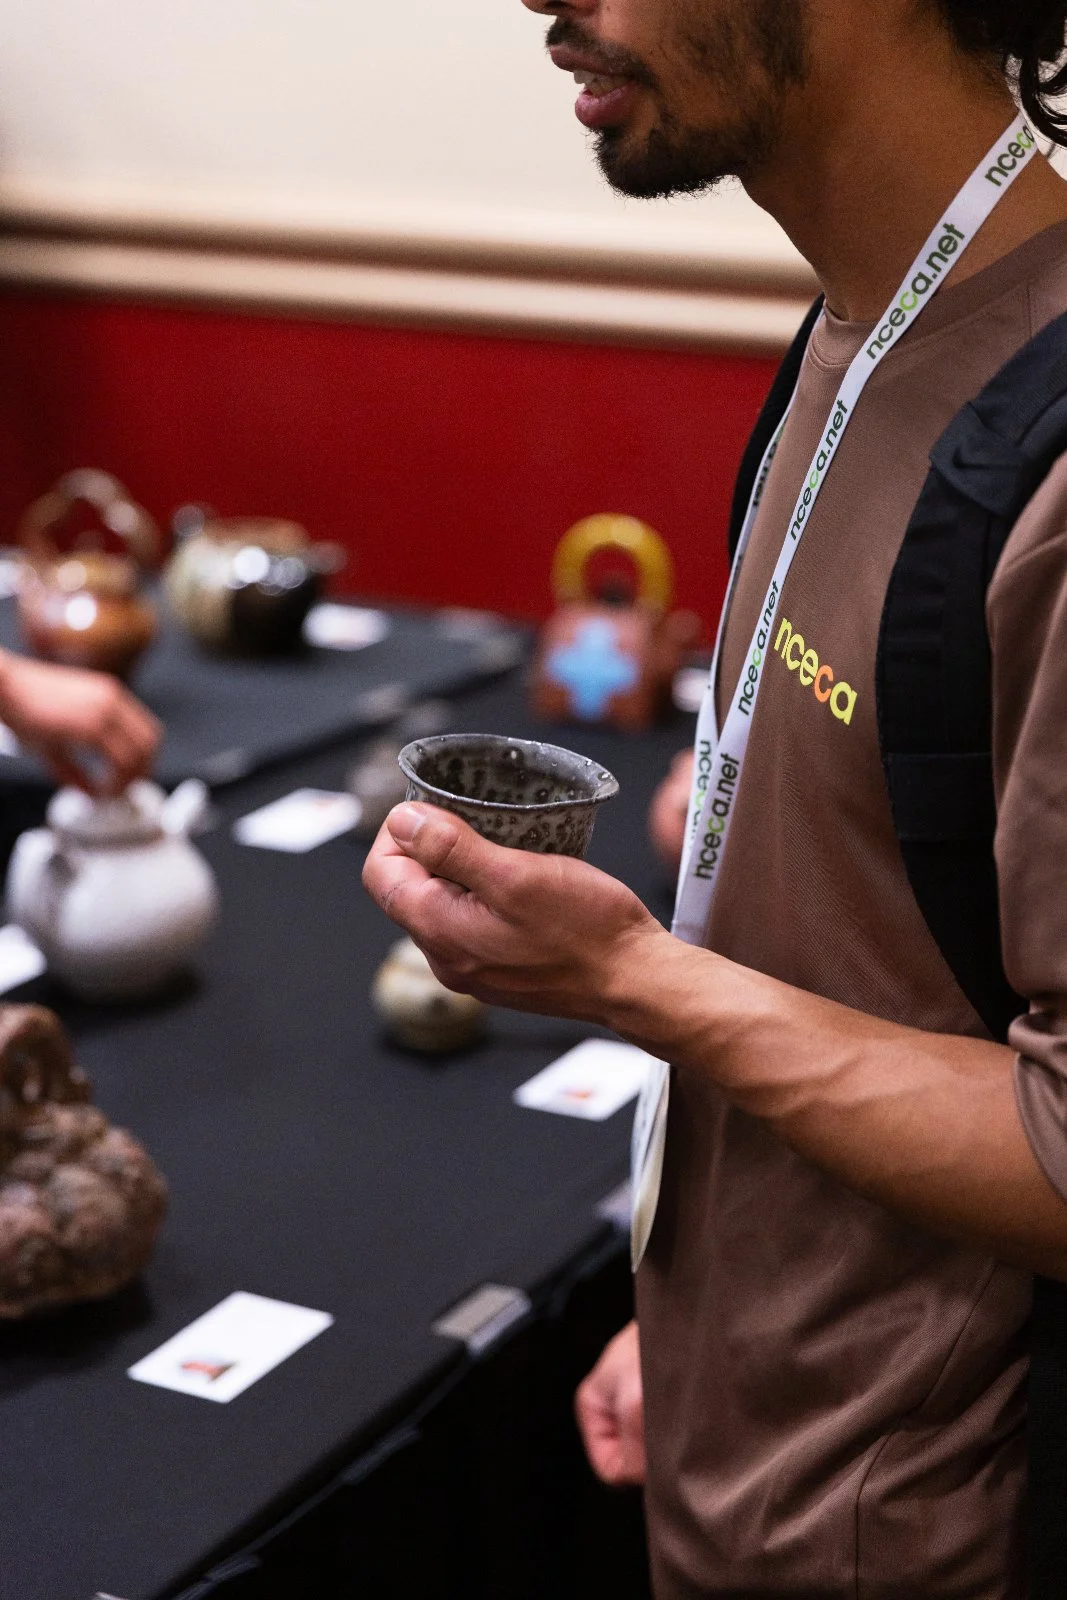
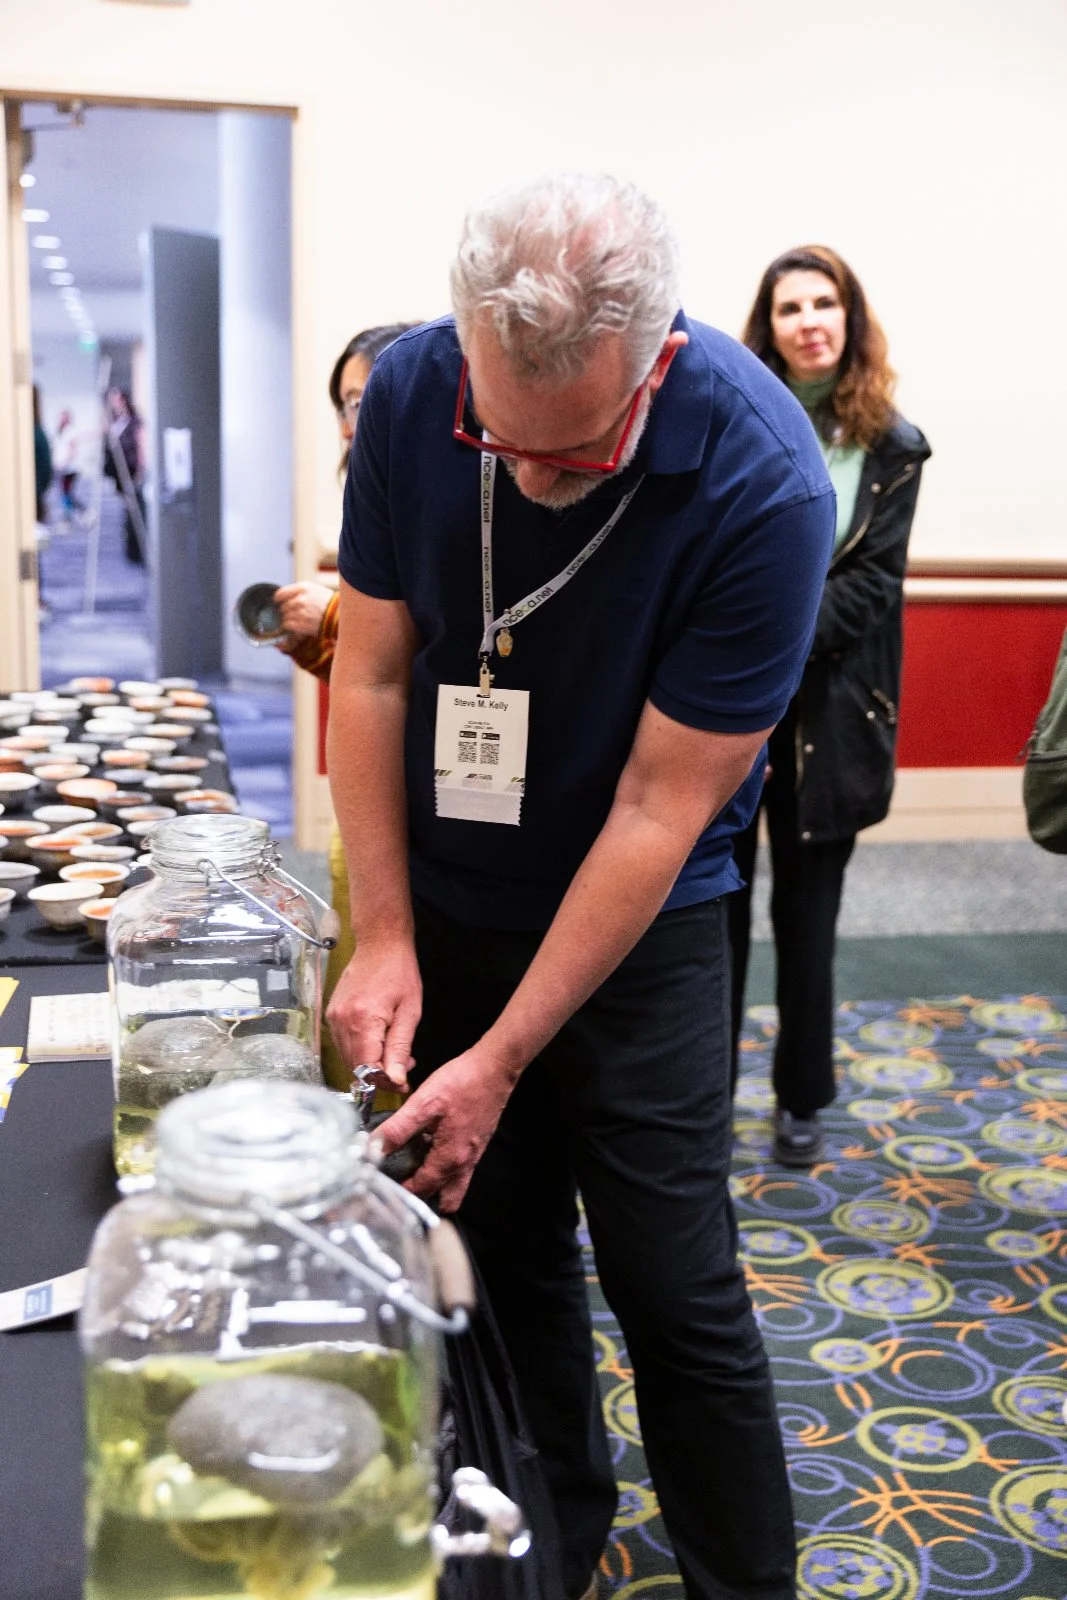
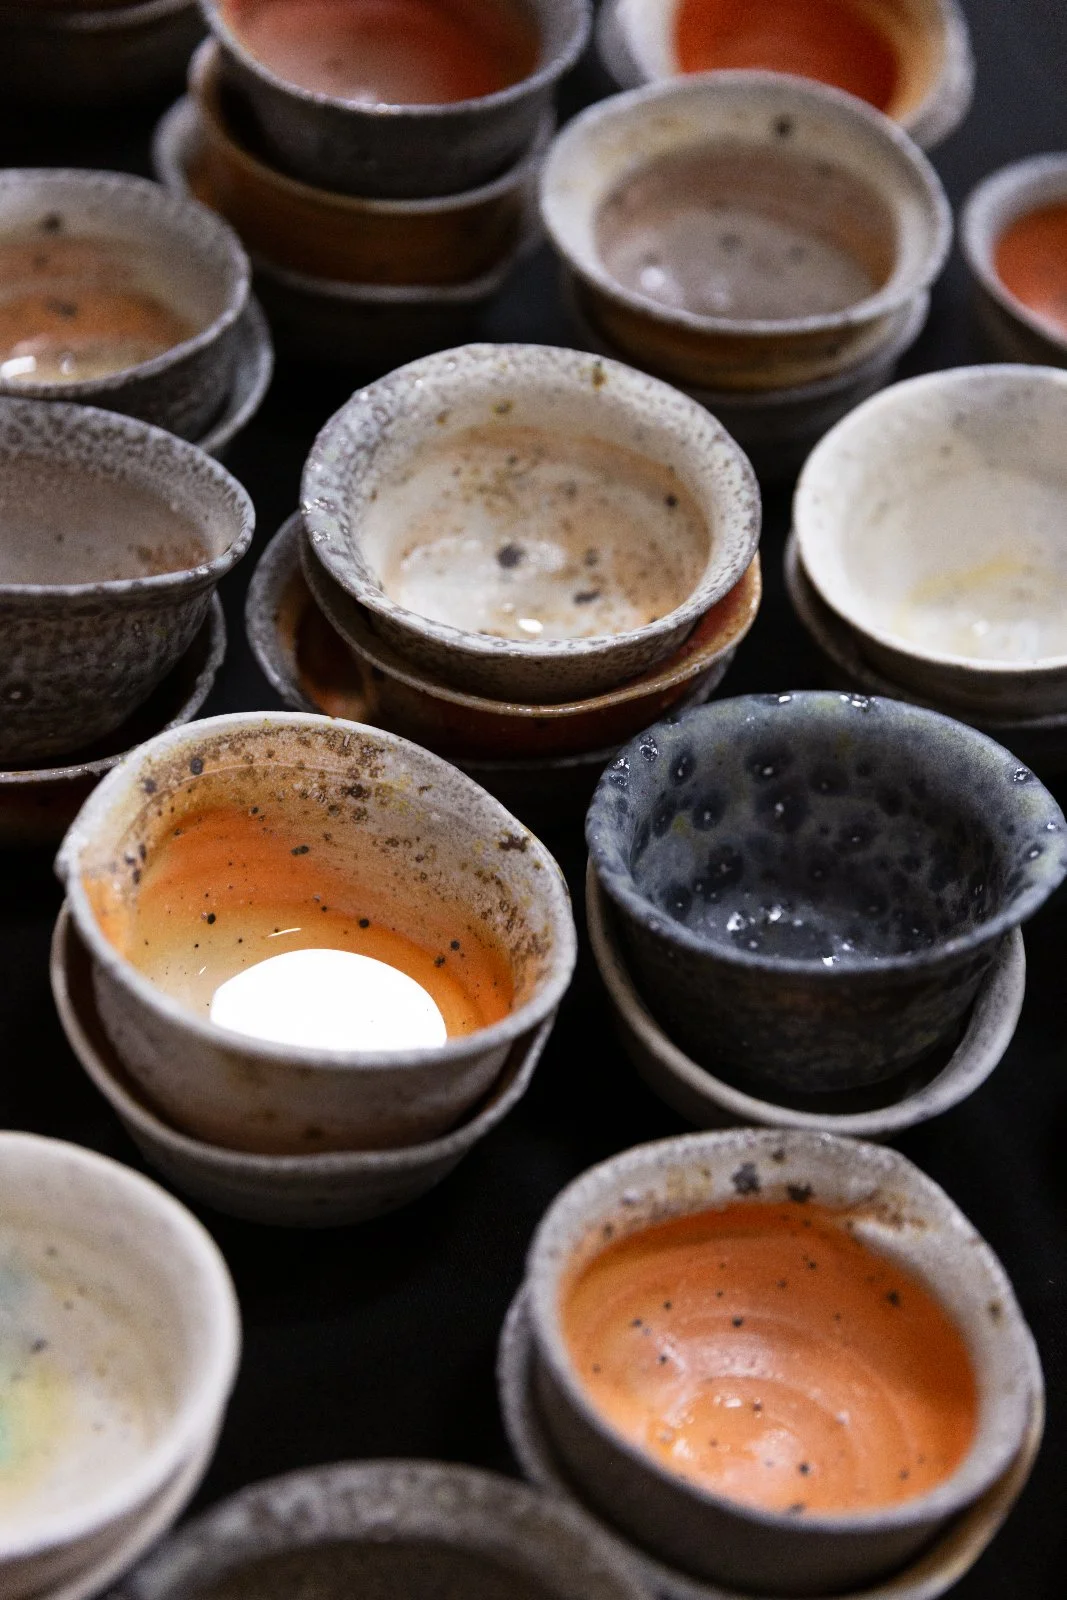
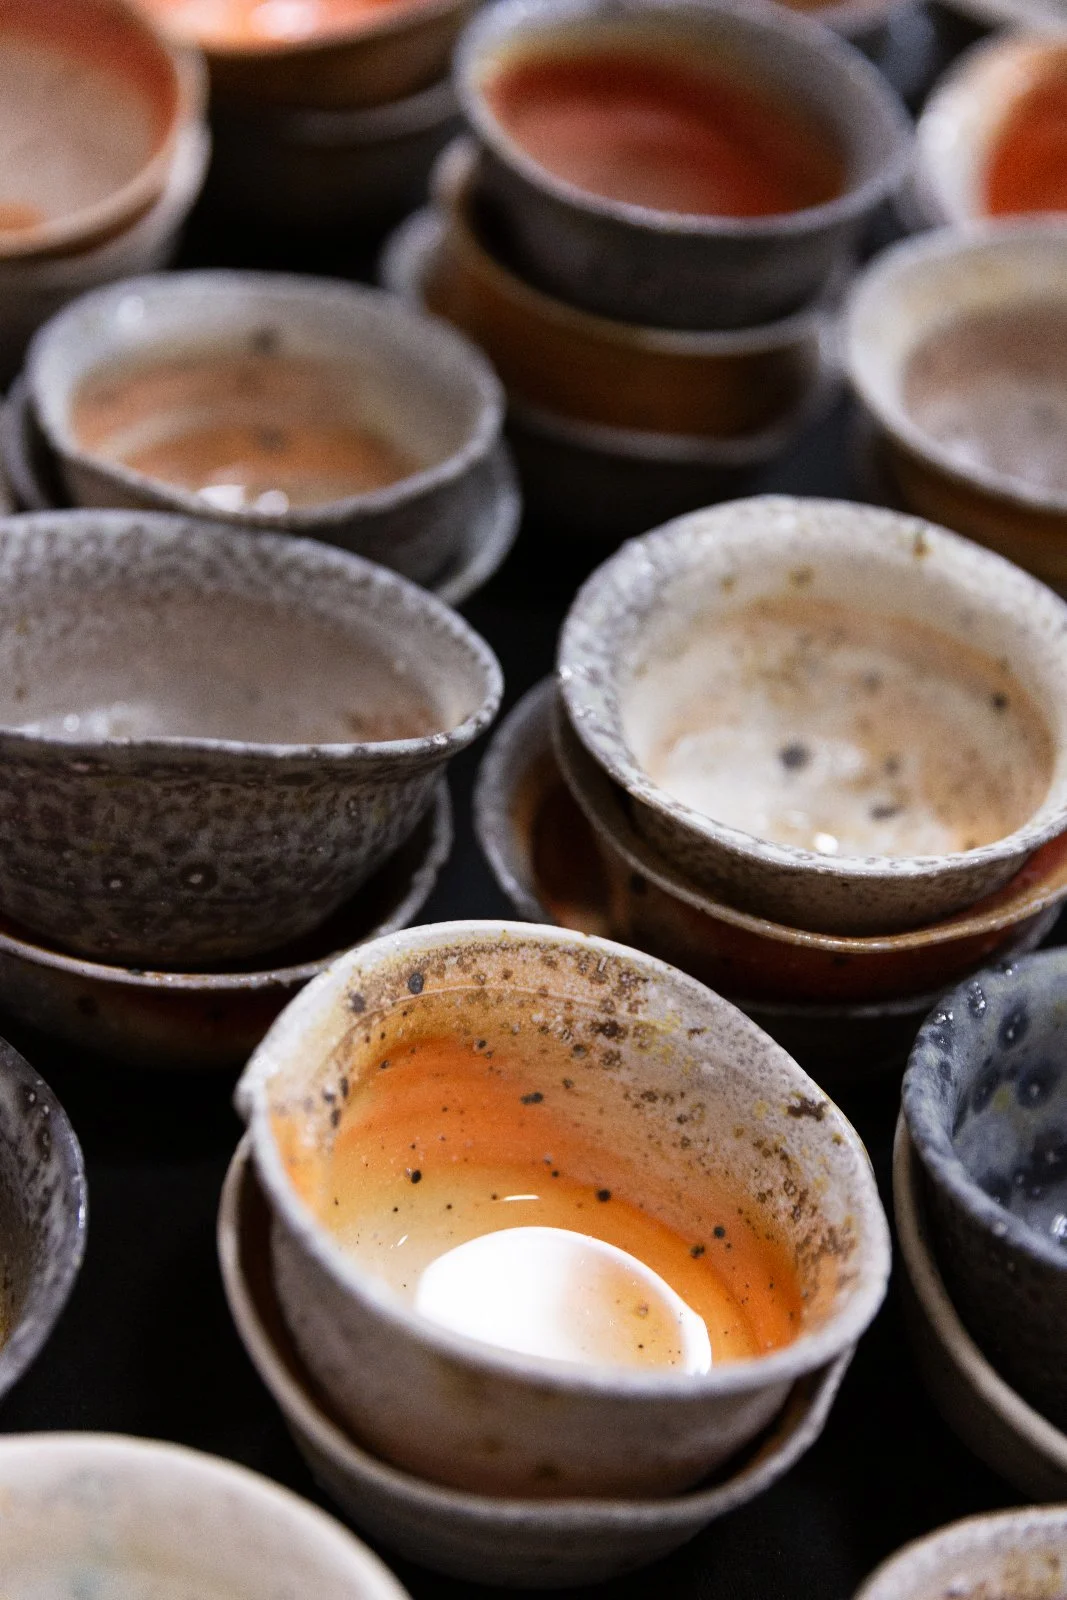
Throughout the show, we served cold-brewed Wenshan Baozhong oolong tea from our tea sponsor, Eco-Cha, and sour taffy from the Salt Lake candy institution Sweet’s.
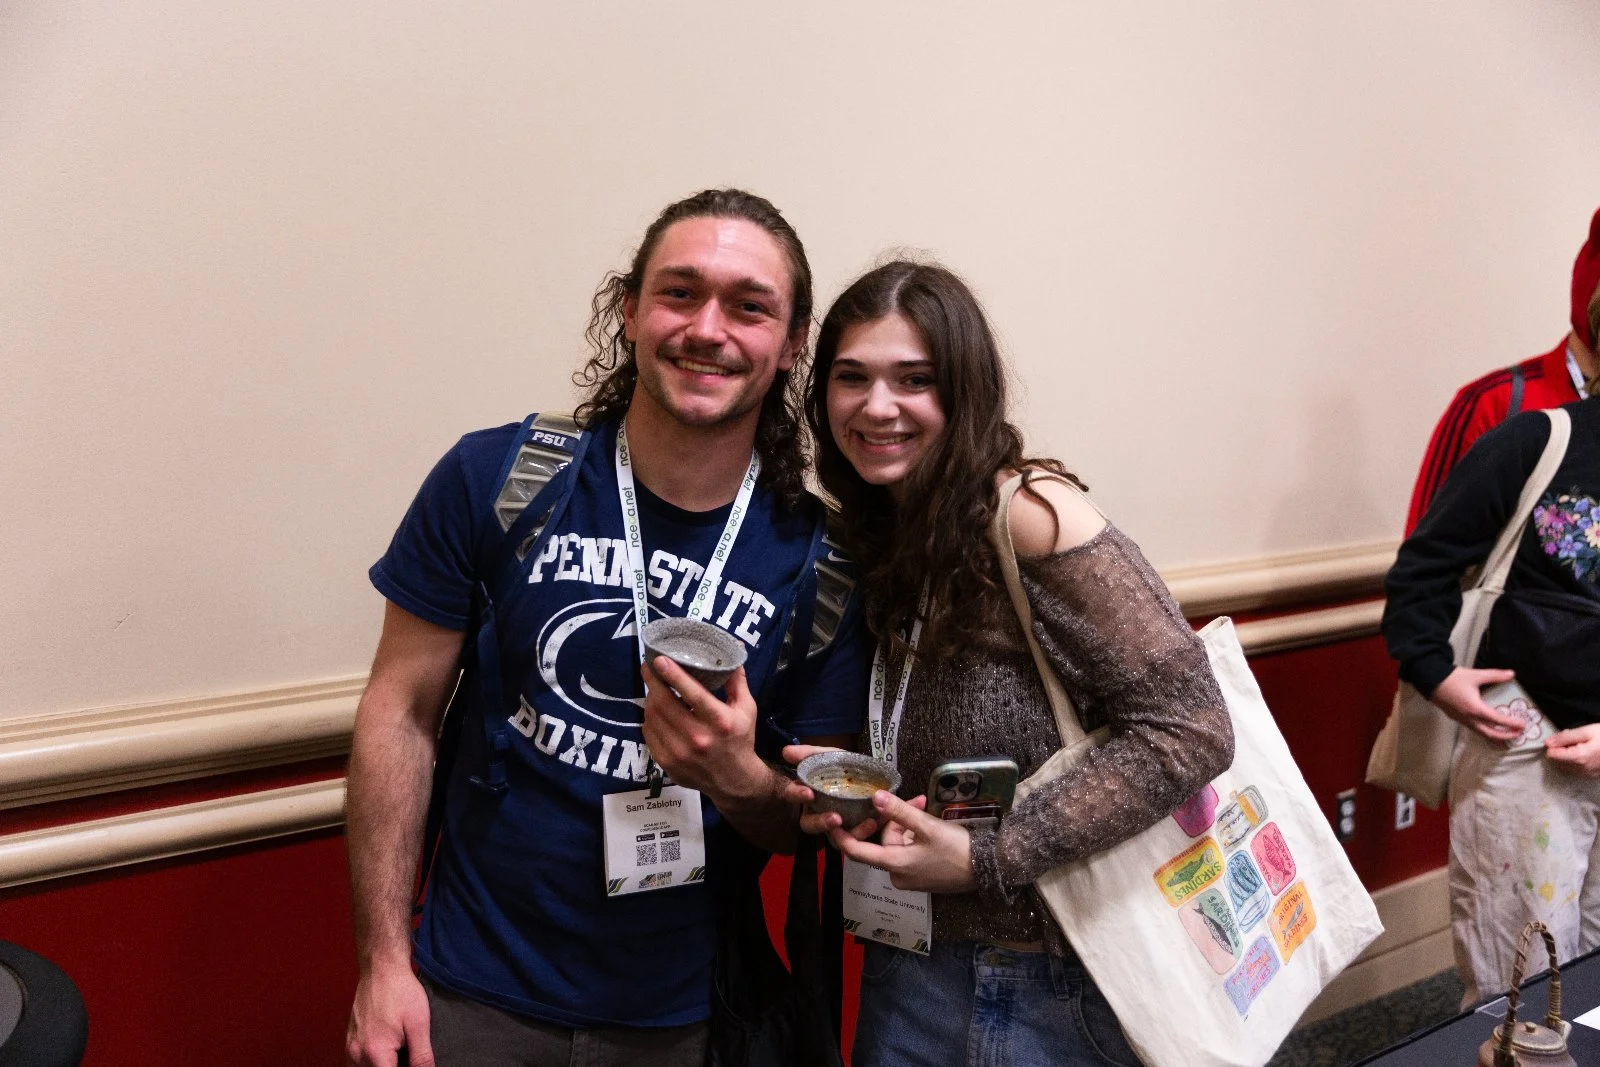
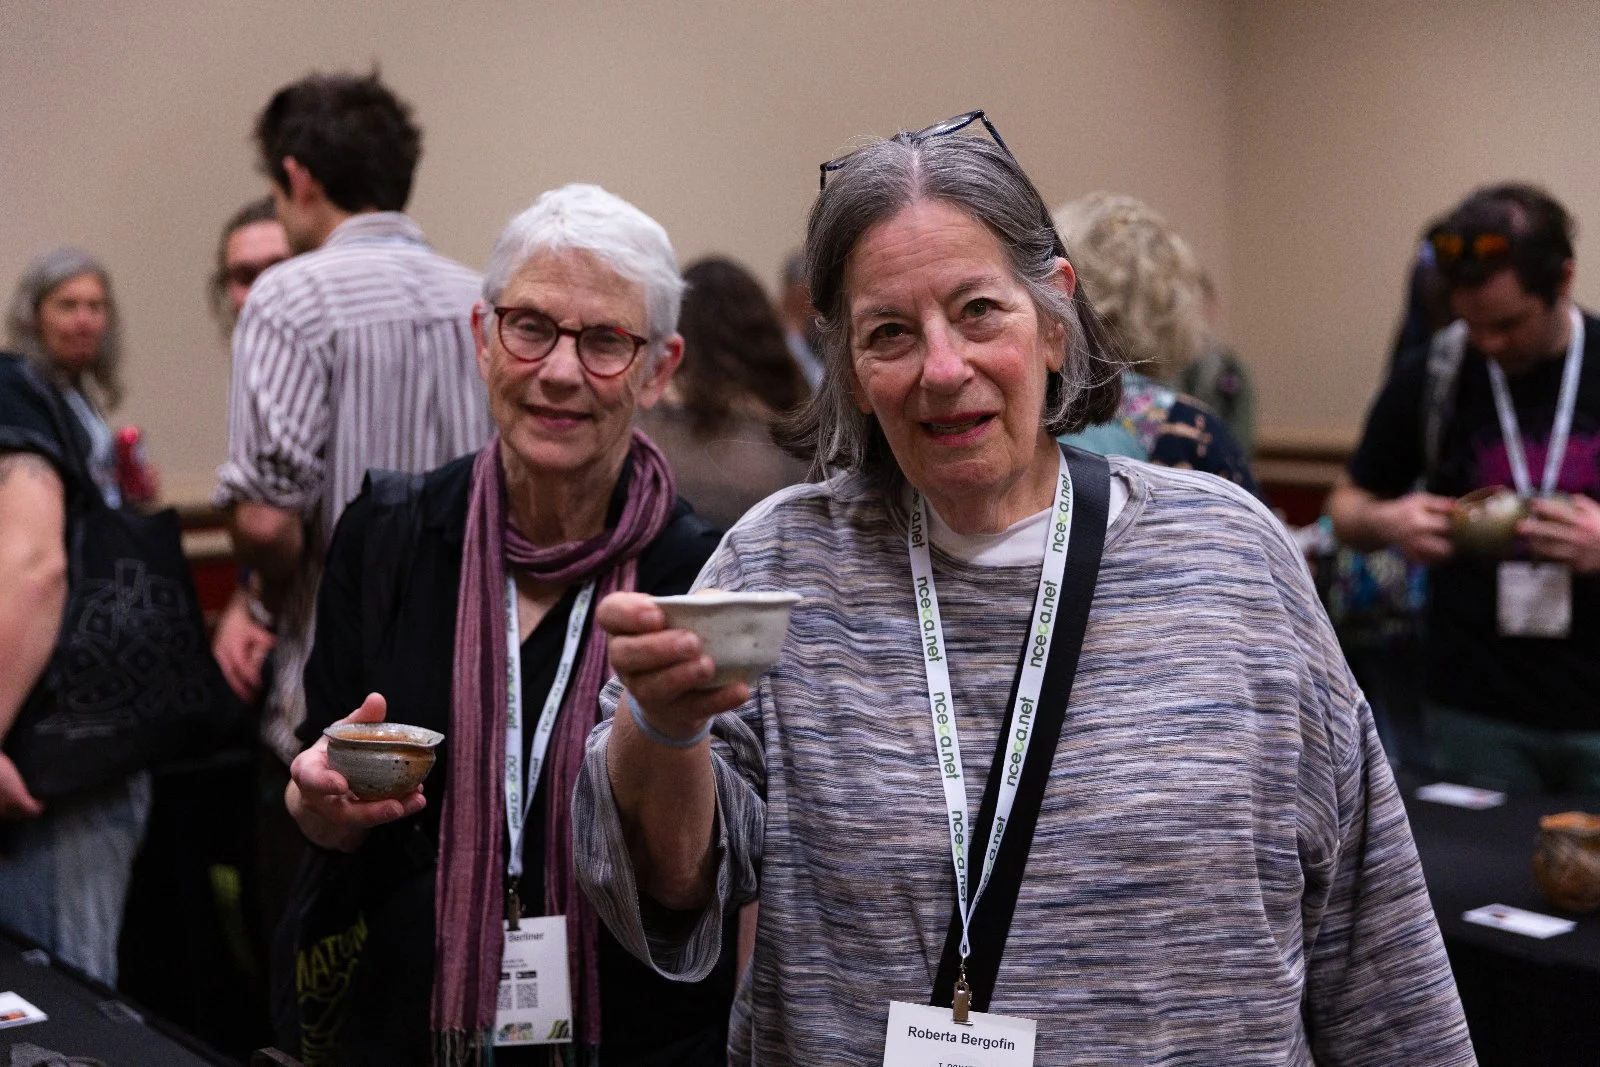
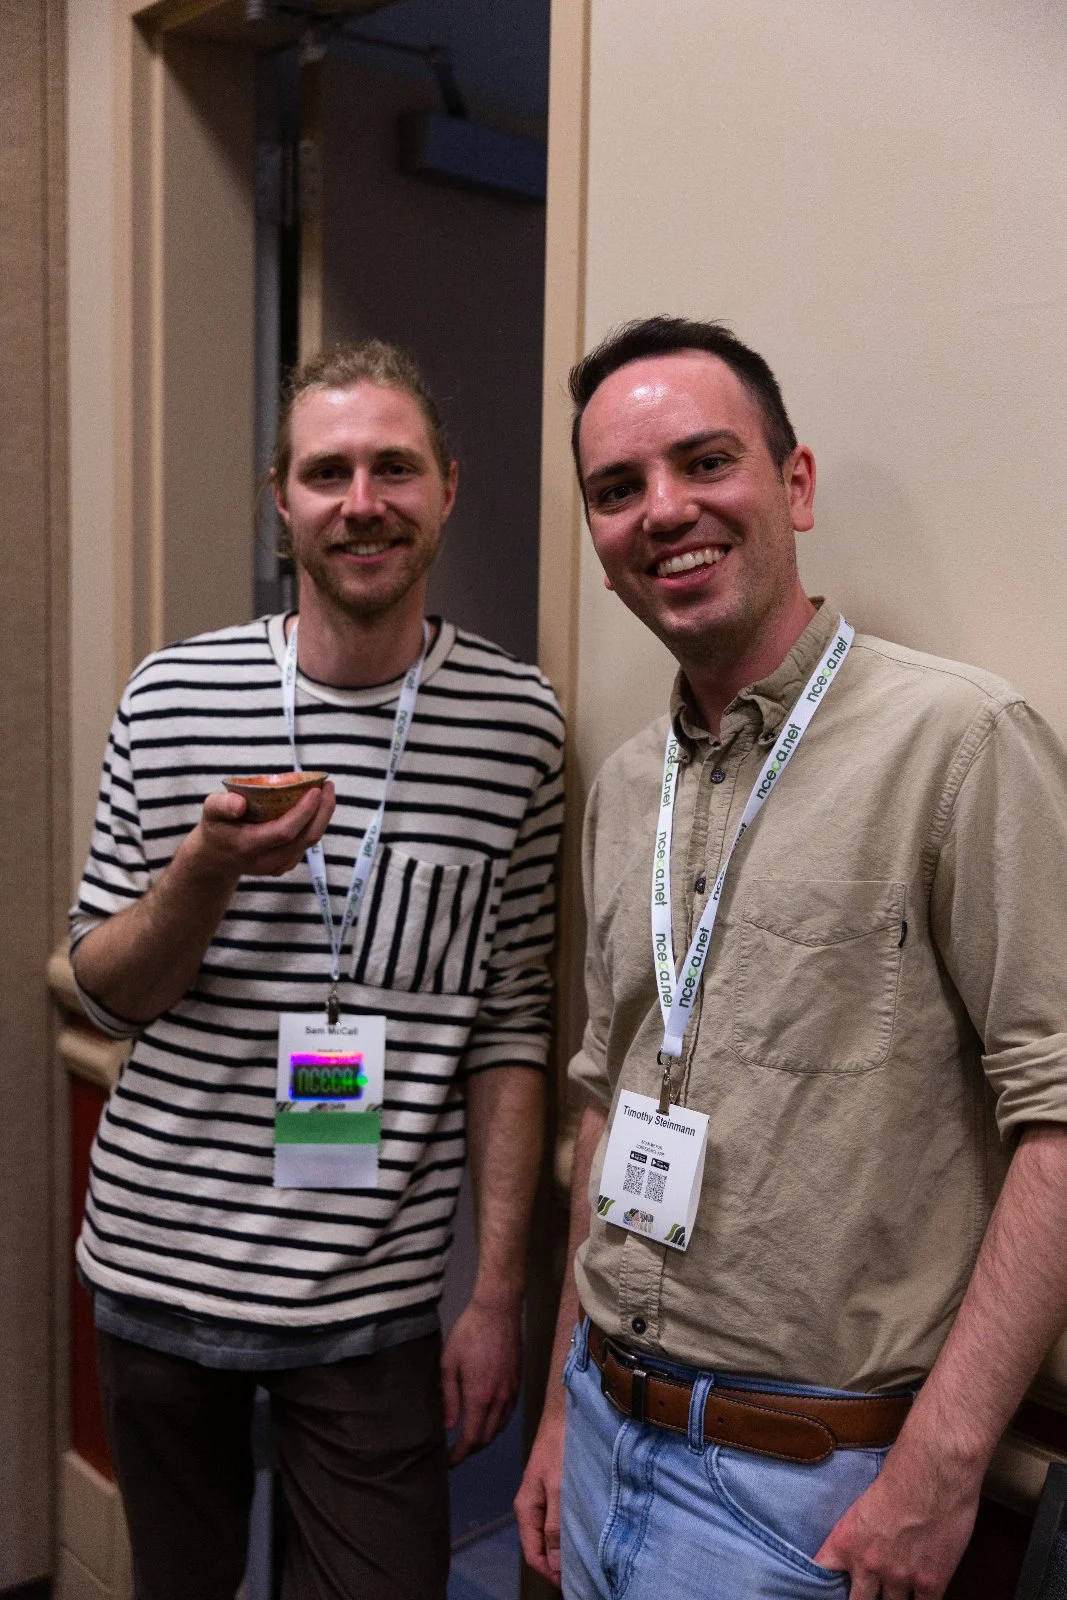
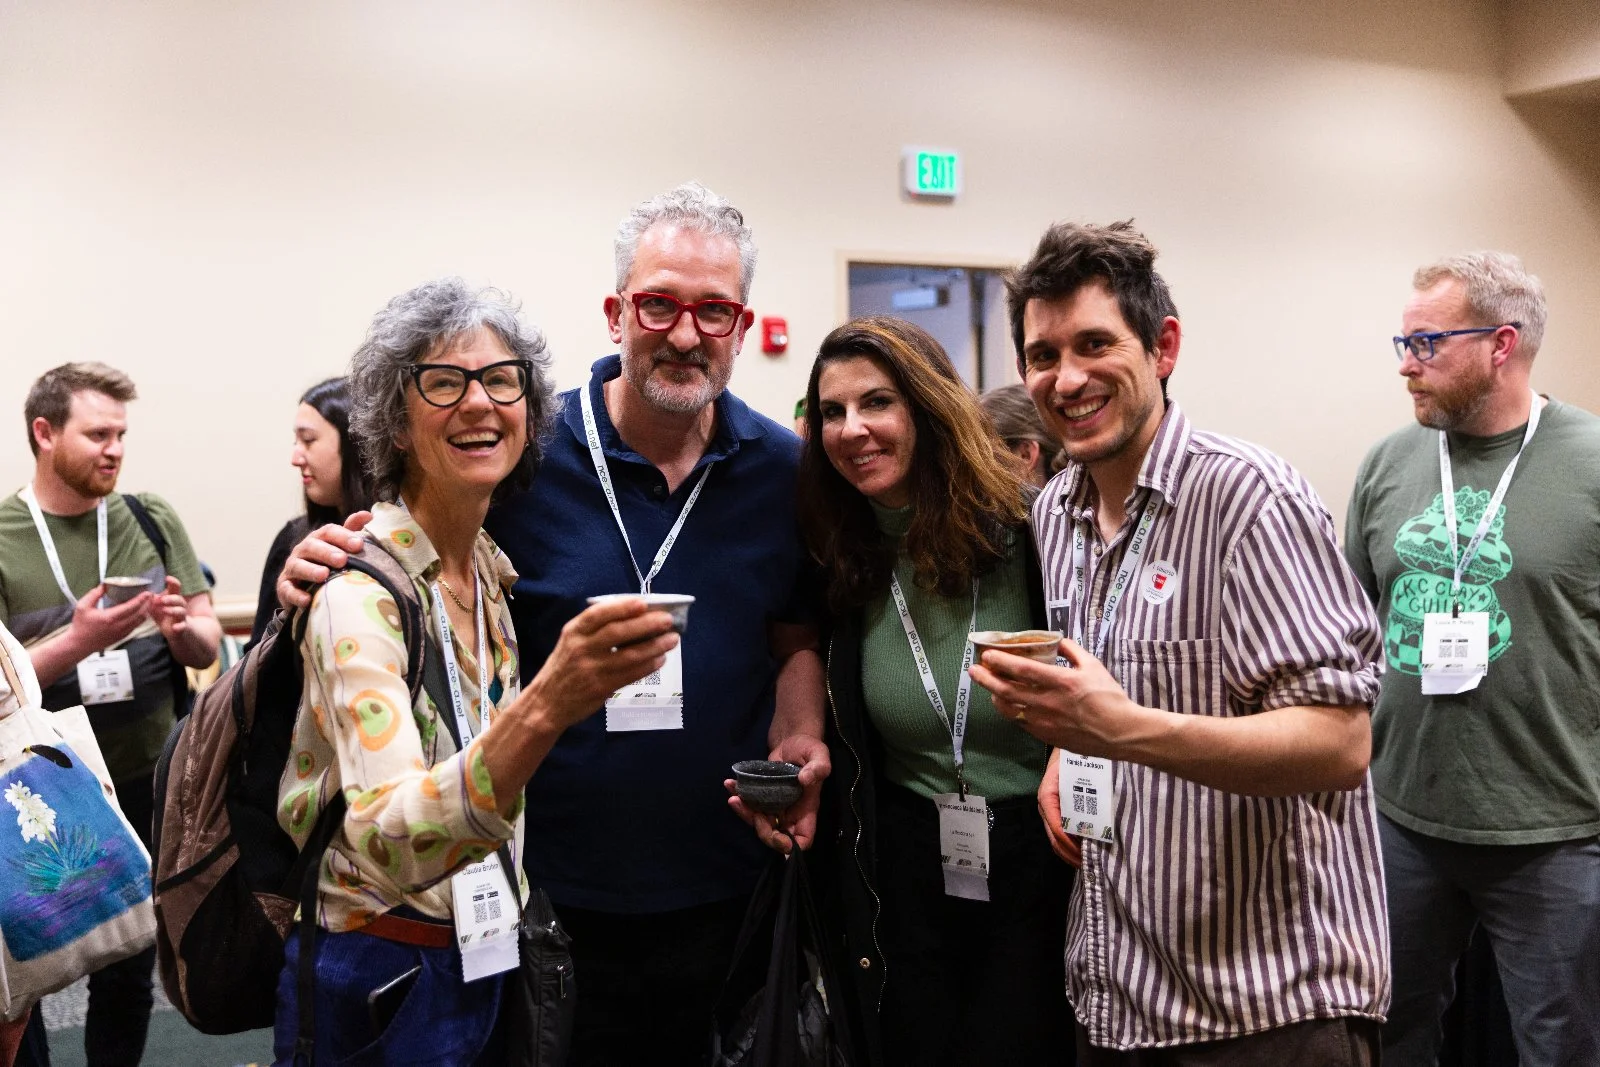
Here are some photographs from the opening taken by Jonathan Clare. Big thanks to him for helping document the show!
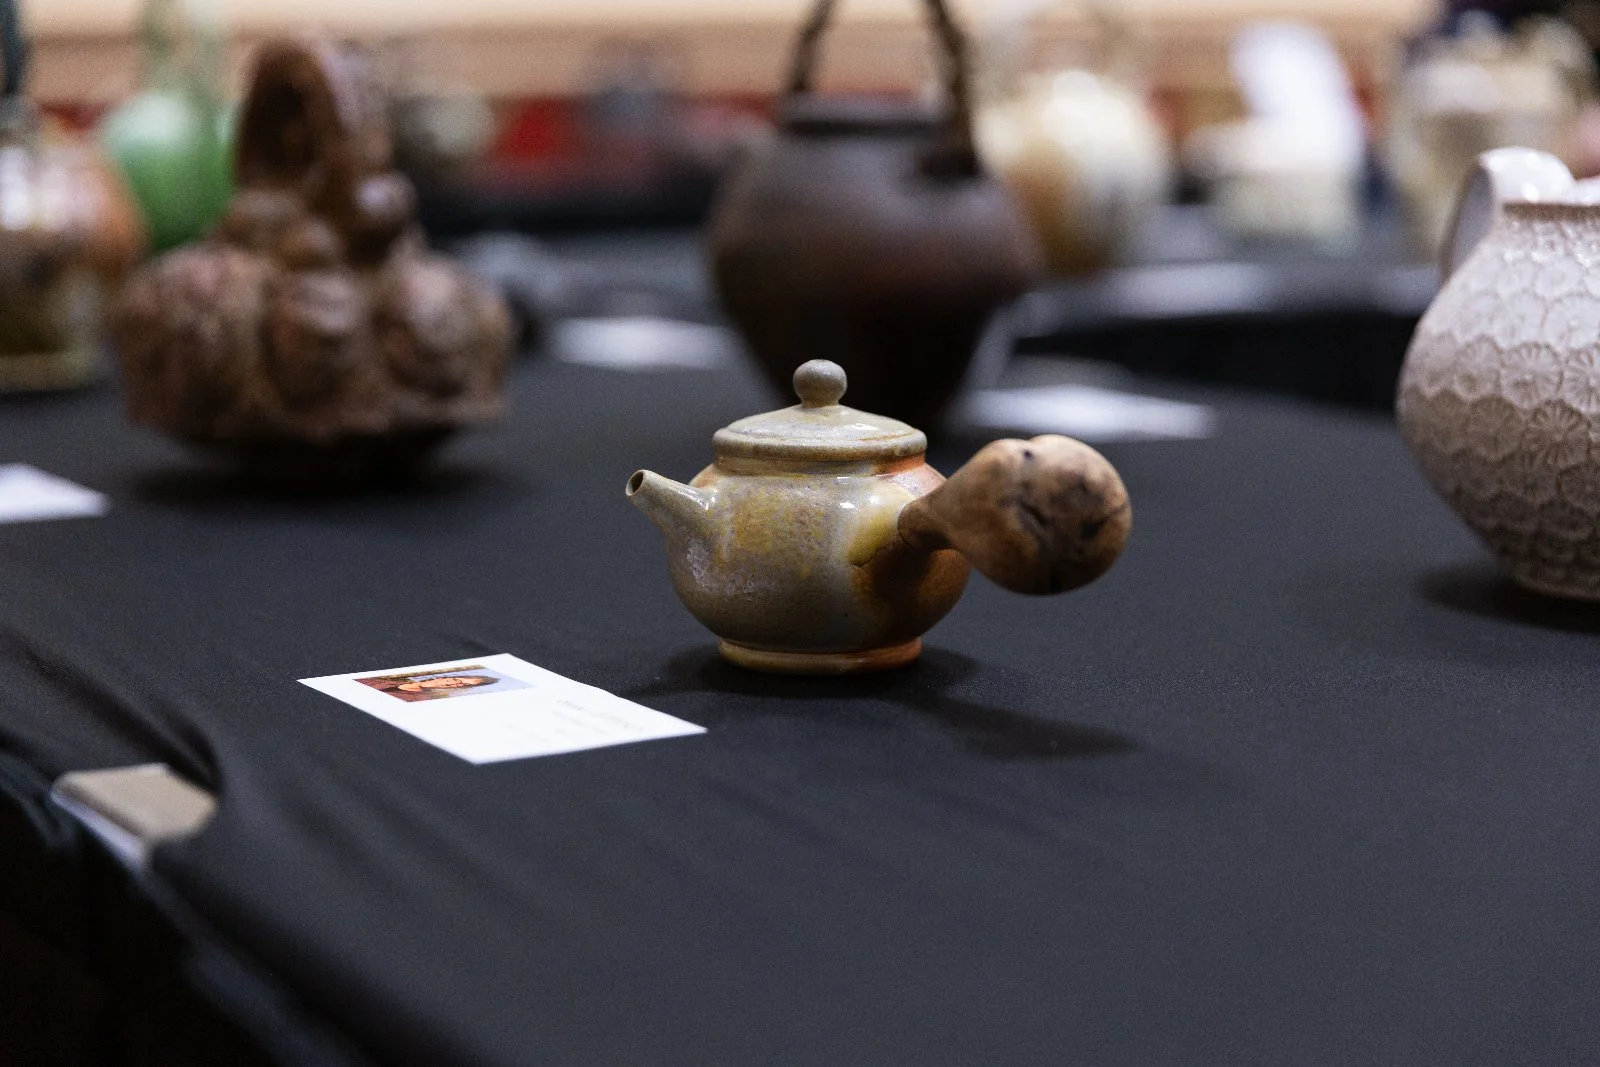
Now I want to show all of the teapots next to their makers. In no particular order…
I was overwhelmed by the end of NCECA, and cried several times on the final day (which is unlike me — not to say it never happens, but it is somewhat rare!). Overall I found it to be a joyous, wonderful experience, and all of our hard work paid off.
We managed to sell about half of the teapots during the show. I listed the rest on my website after and in the end about 20 remained unsold.
The show went so well I’m inclined to try and make it happen again next year in Detroit.
Knowing Oregon Interview: 'Tradition: Pots that Connect Place to People' with Hamish Jackson
I had the pleasure of being interviewed by my friend Kenji Shimizu for his project Knowing Oregon recently. Kenji is an amazing photographer and videographer who happens to live just around the corner from me, and has a daughter the same age too.
We recorded the interview one day and then the B-roll over many other sessions, often with Juni and Ellie (our little ones) in the mix. It was a lot of fun and I am really pleased with how it came out!
Take a watch here or on youtube:
Kenji works with Blake Robertshaw on this Knowing Oregon project. Here is the website with many other wonderful interviews as well as some photographs taken during our time together:
https://www.knowingoregon.com/stories/hamish-jackson-tradition
And Kenji and Blake’s photography websites:
Kenji: https://www.shimizuphotography.com/
Blake: https://blakerobertshaw.com/
Article in Studio Potter: "Wild Glazes from your Backyard"
I was thrilled to have an article published in Studio Potter Magazine in December.
It is called “Wild Glazes from your Backyard” and you can read it on the Studio Potter website here:
Wild Glazes From Your Backyard
The article talks about my ethos in collecting local rocks and minerals for use as glaze materials and the glaze palate I made for my MFA thesis at Utah State University. I’m proud of this work and the article represents a climax to the whole endeavor.
Now I’ve moved to Oregon and left behind the Utah materials I was working with. I will be able to apply the methodology of the testing I did but am in the process of hunting for new glaze materials.
Thanks for checking out the article!
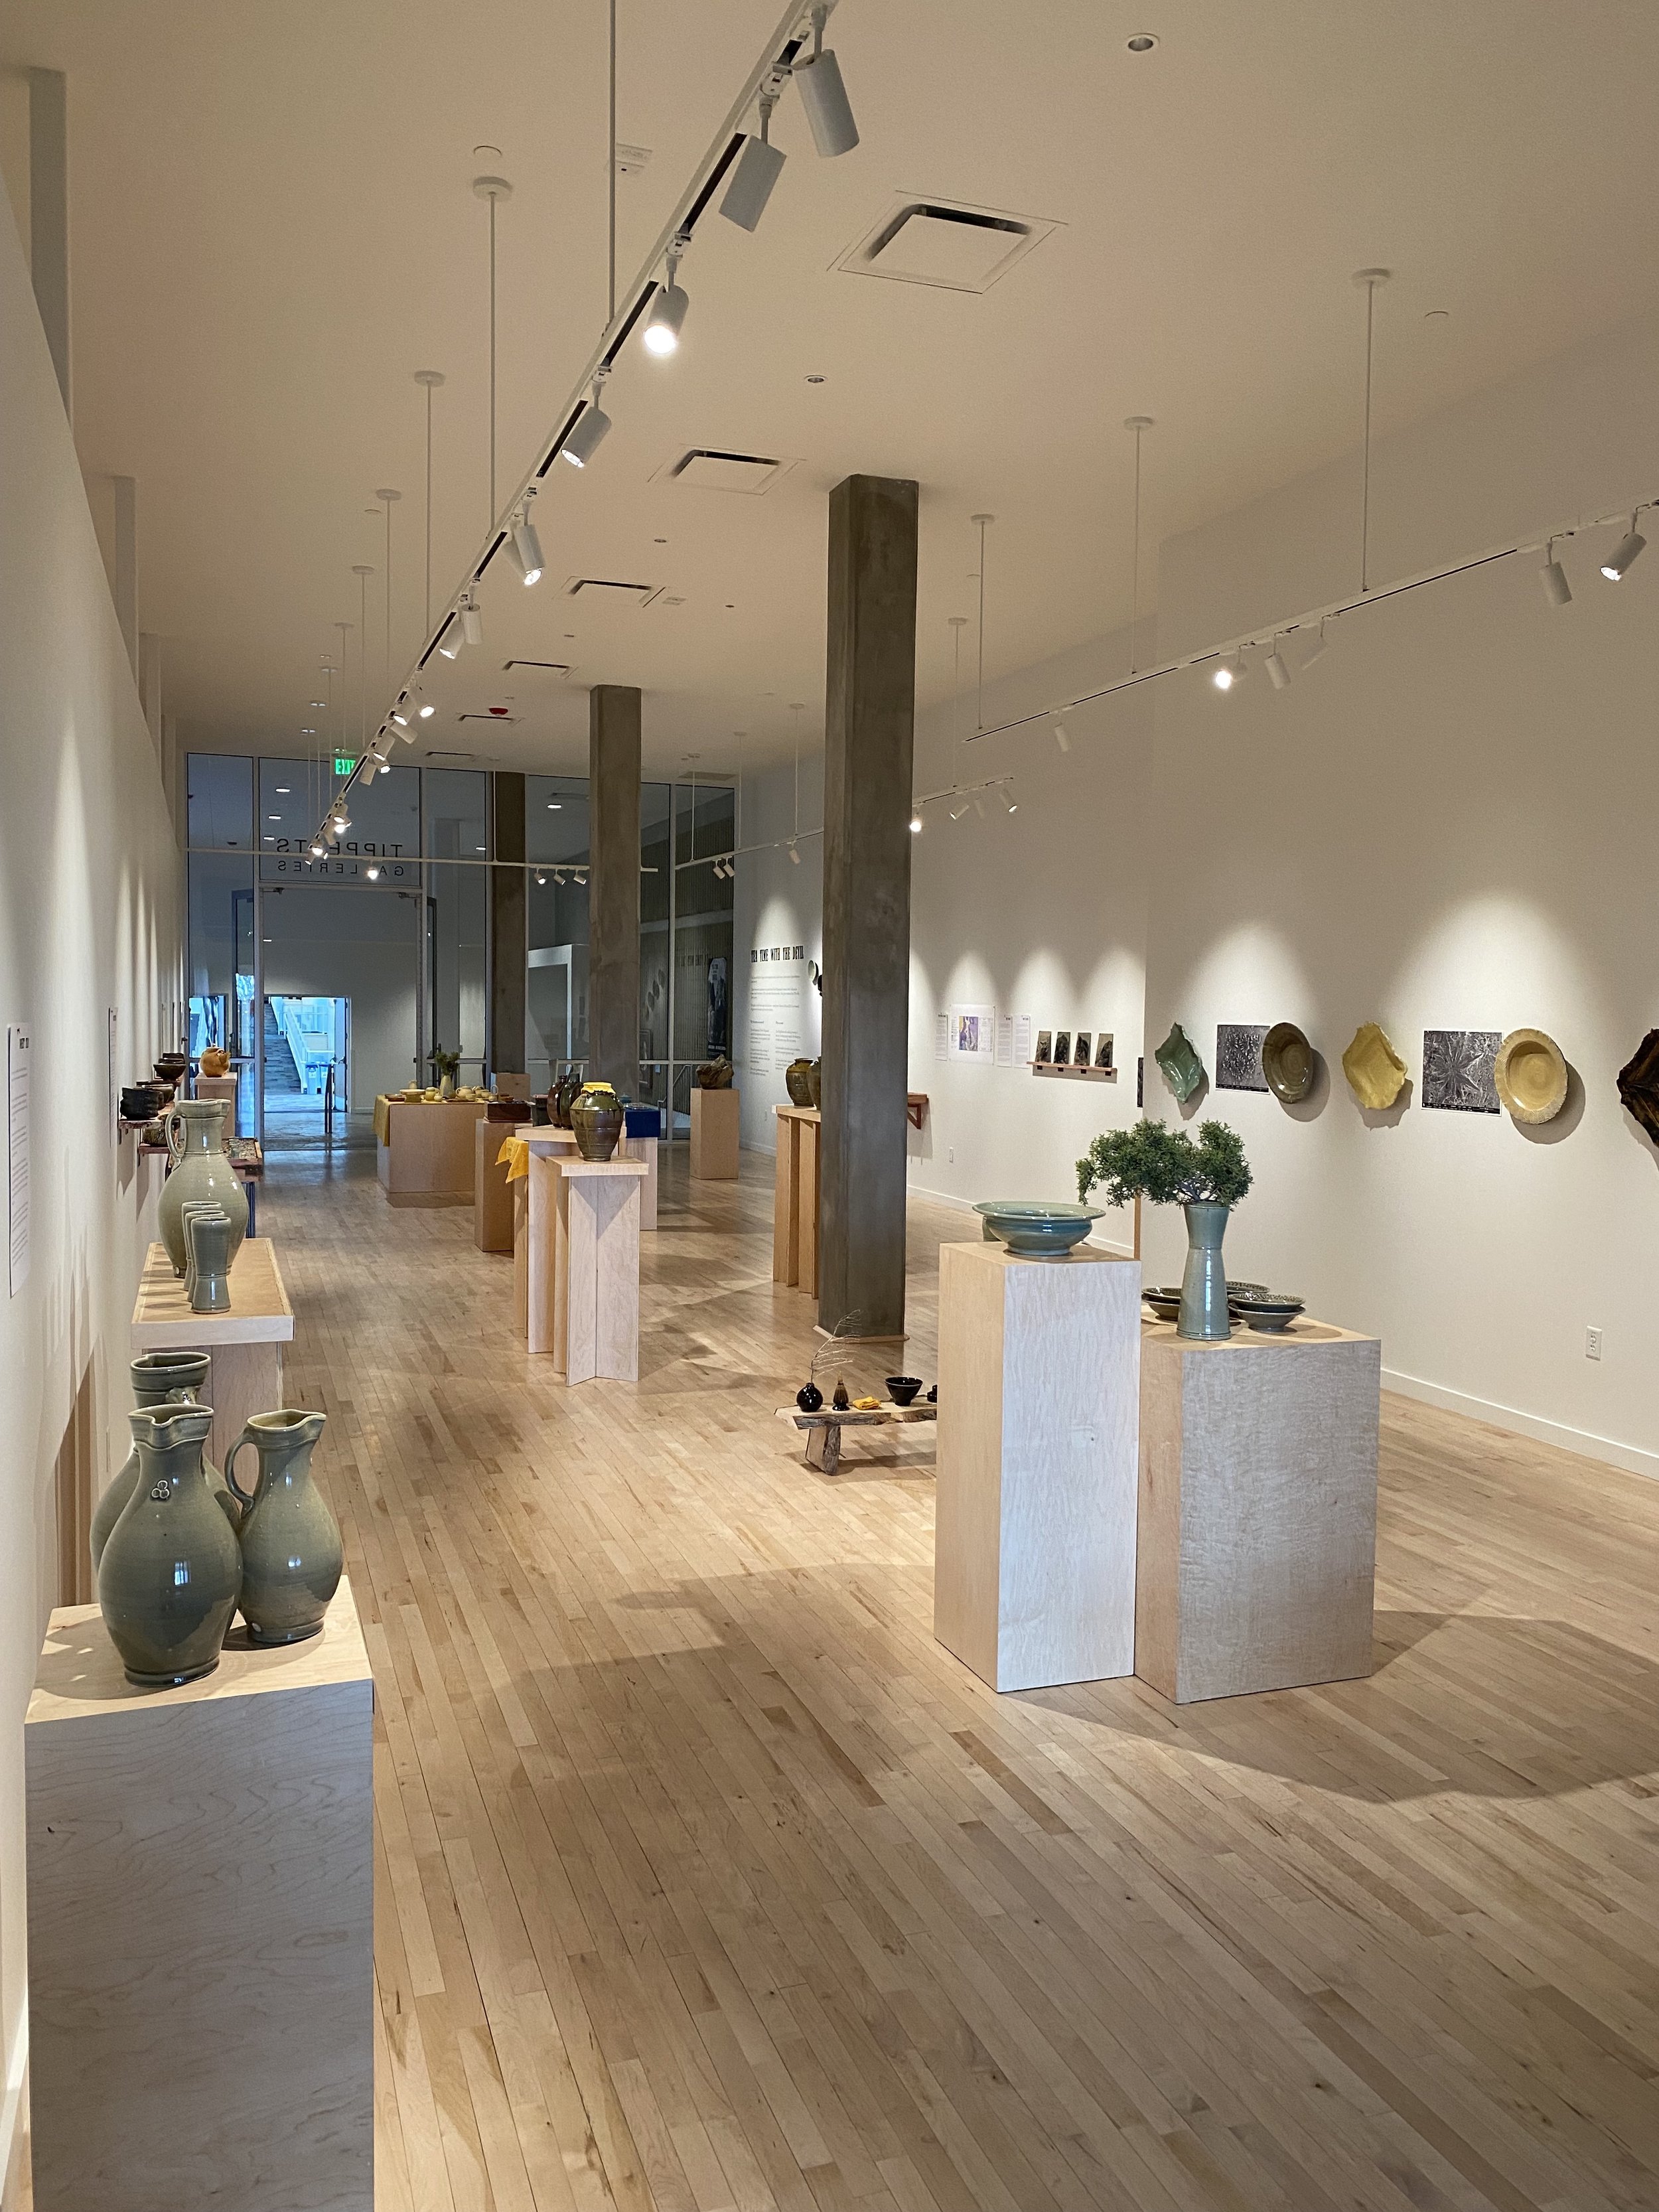
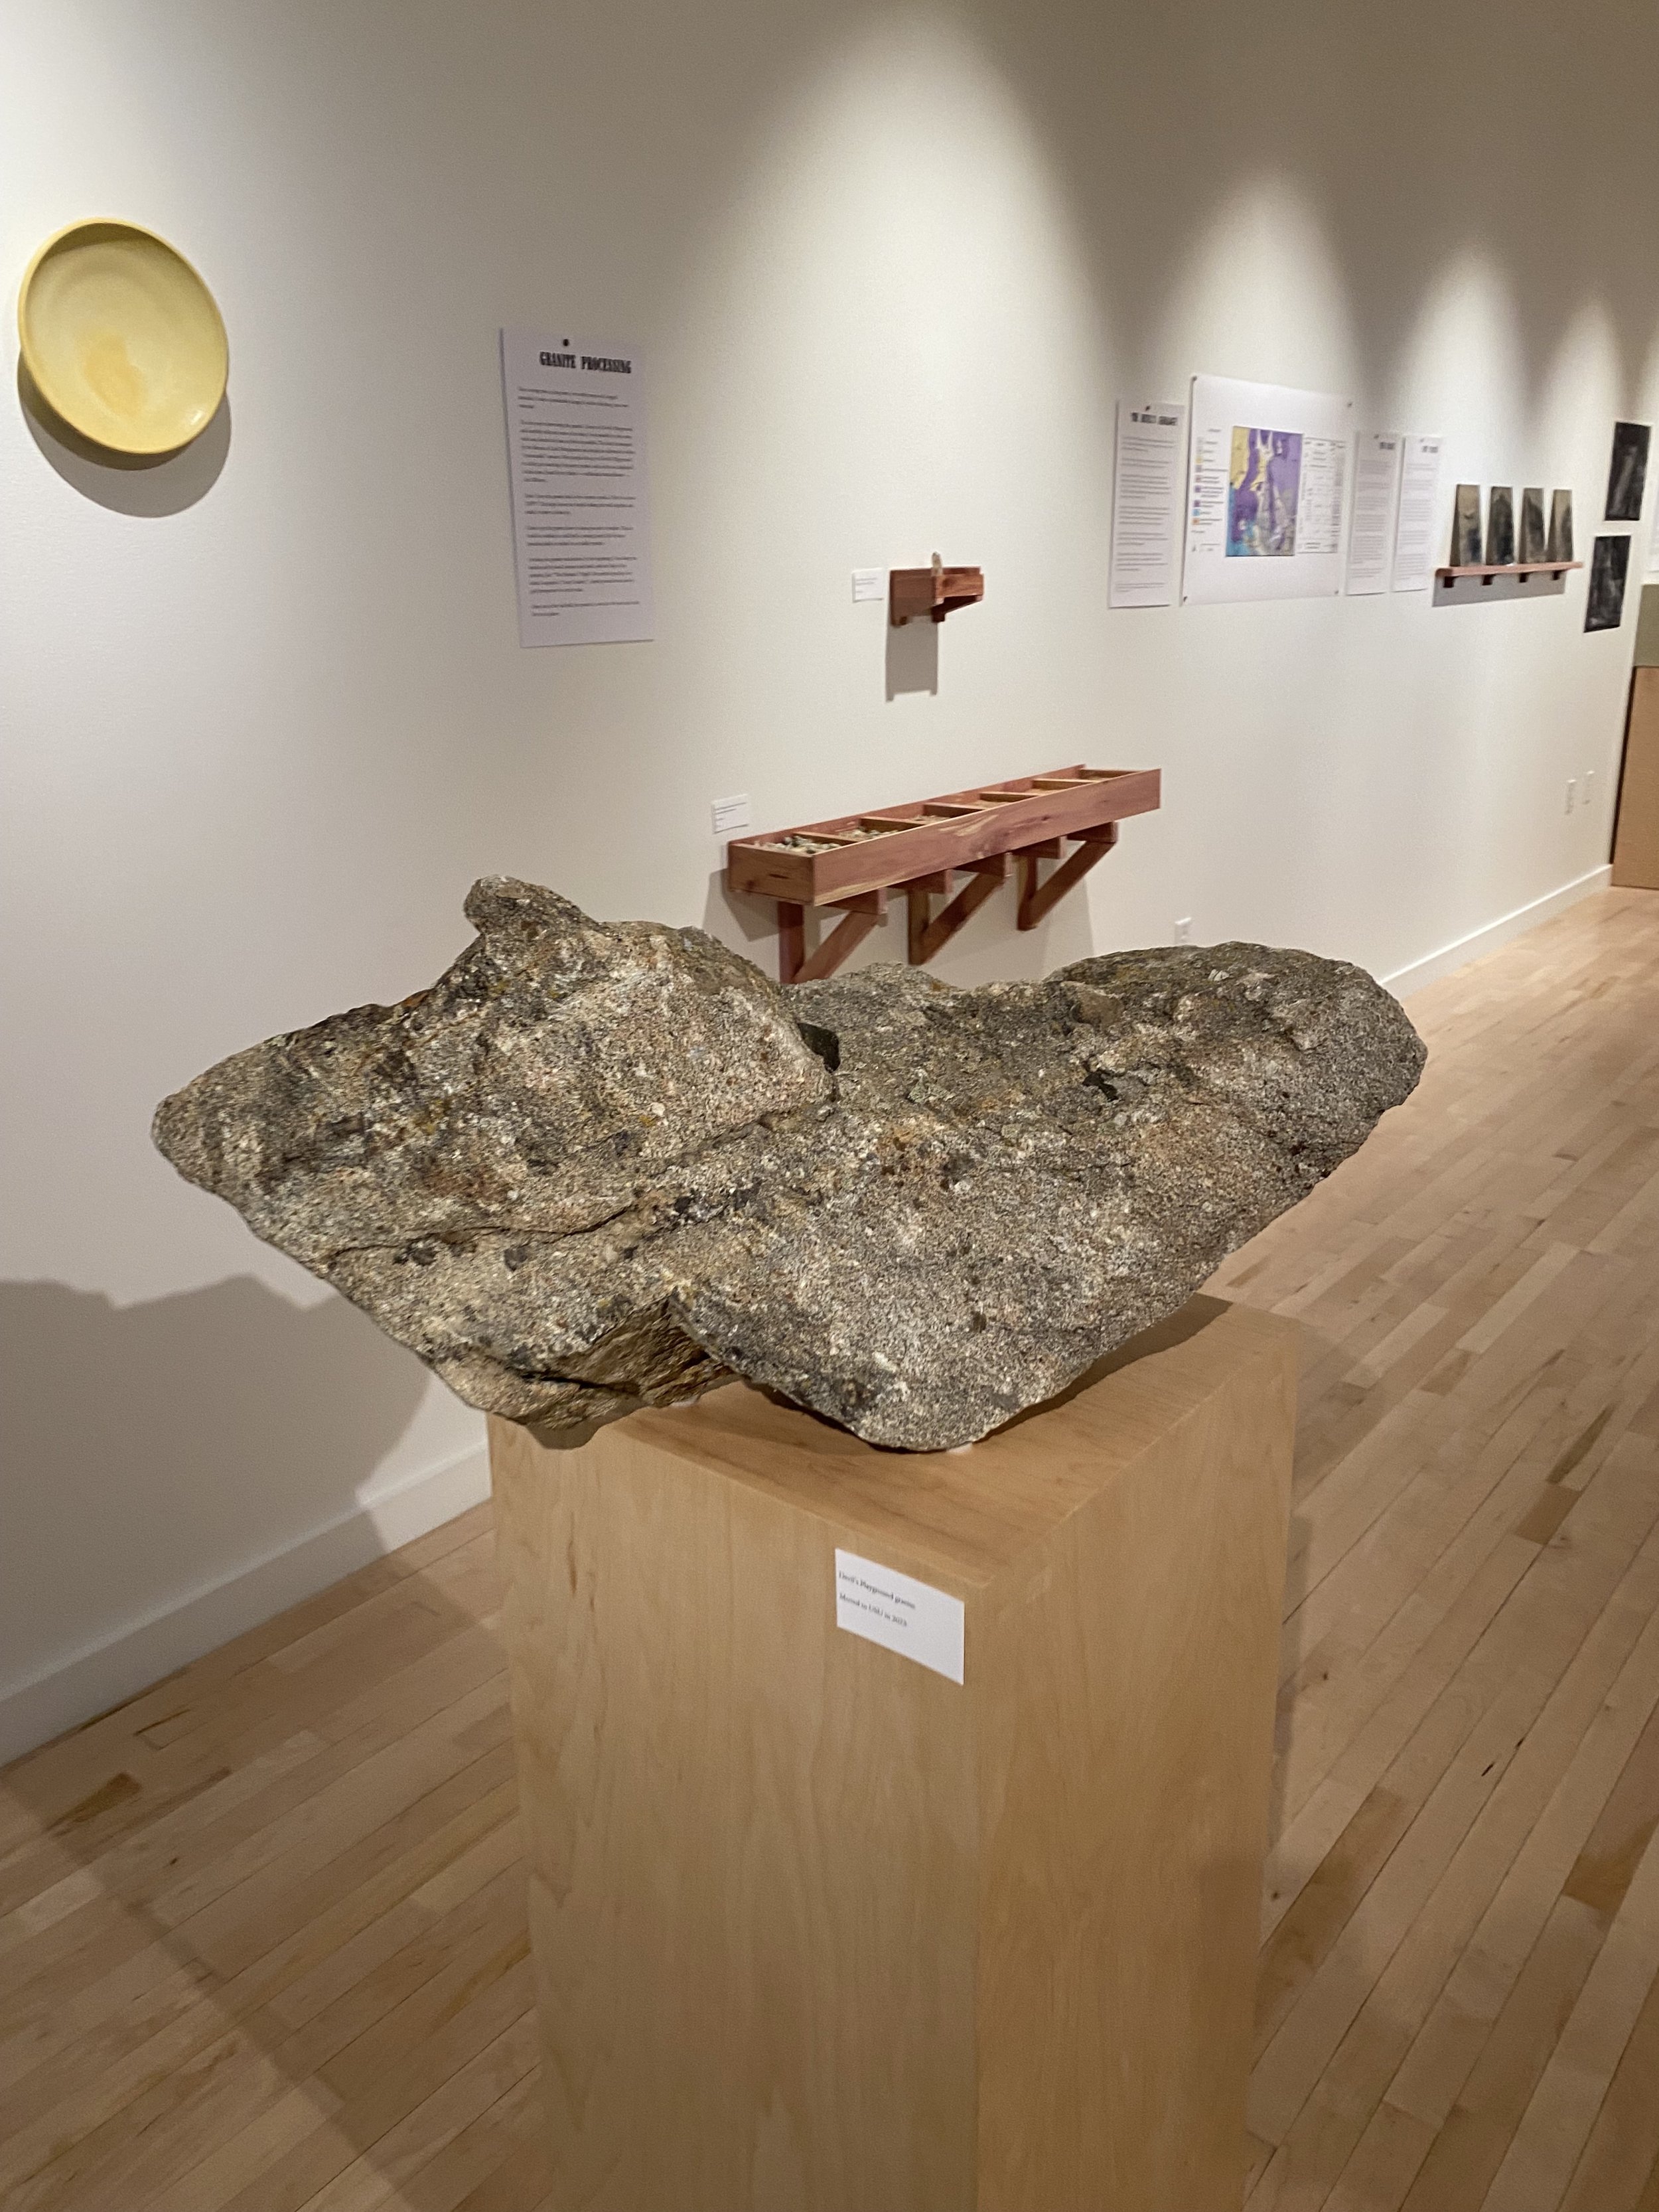
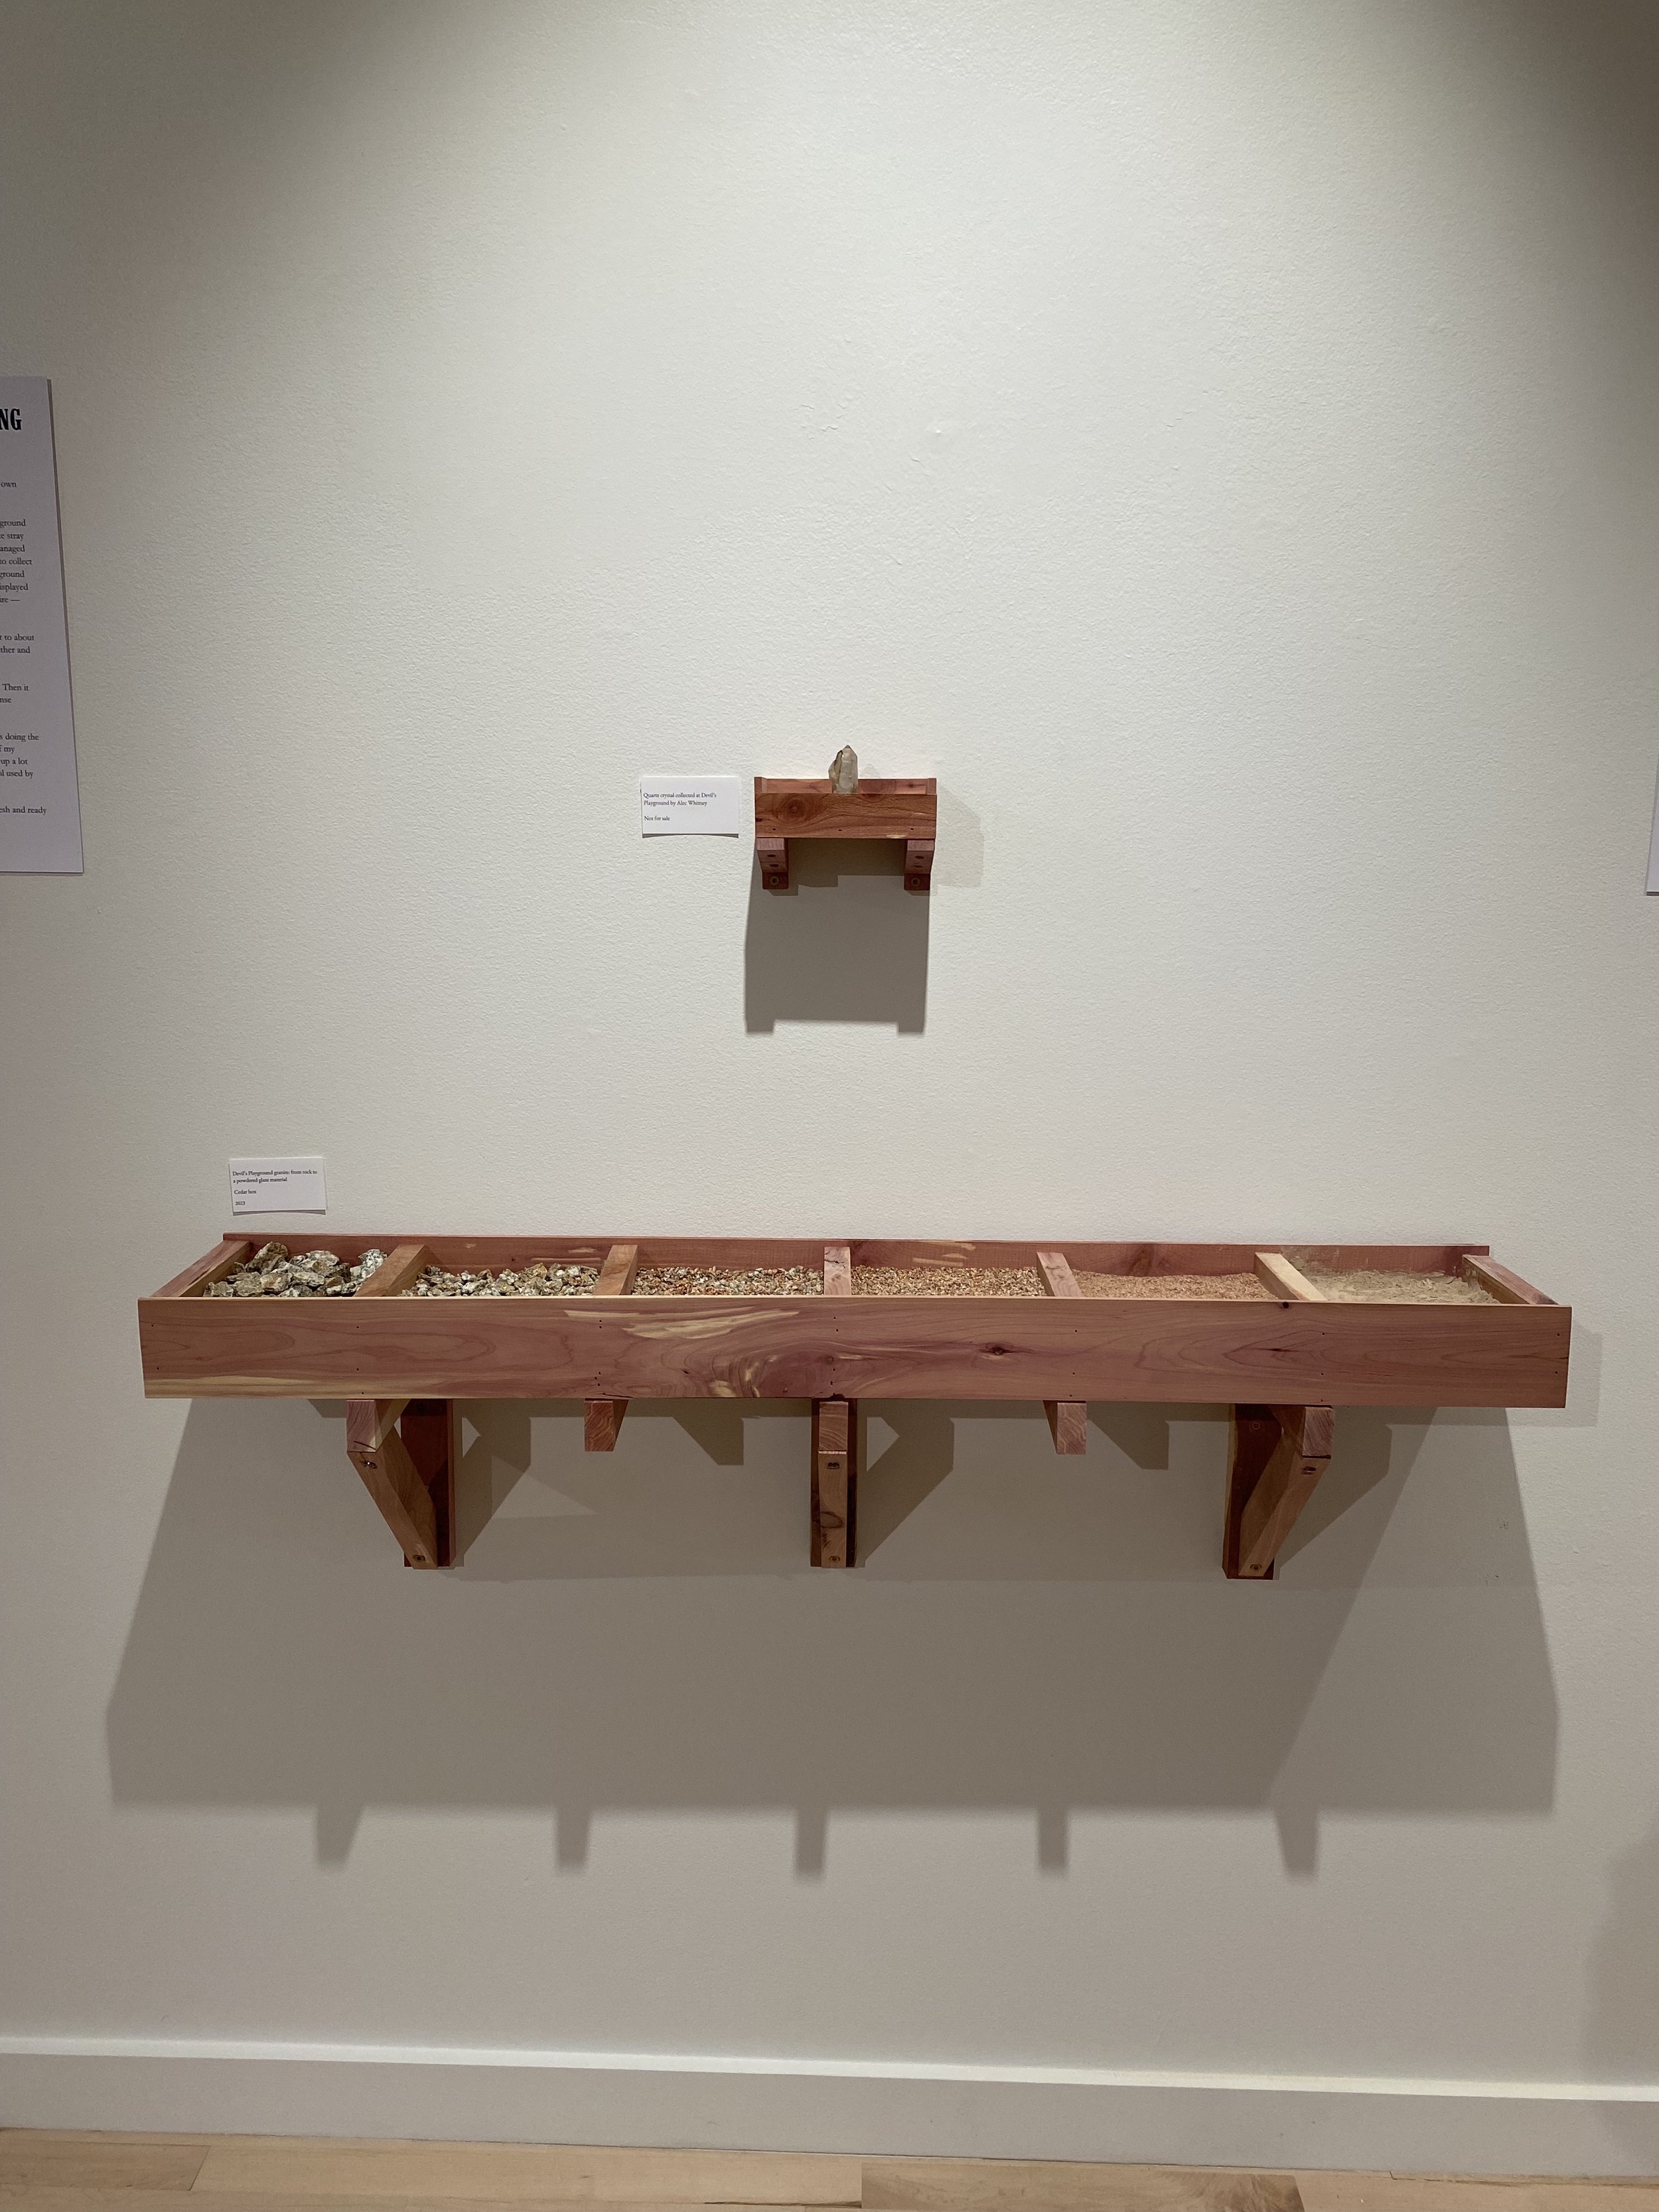
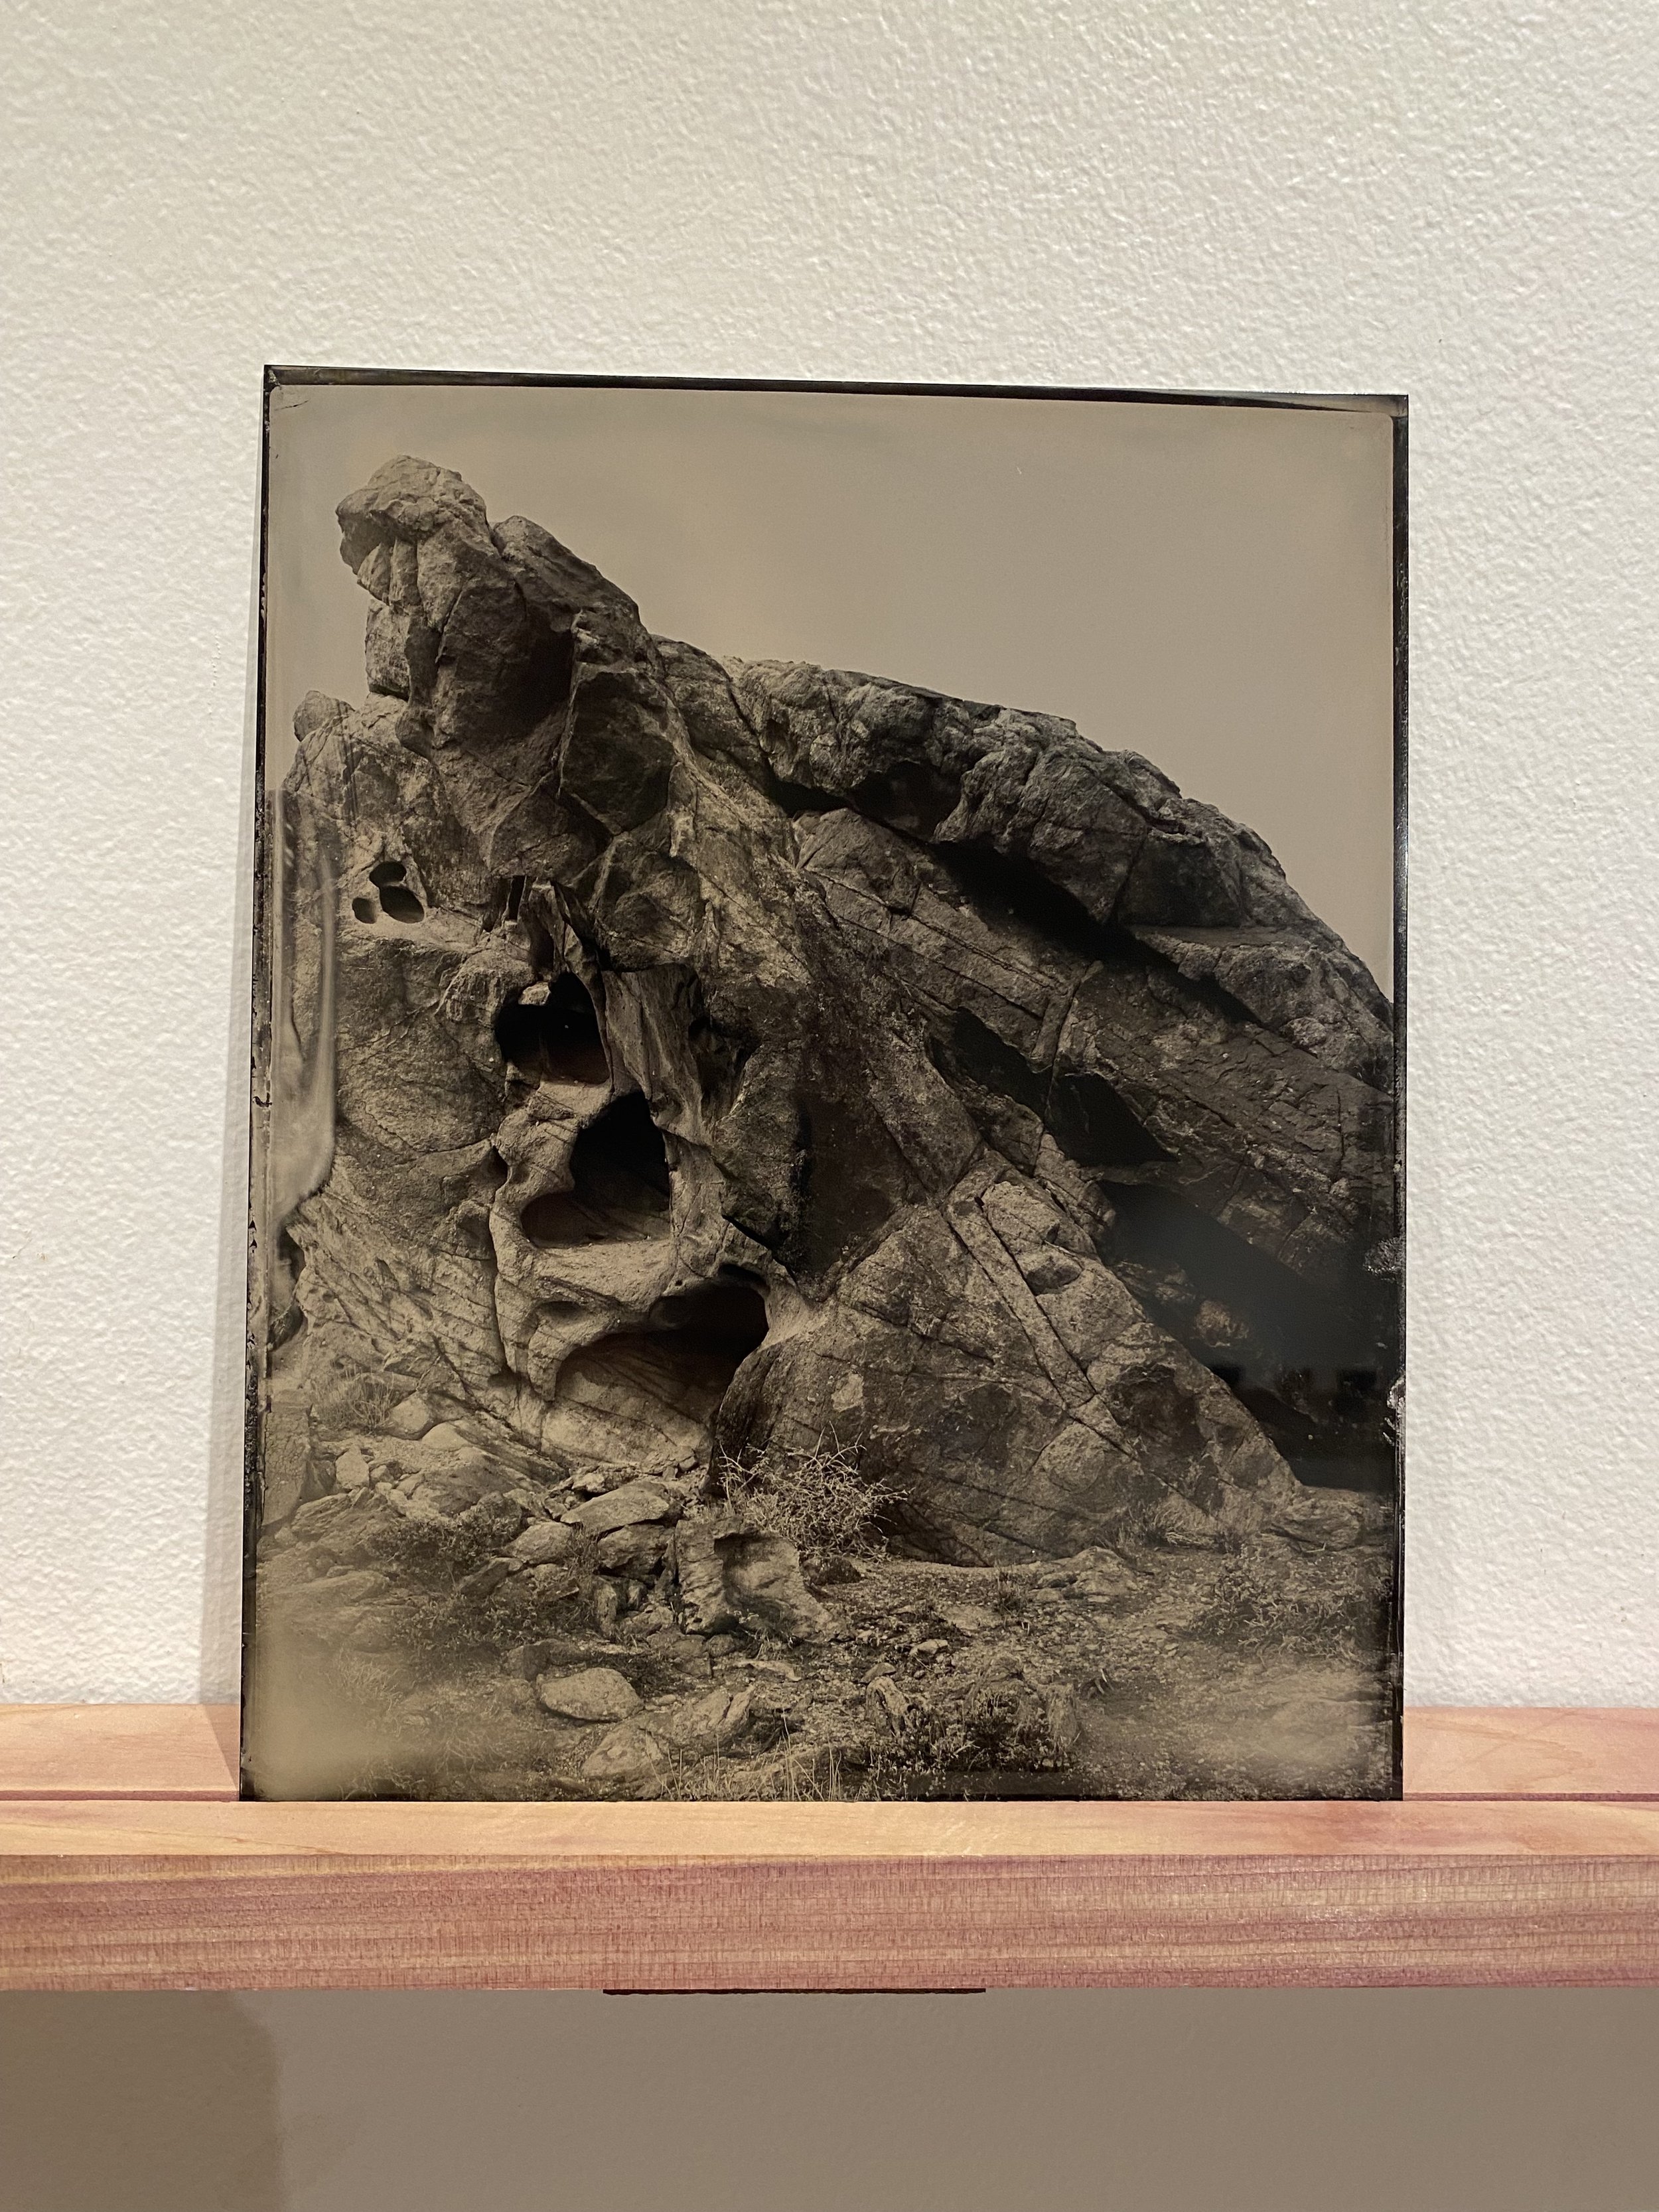
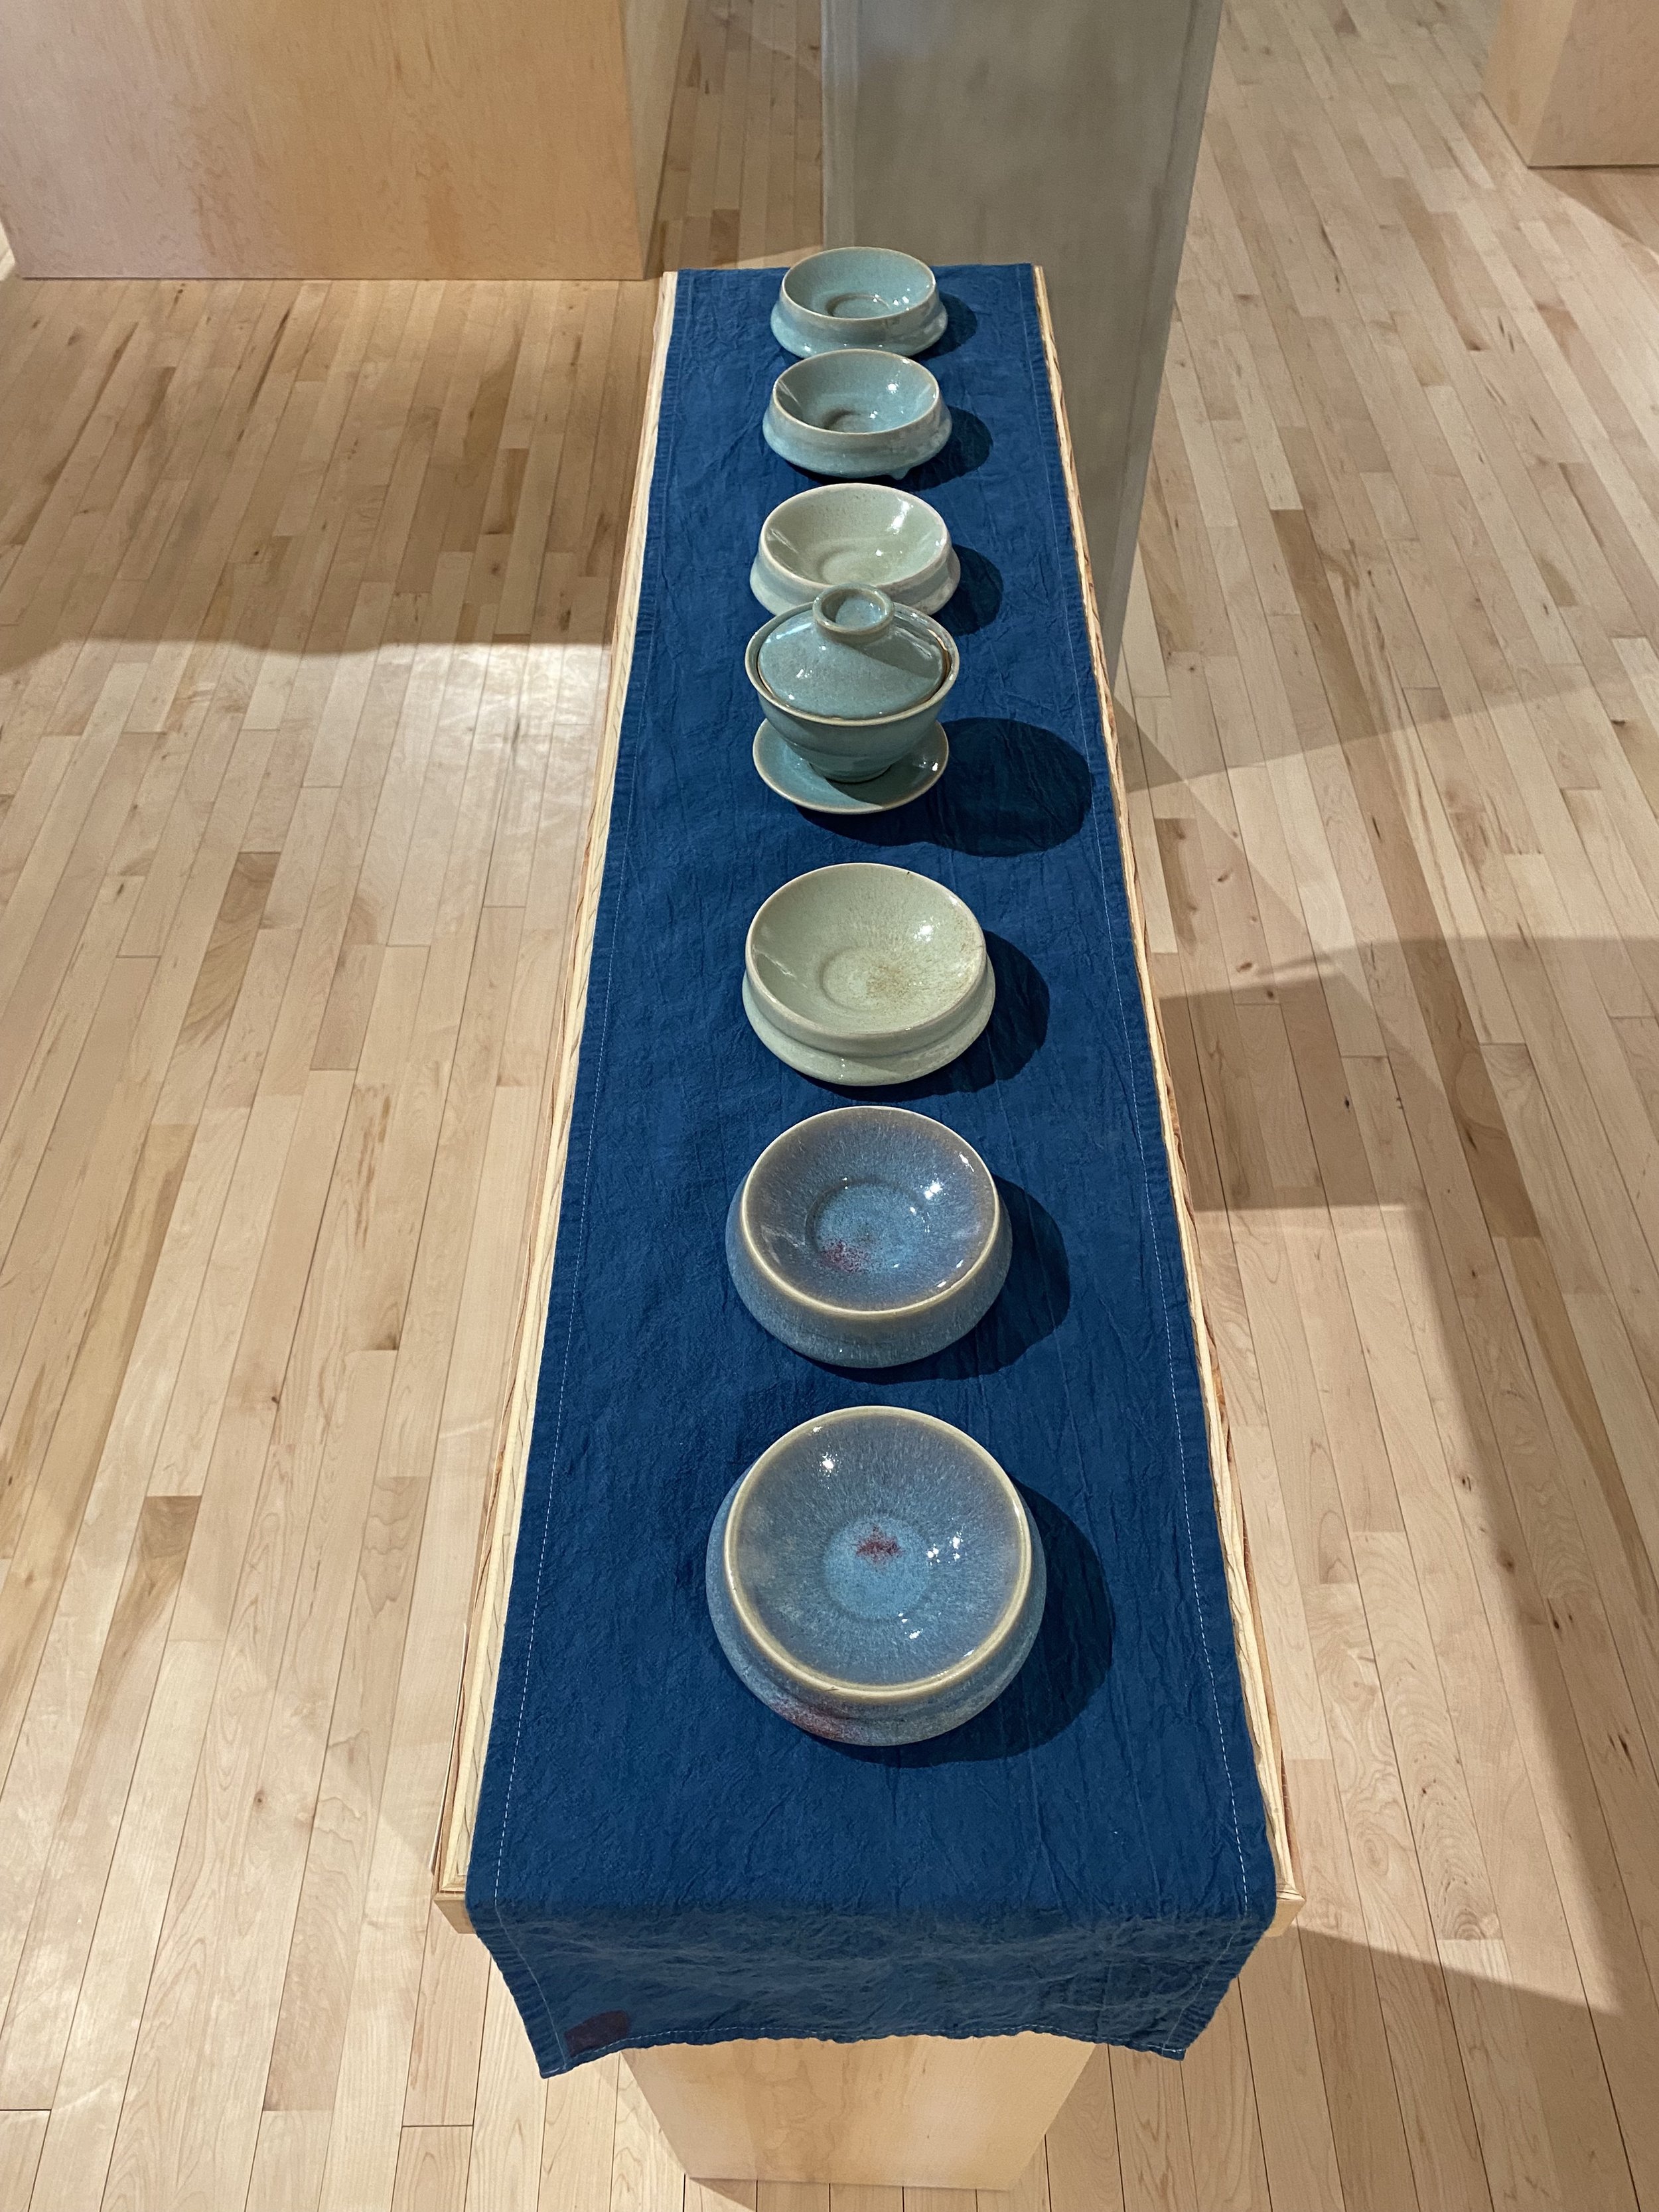
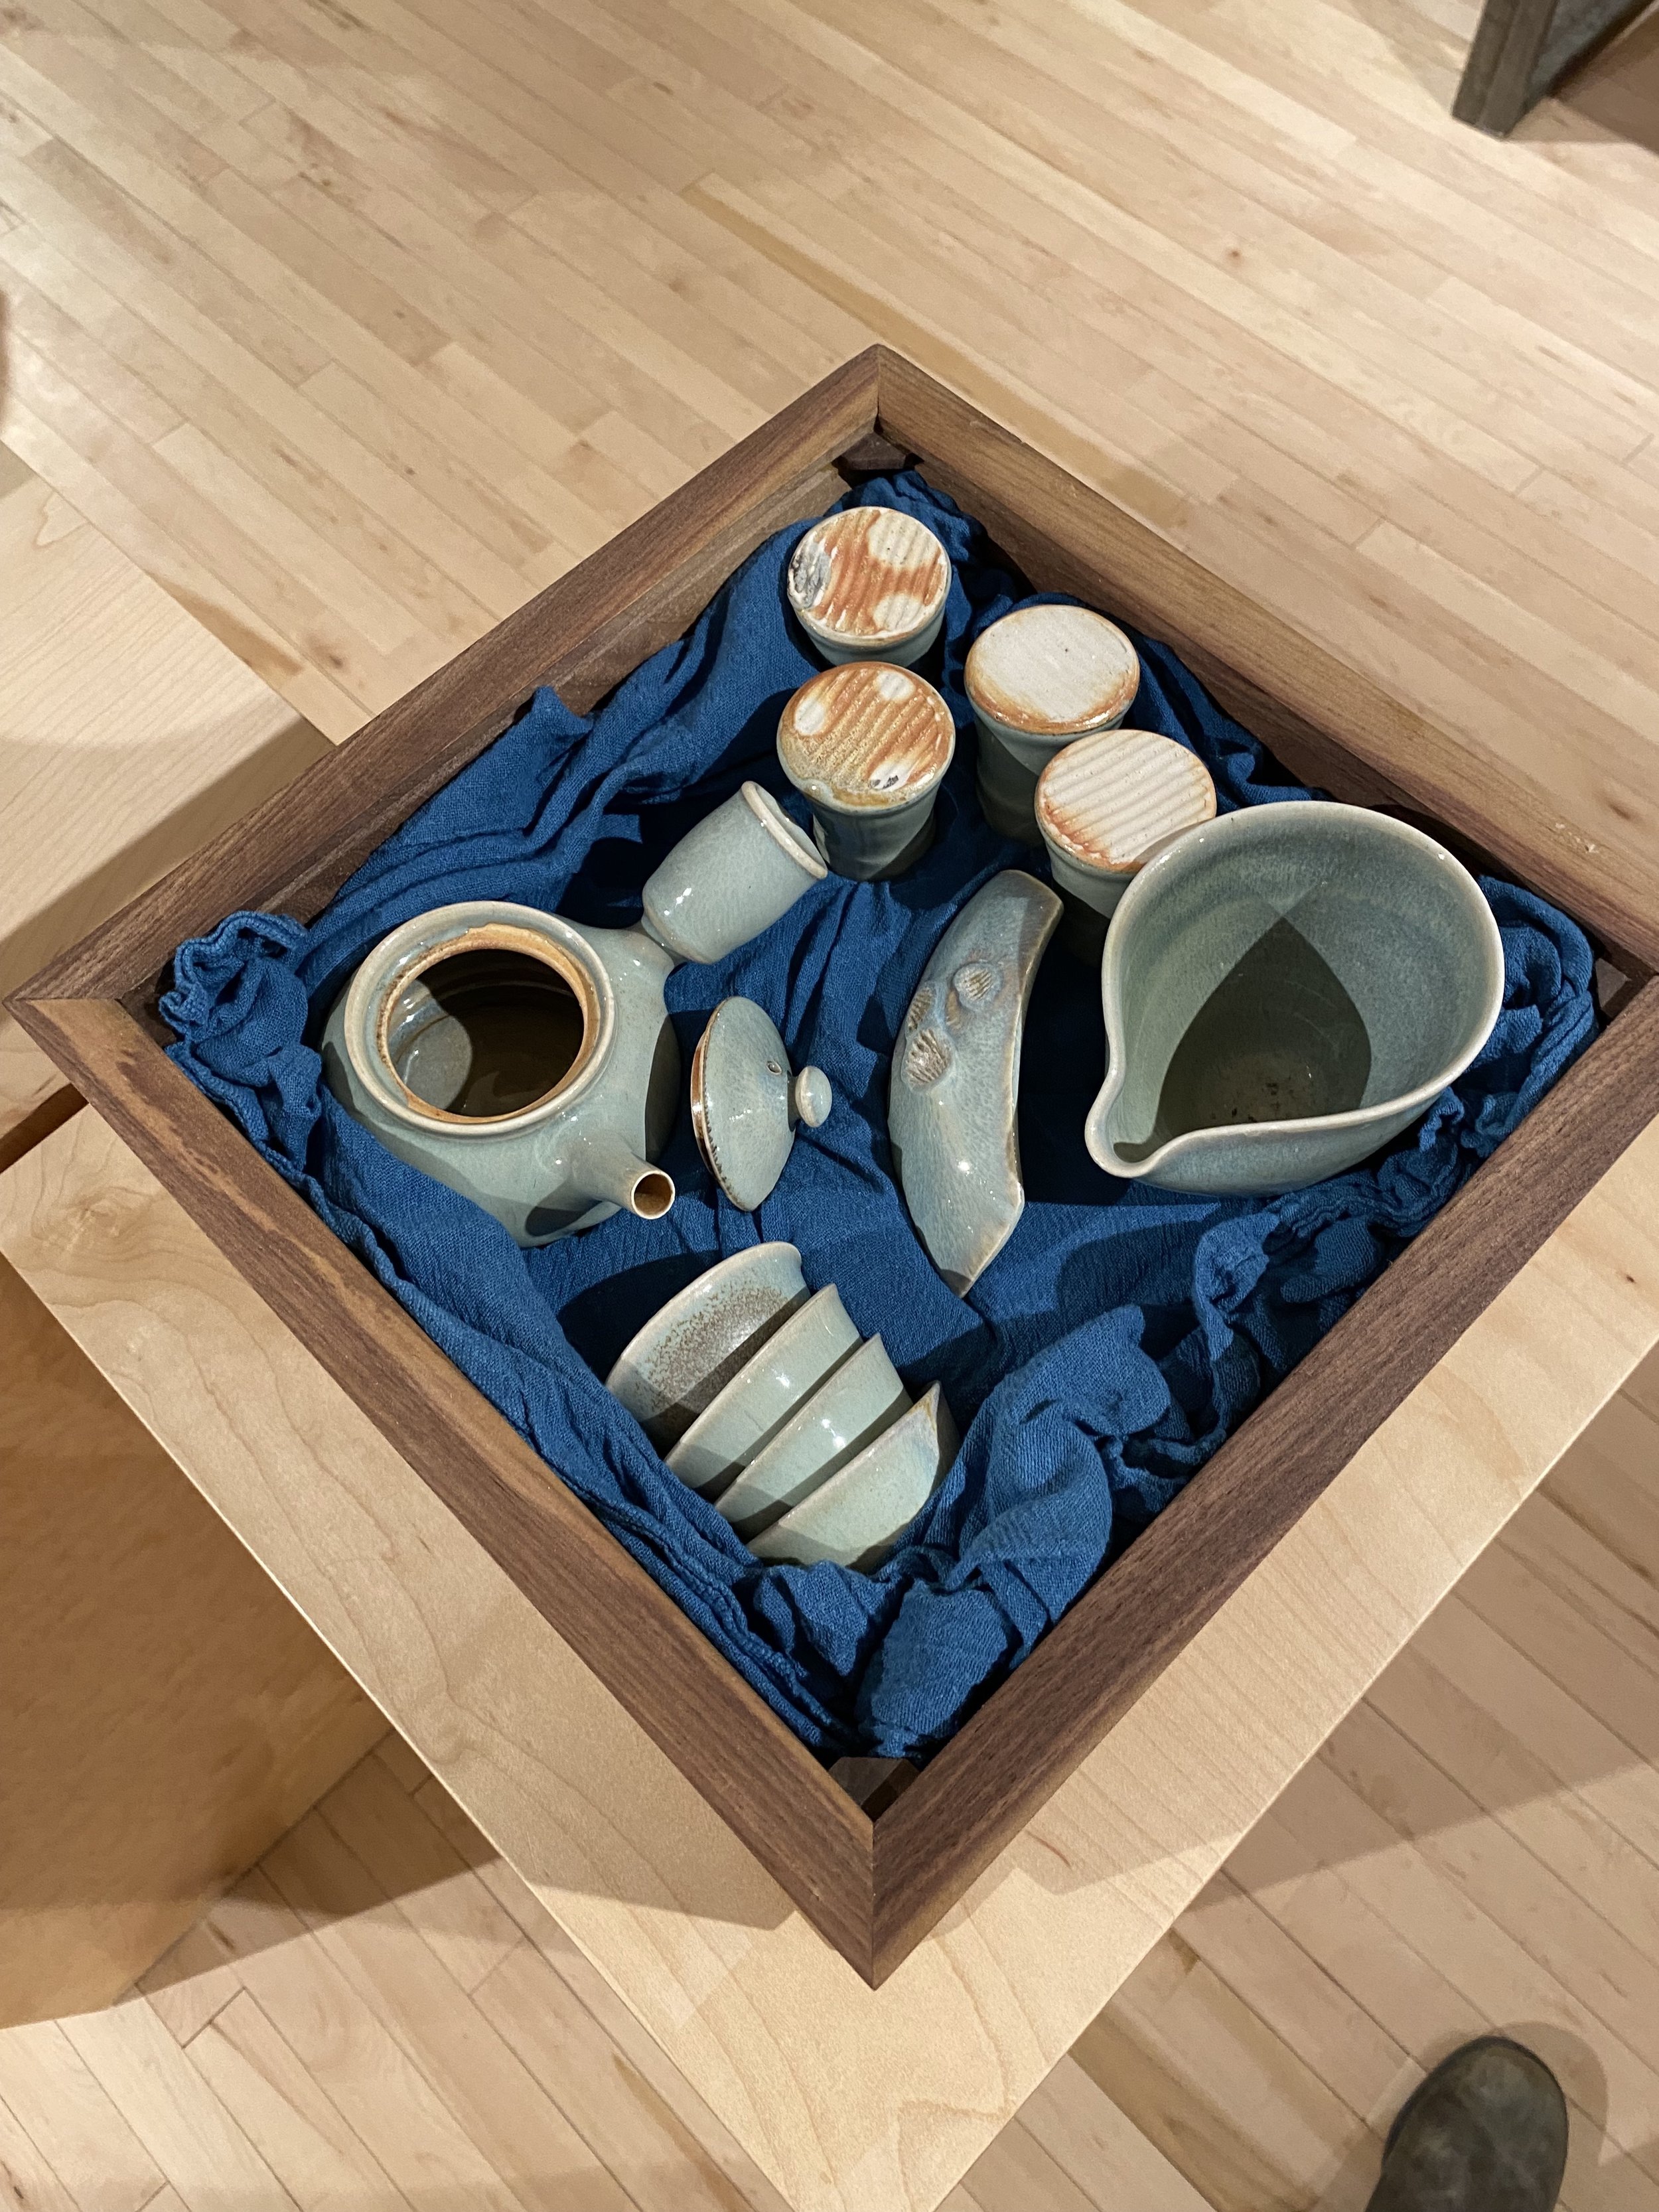
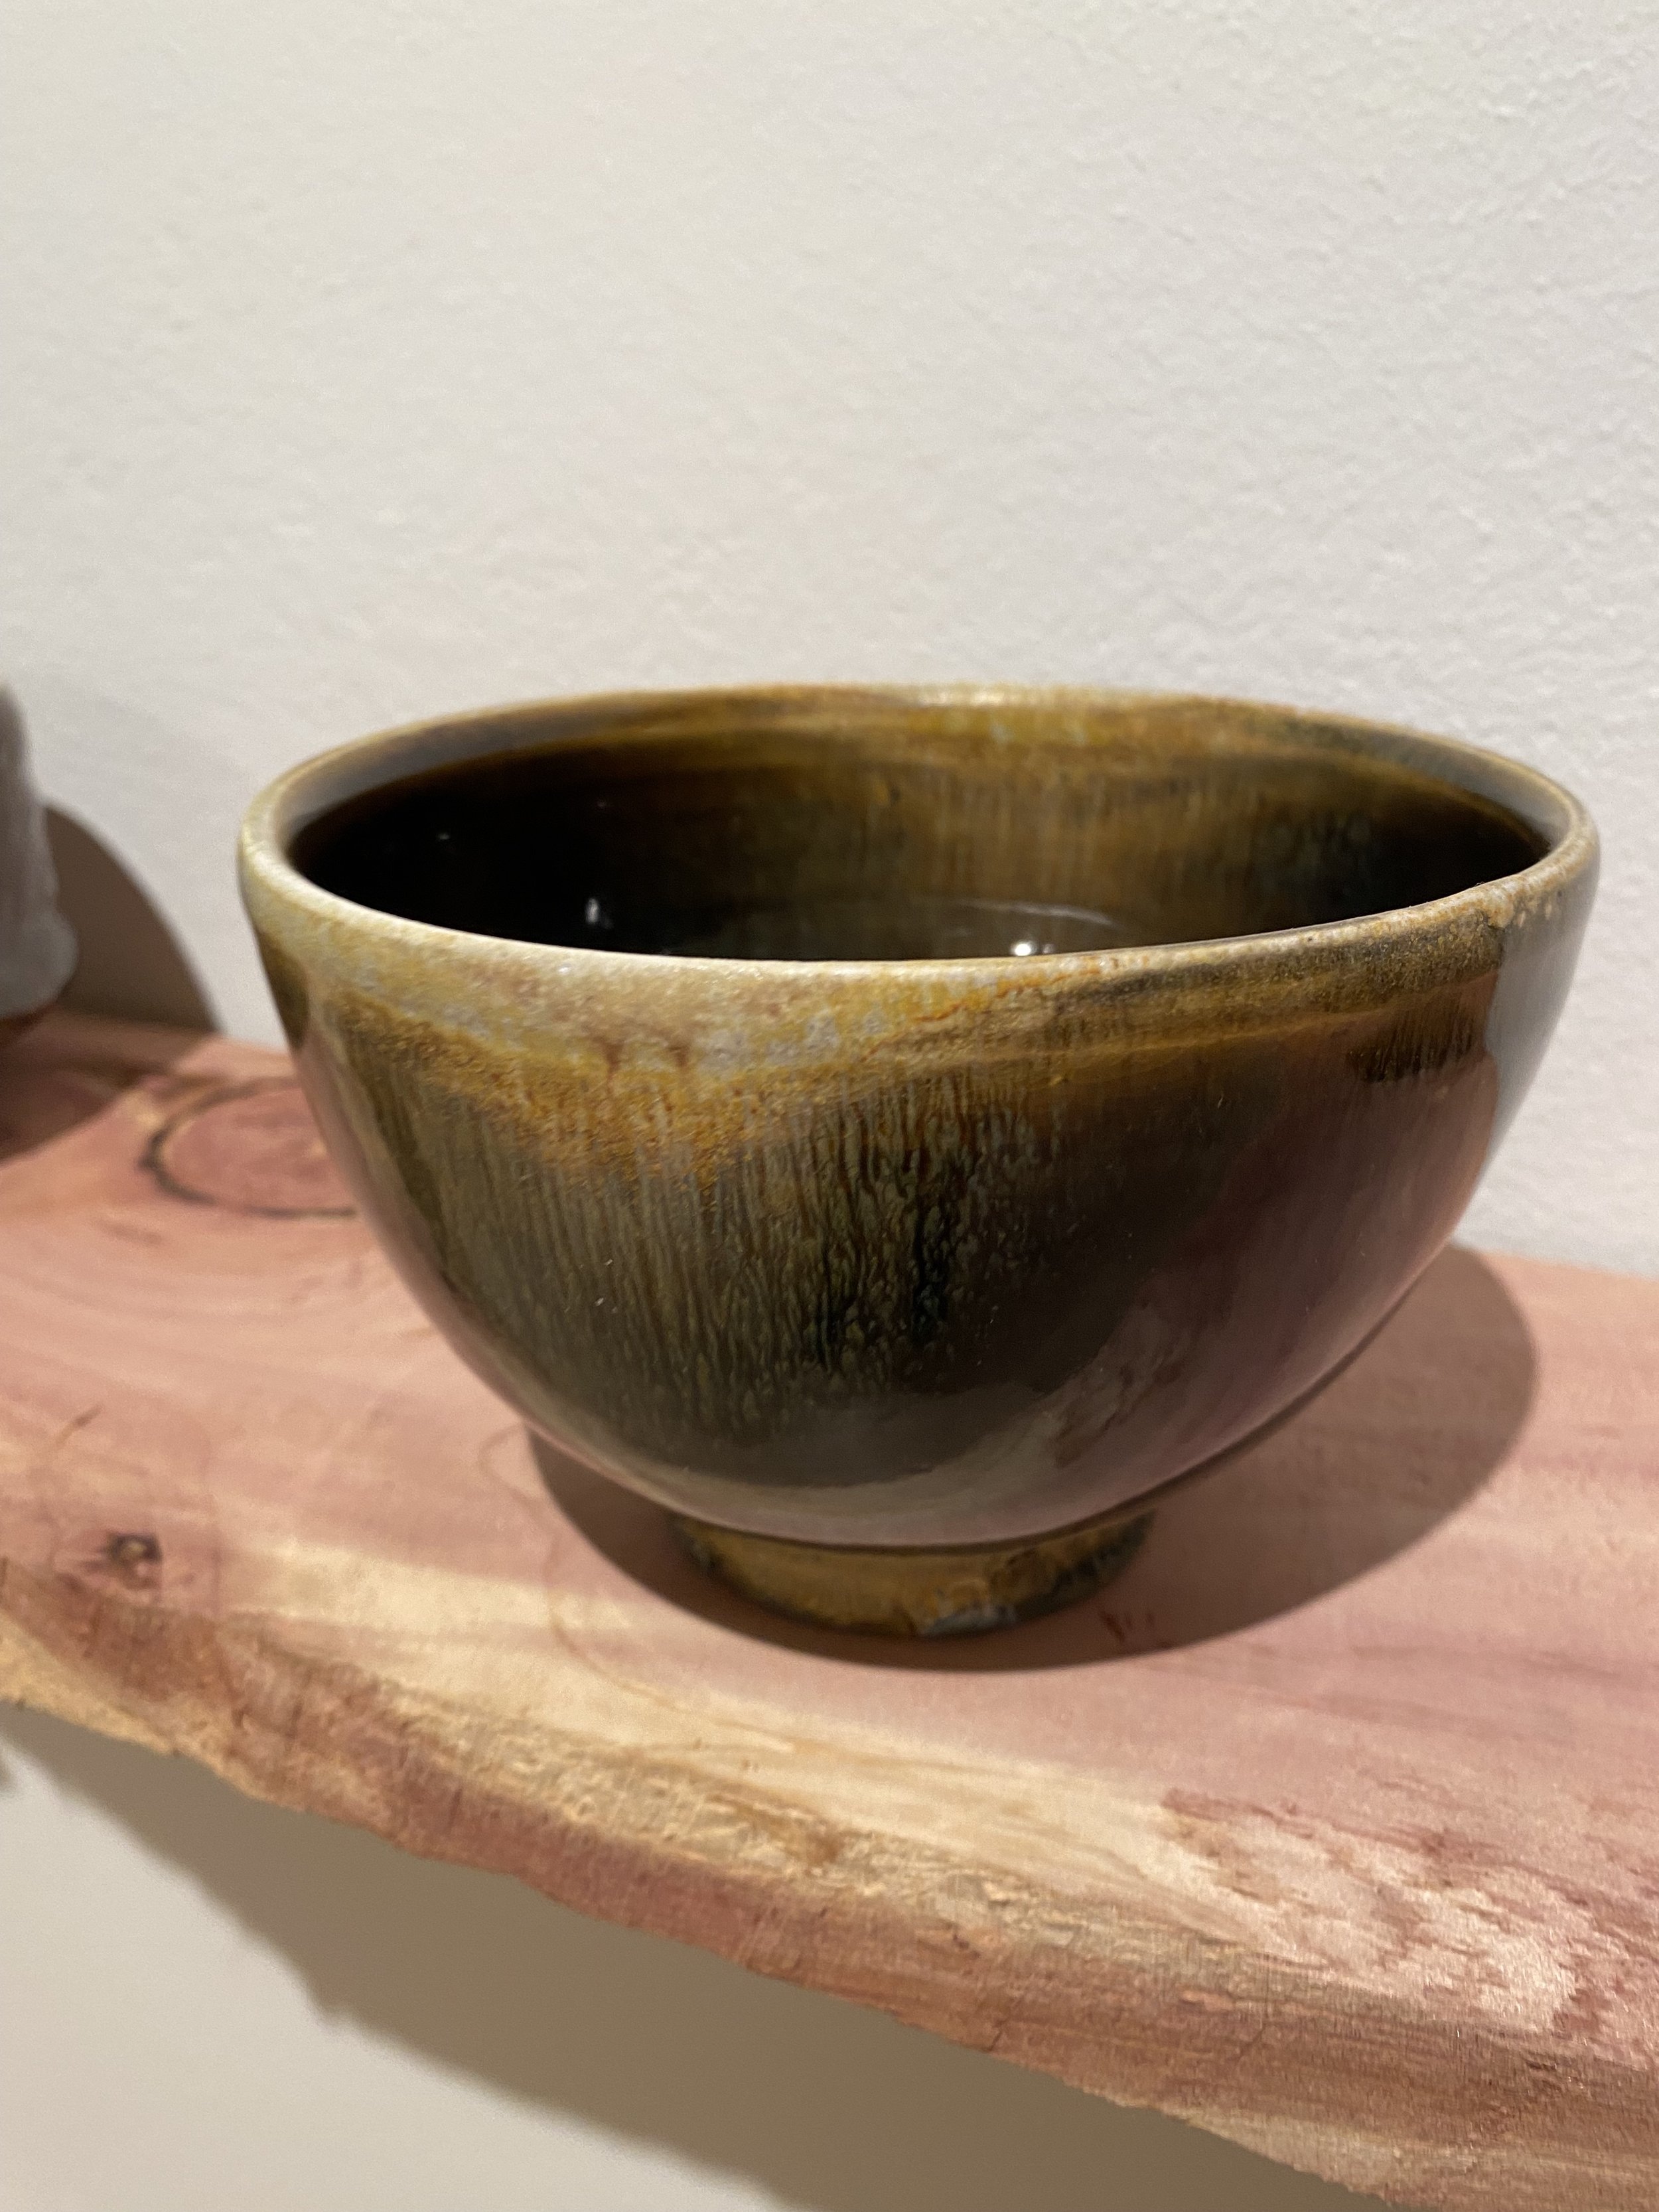
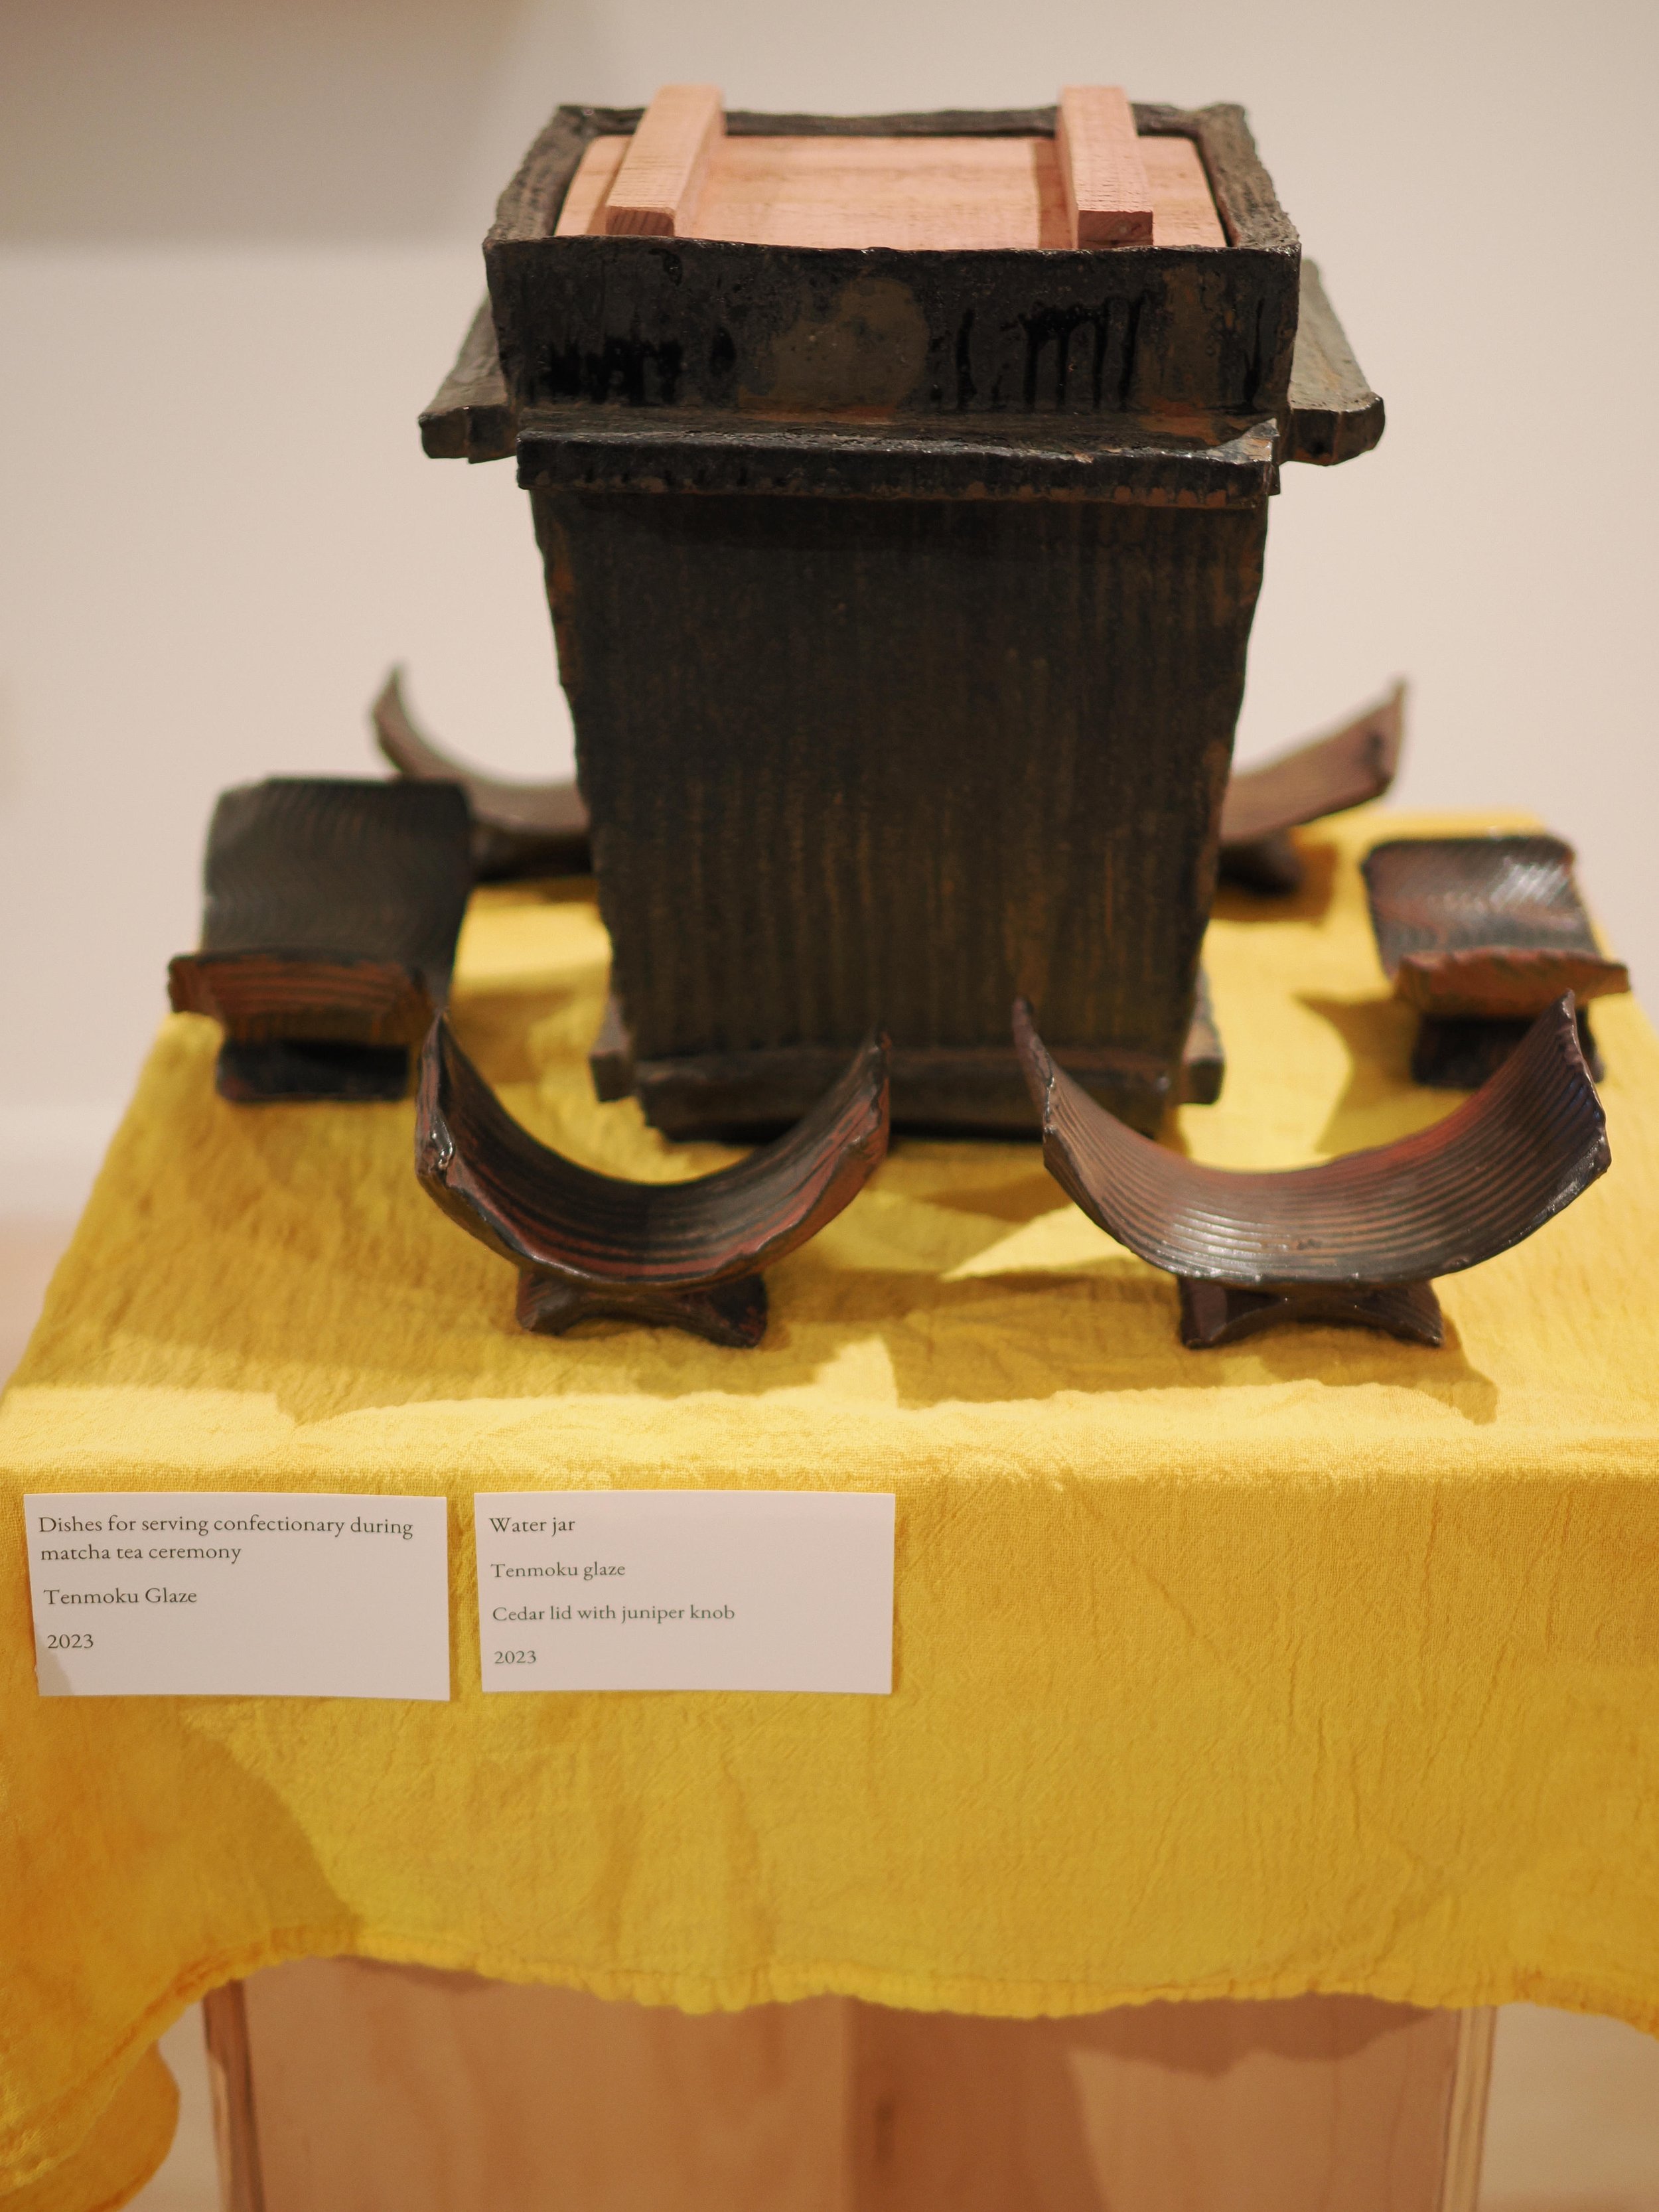
Tea Time with the Devil, Hamish Jackson MFA thesis show, USU, April 2023
This blog post is my attempt to let you visit my MFA show from afar!
I do not need to make a lengthy introduction, but just want to say thank you to everyone who made this show a reality. So many people helped me, but none more so than Lauren, my wife. I am proud of this exhibition. It was a ton of work but it came together better than I dared hope.
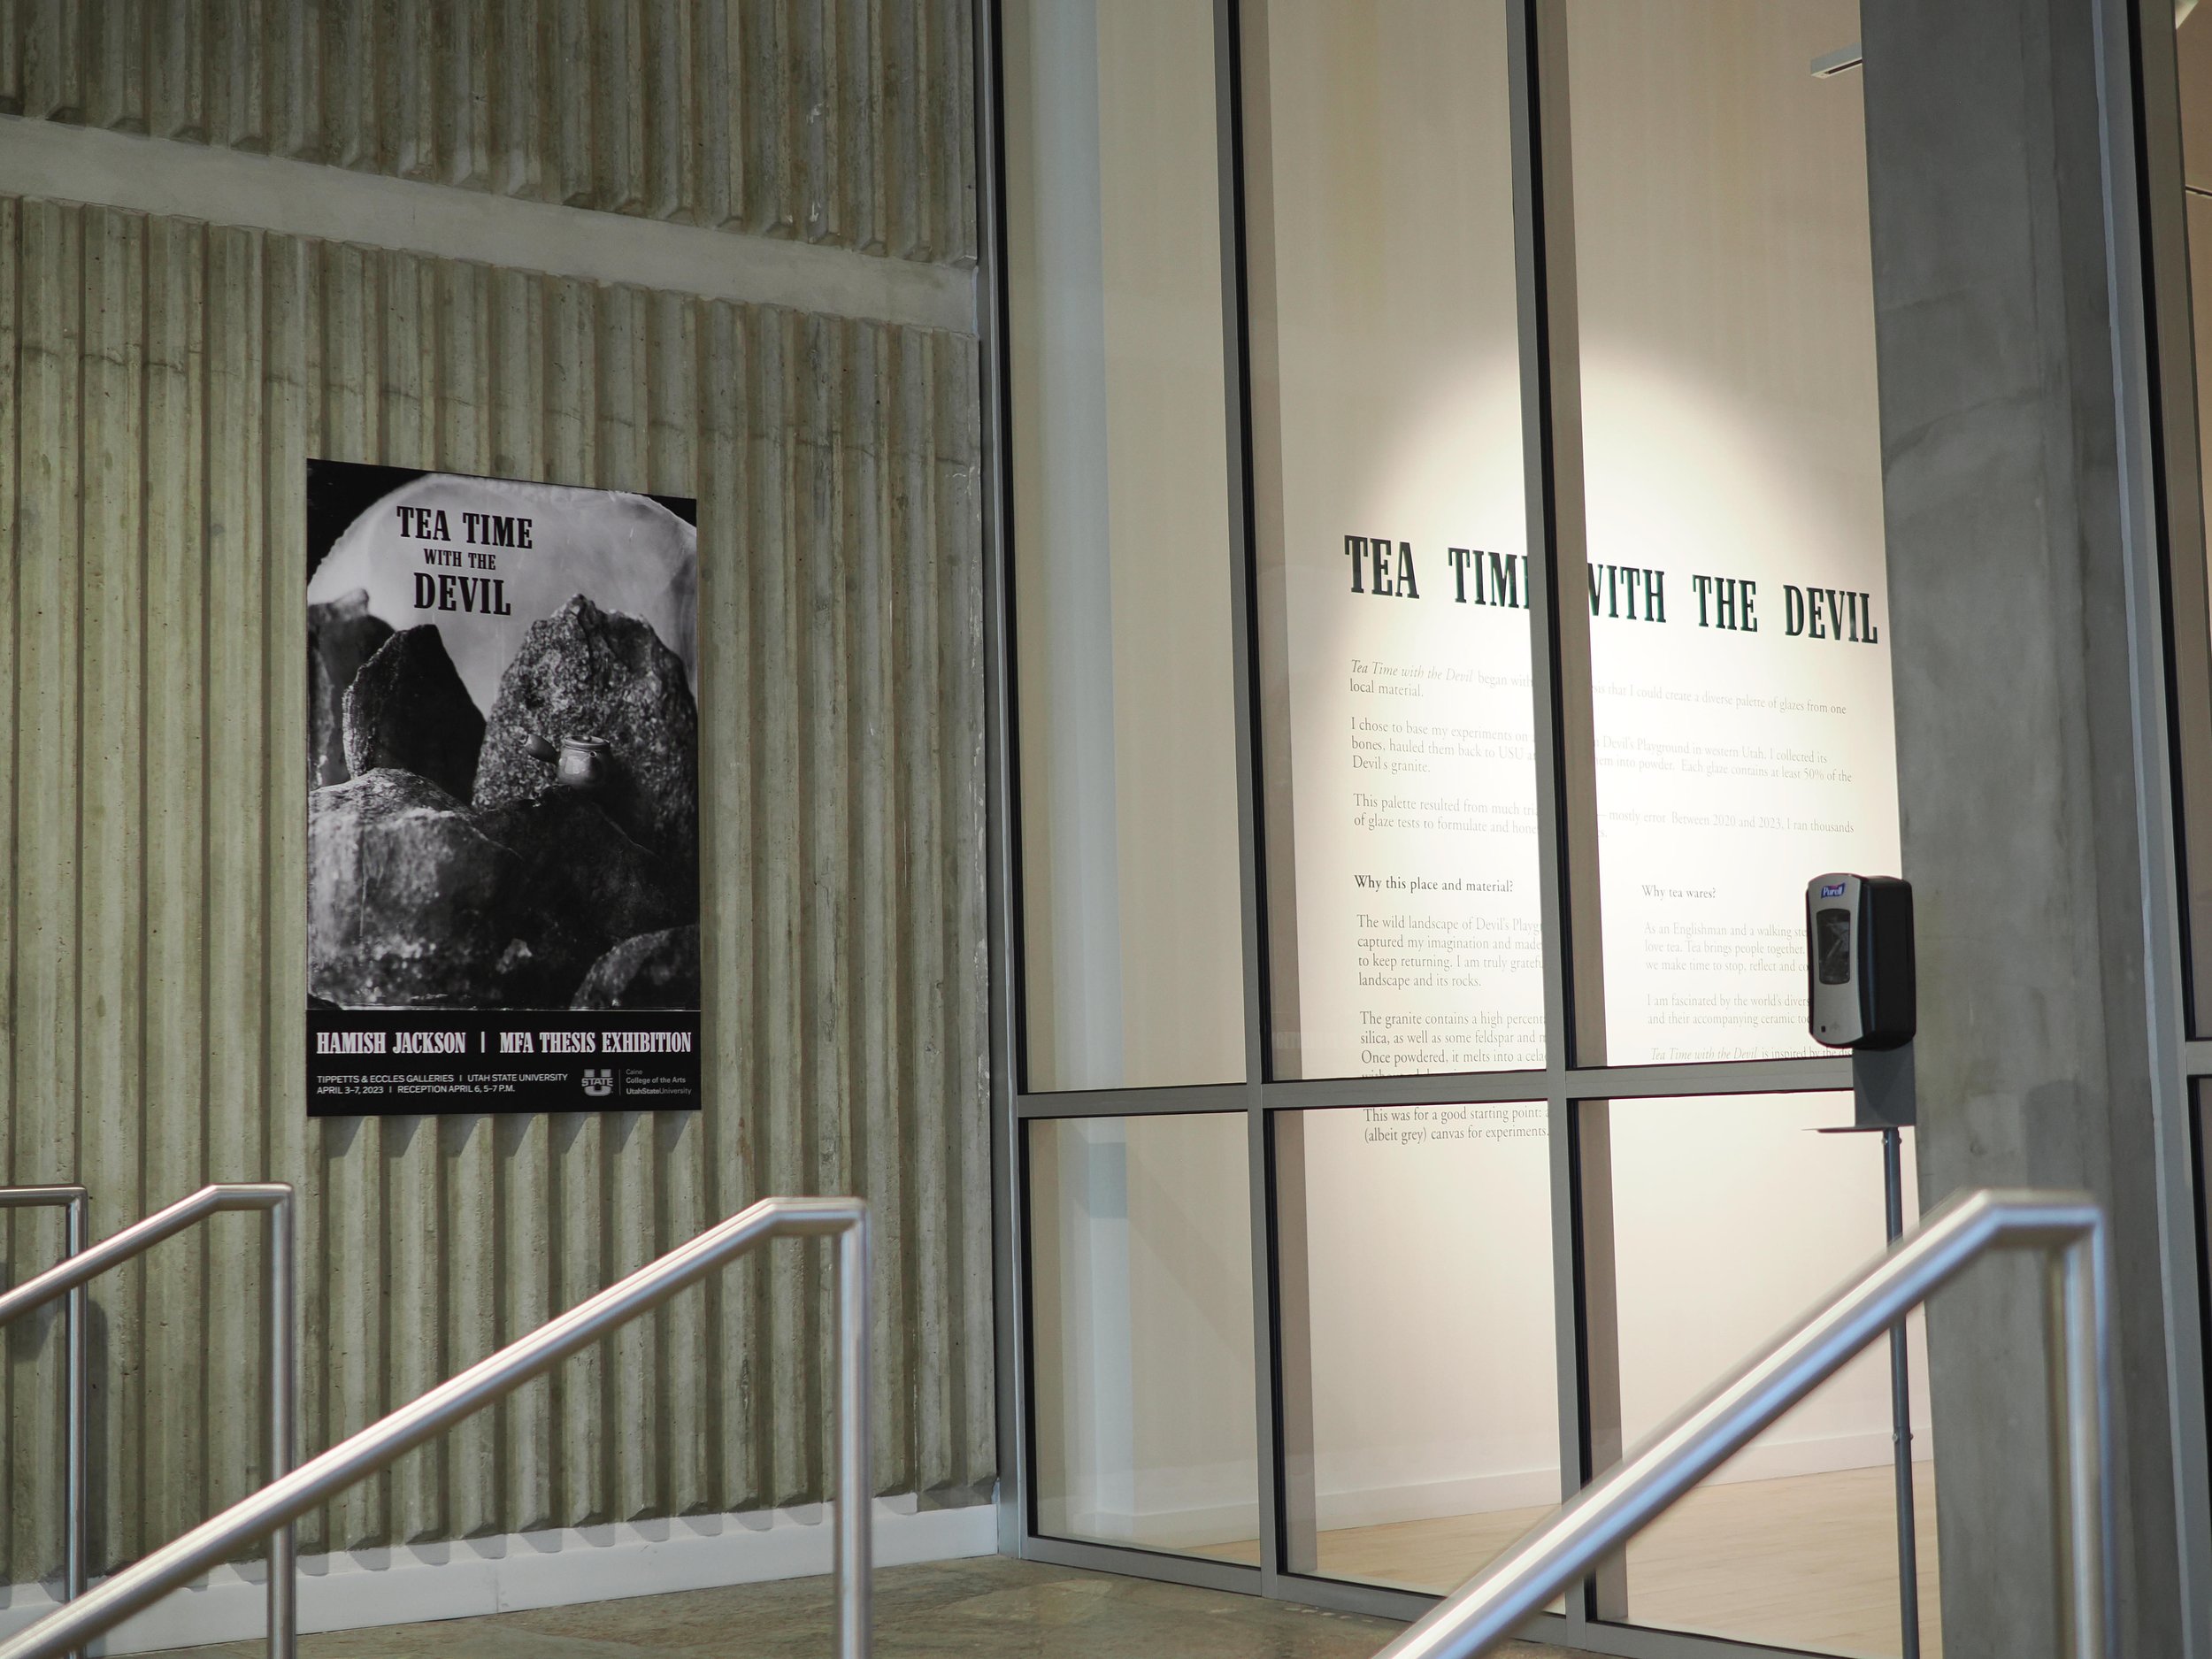
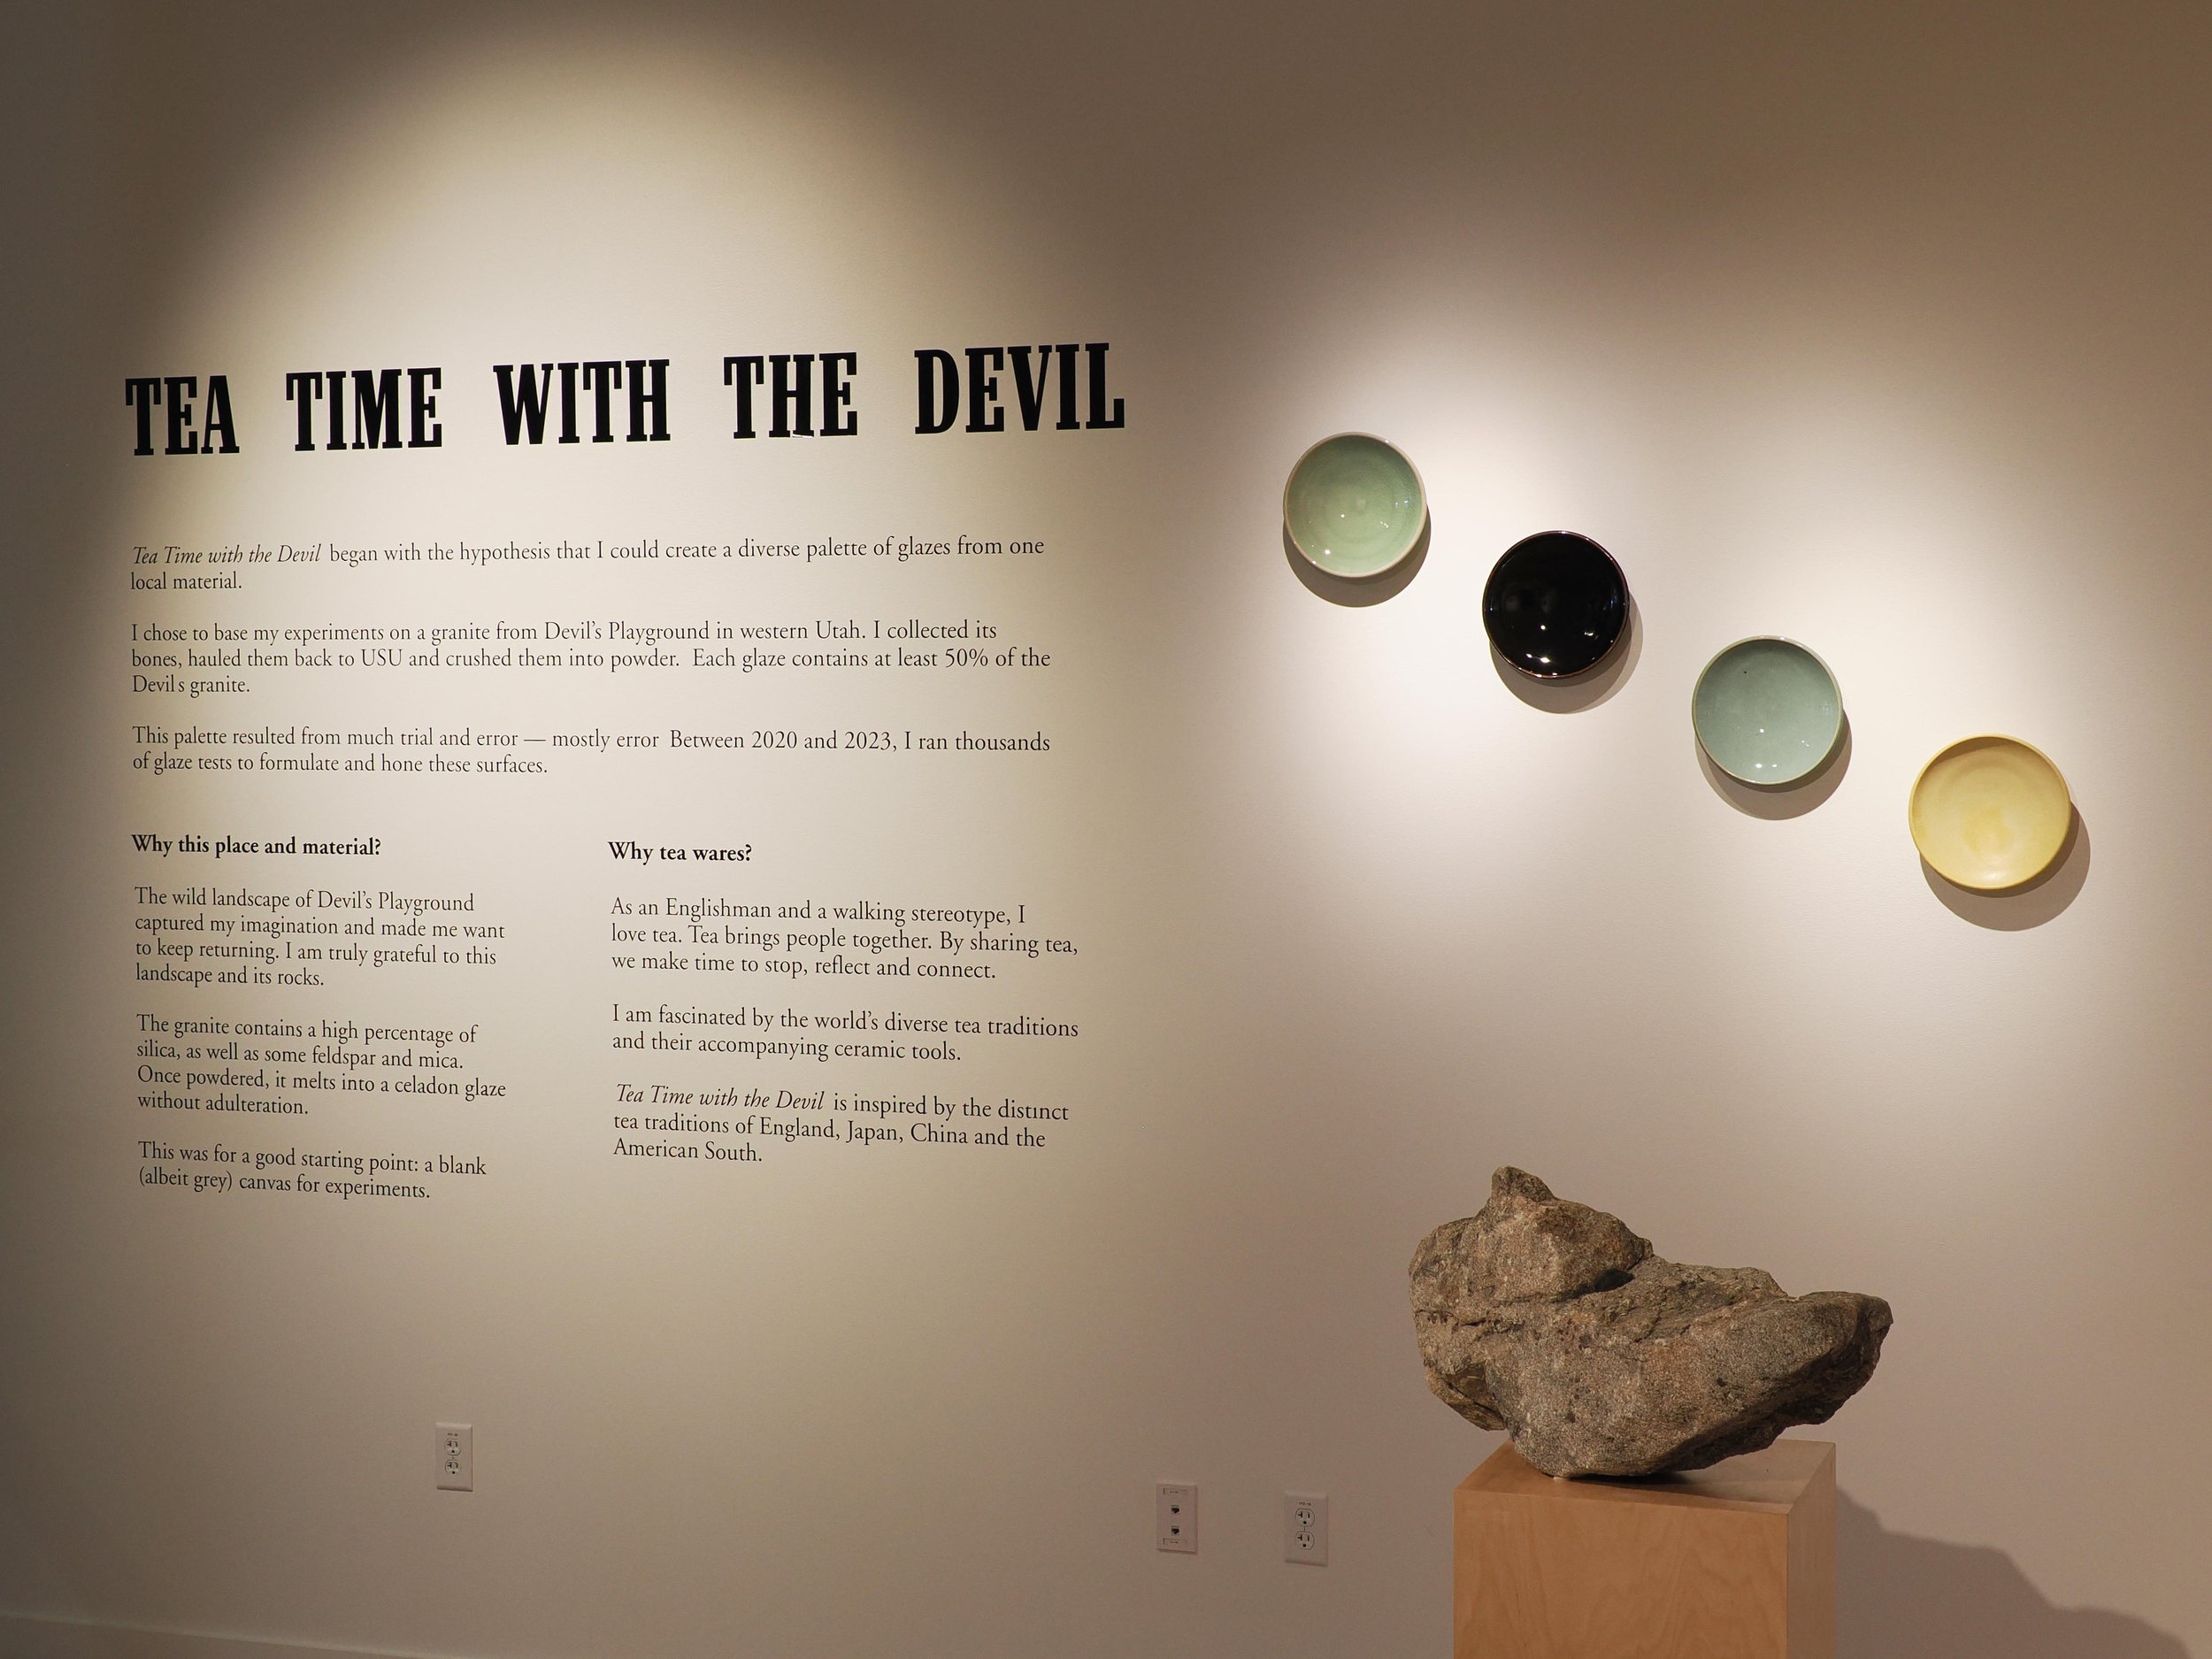
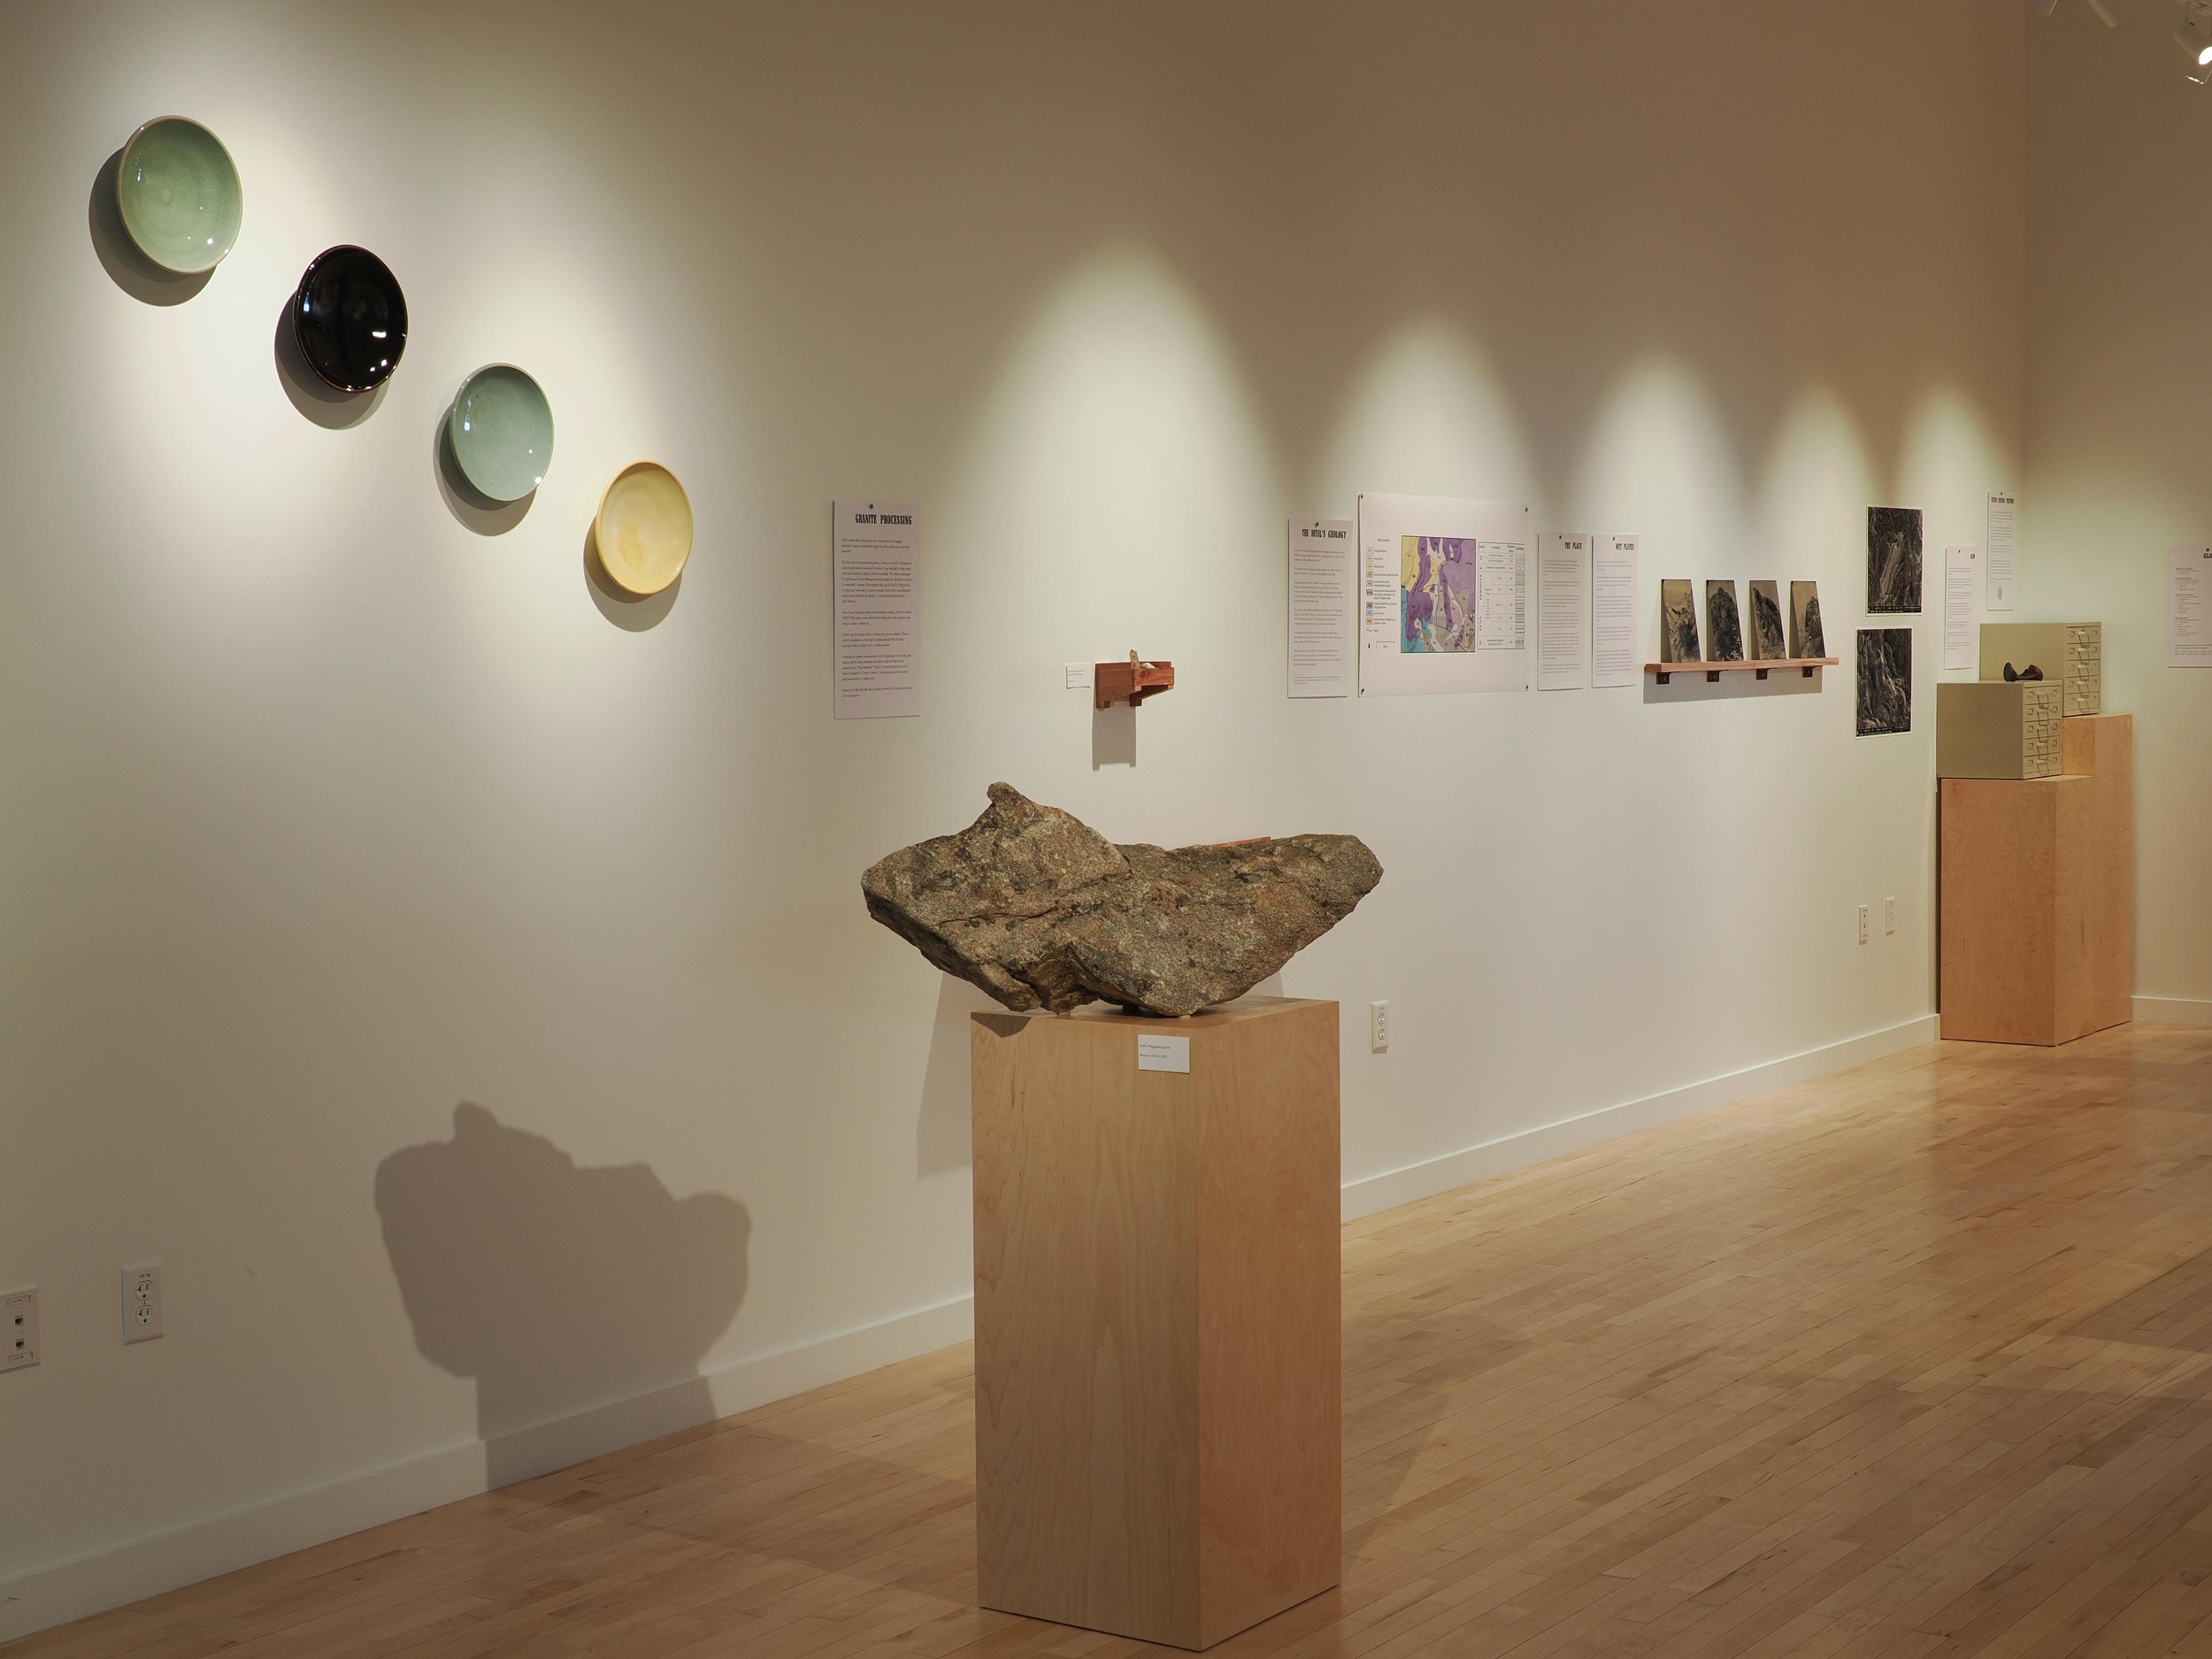
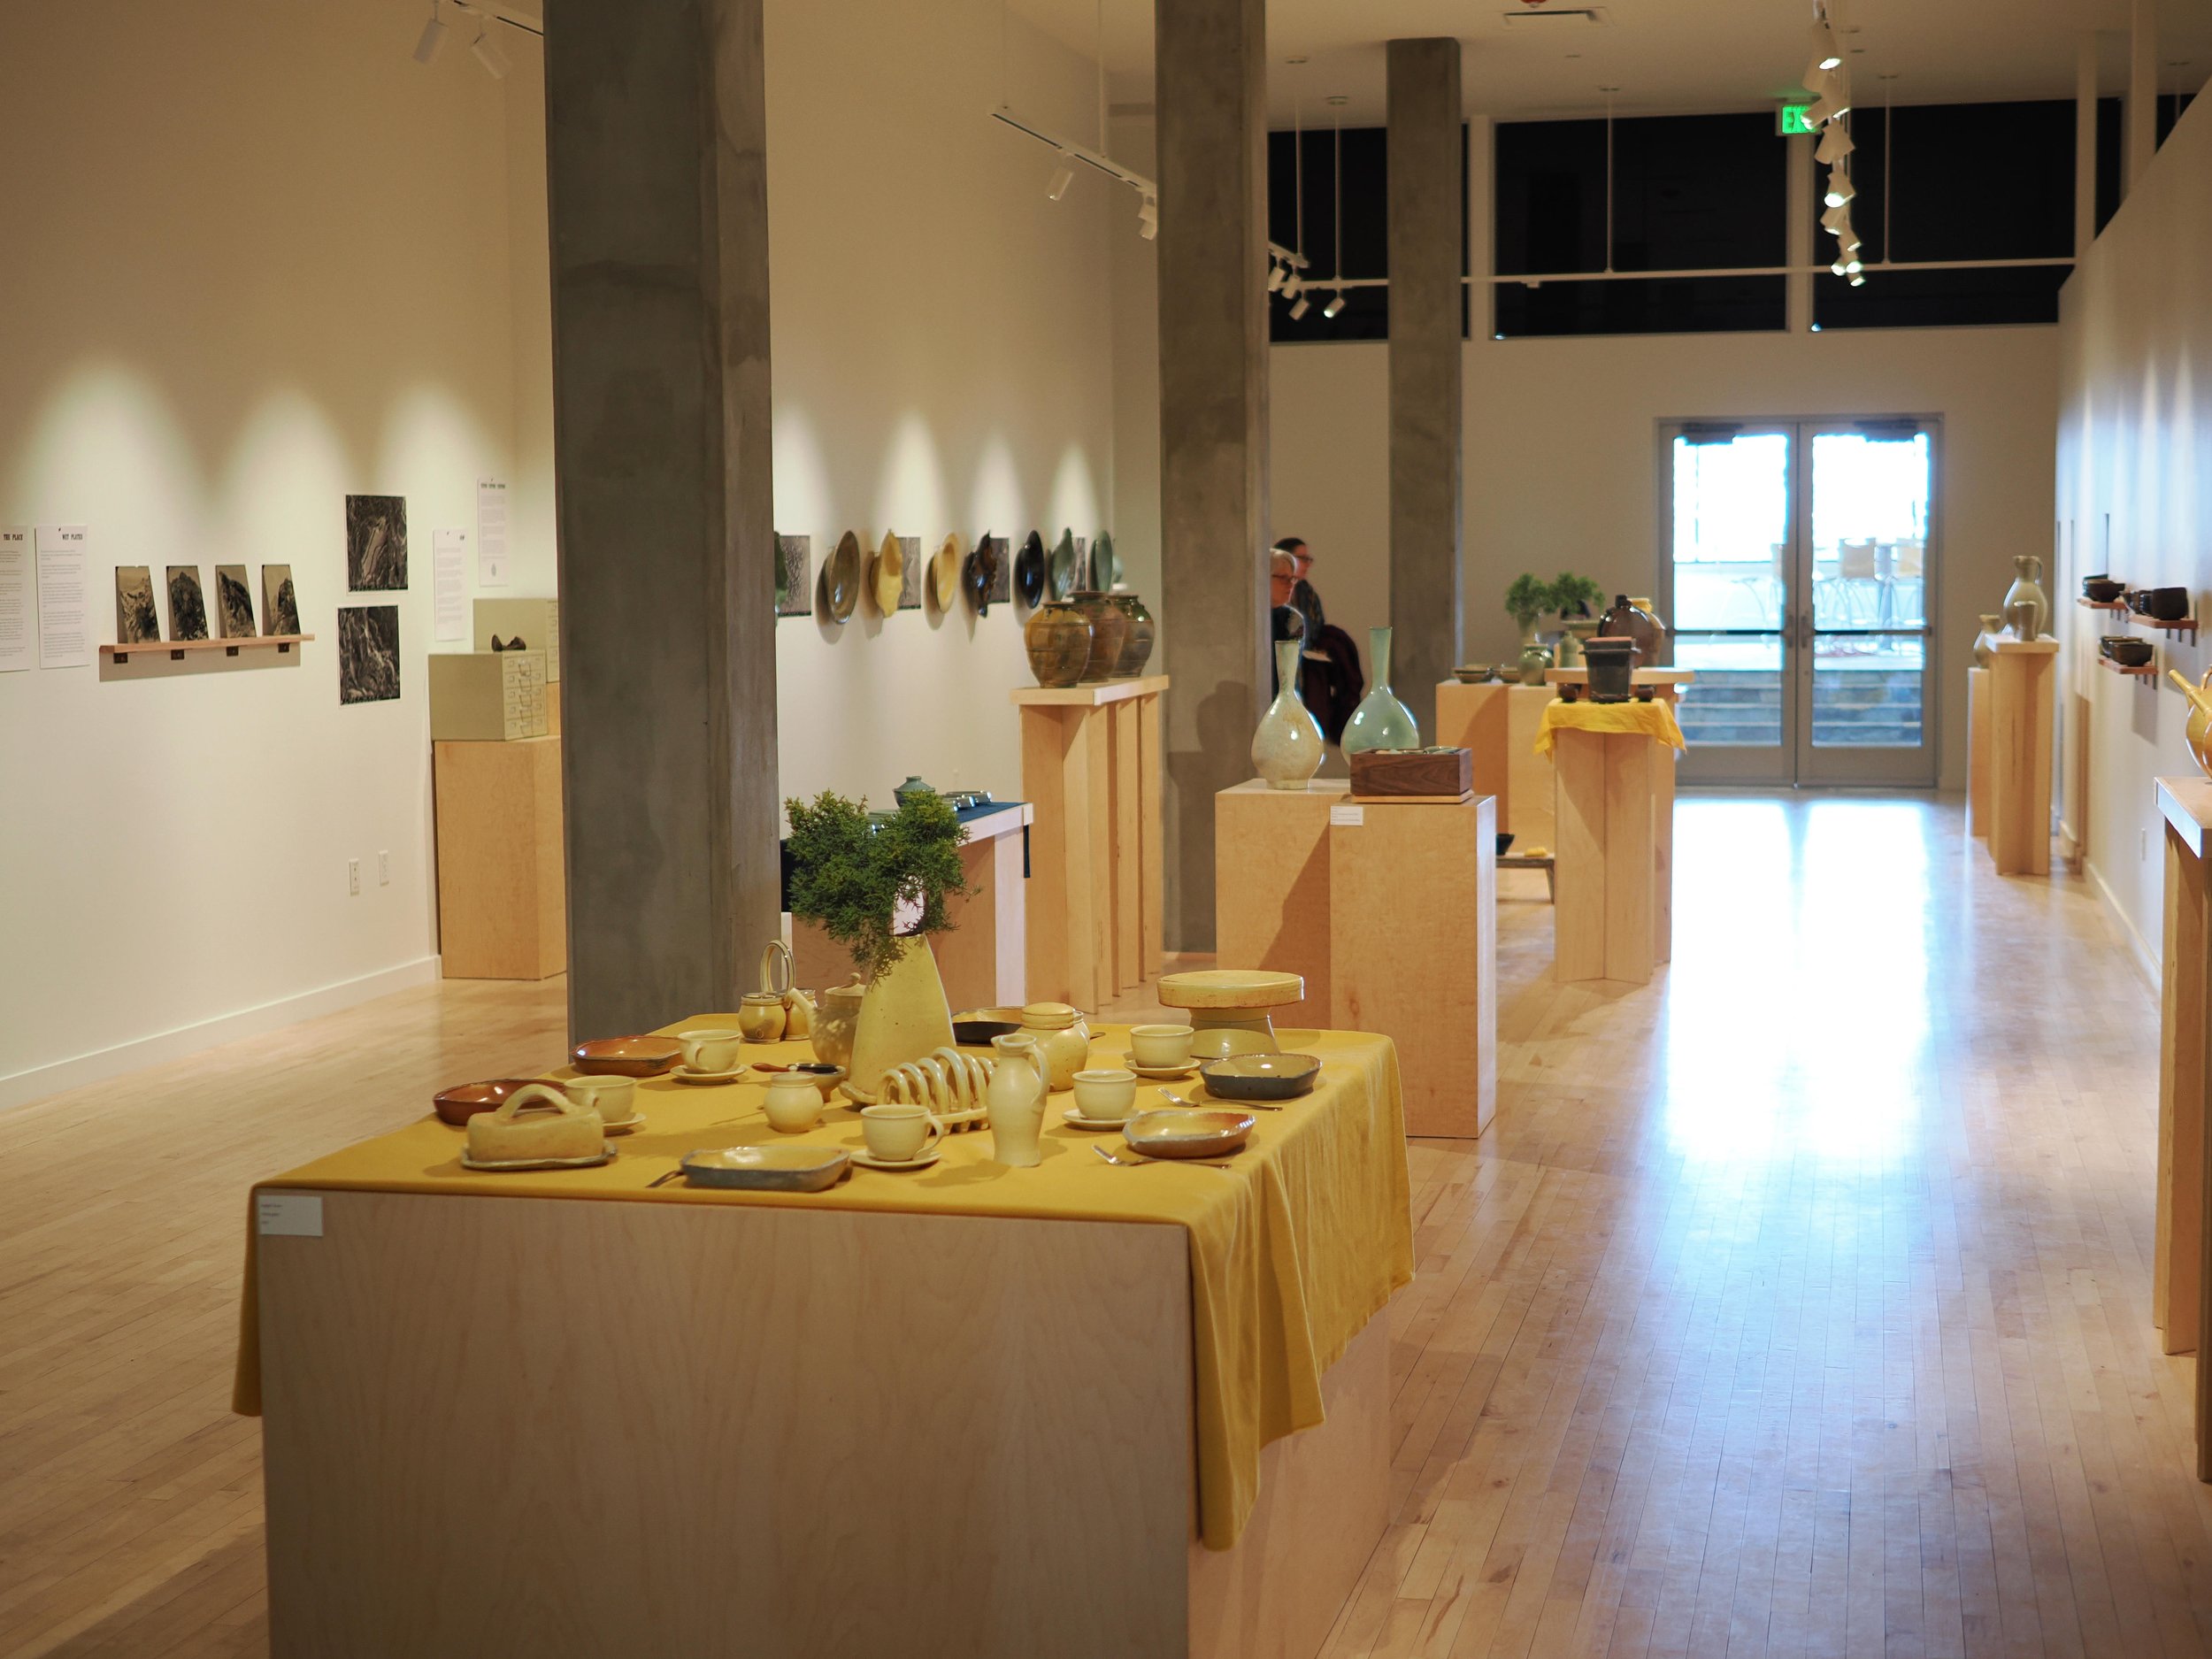
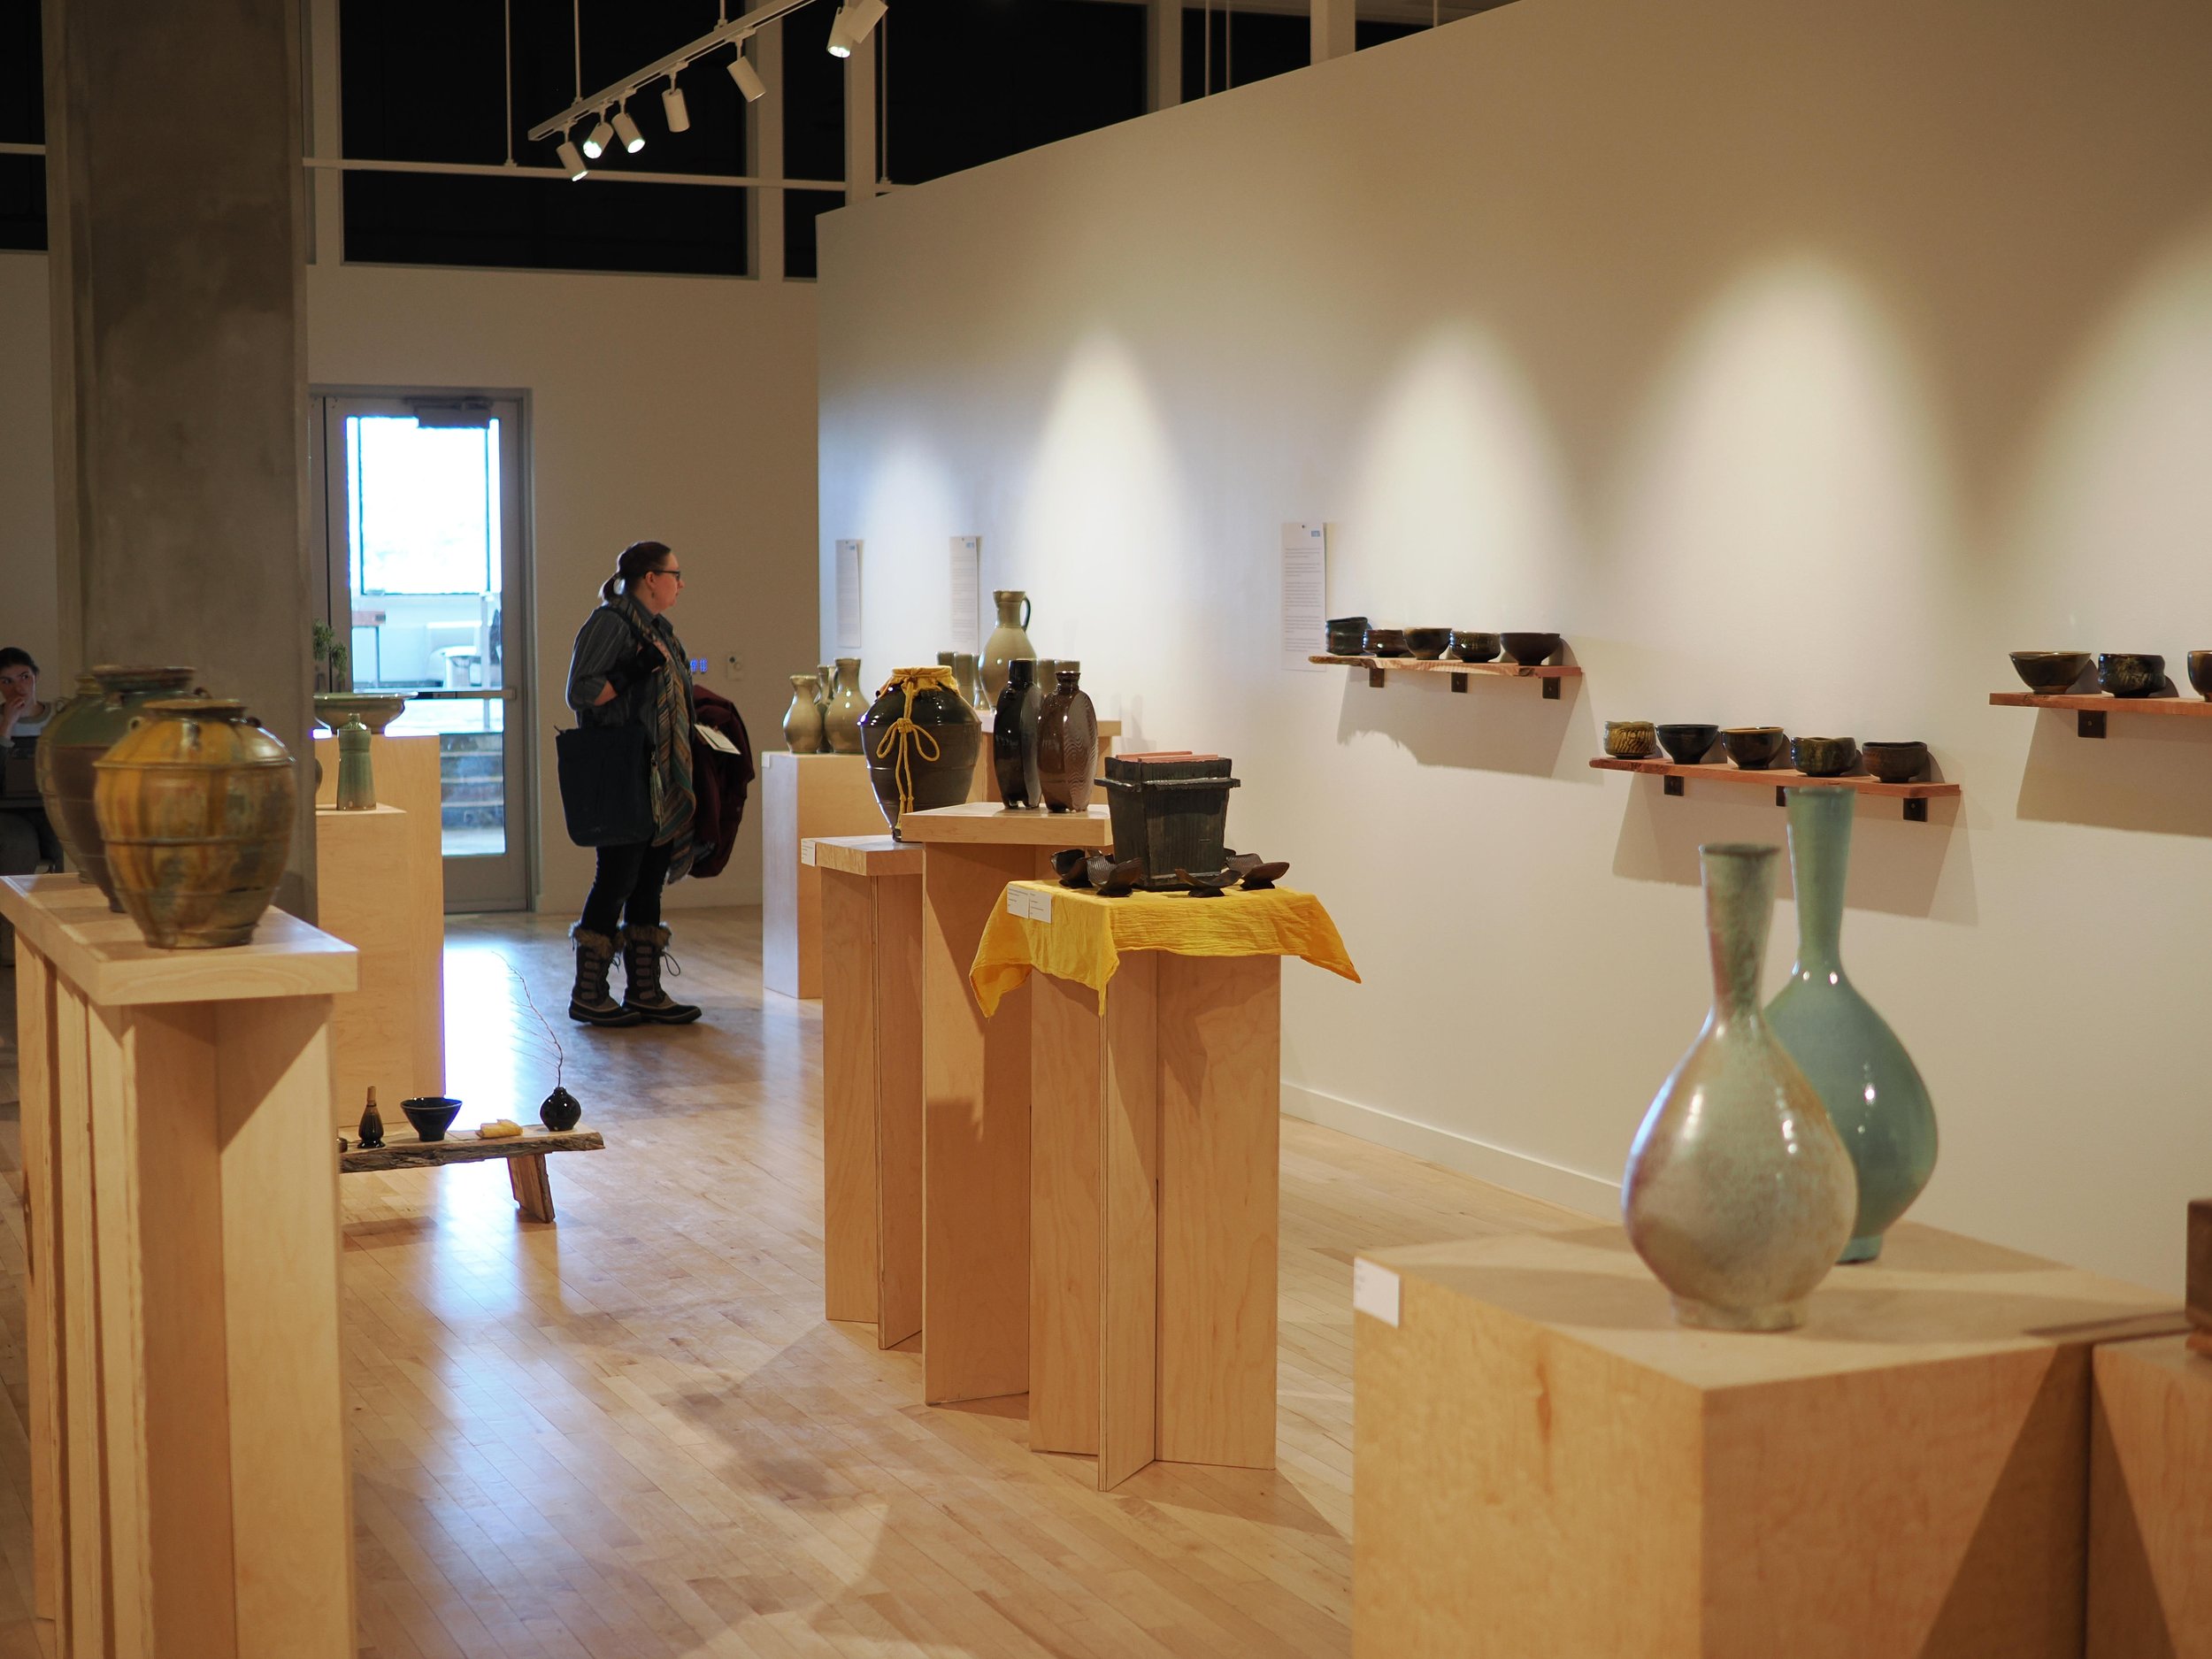
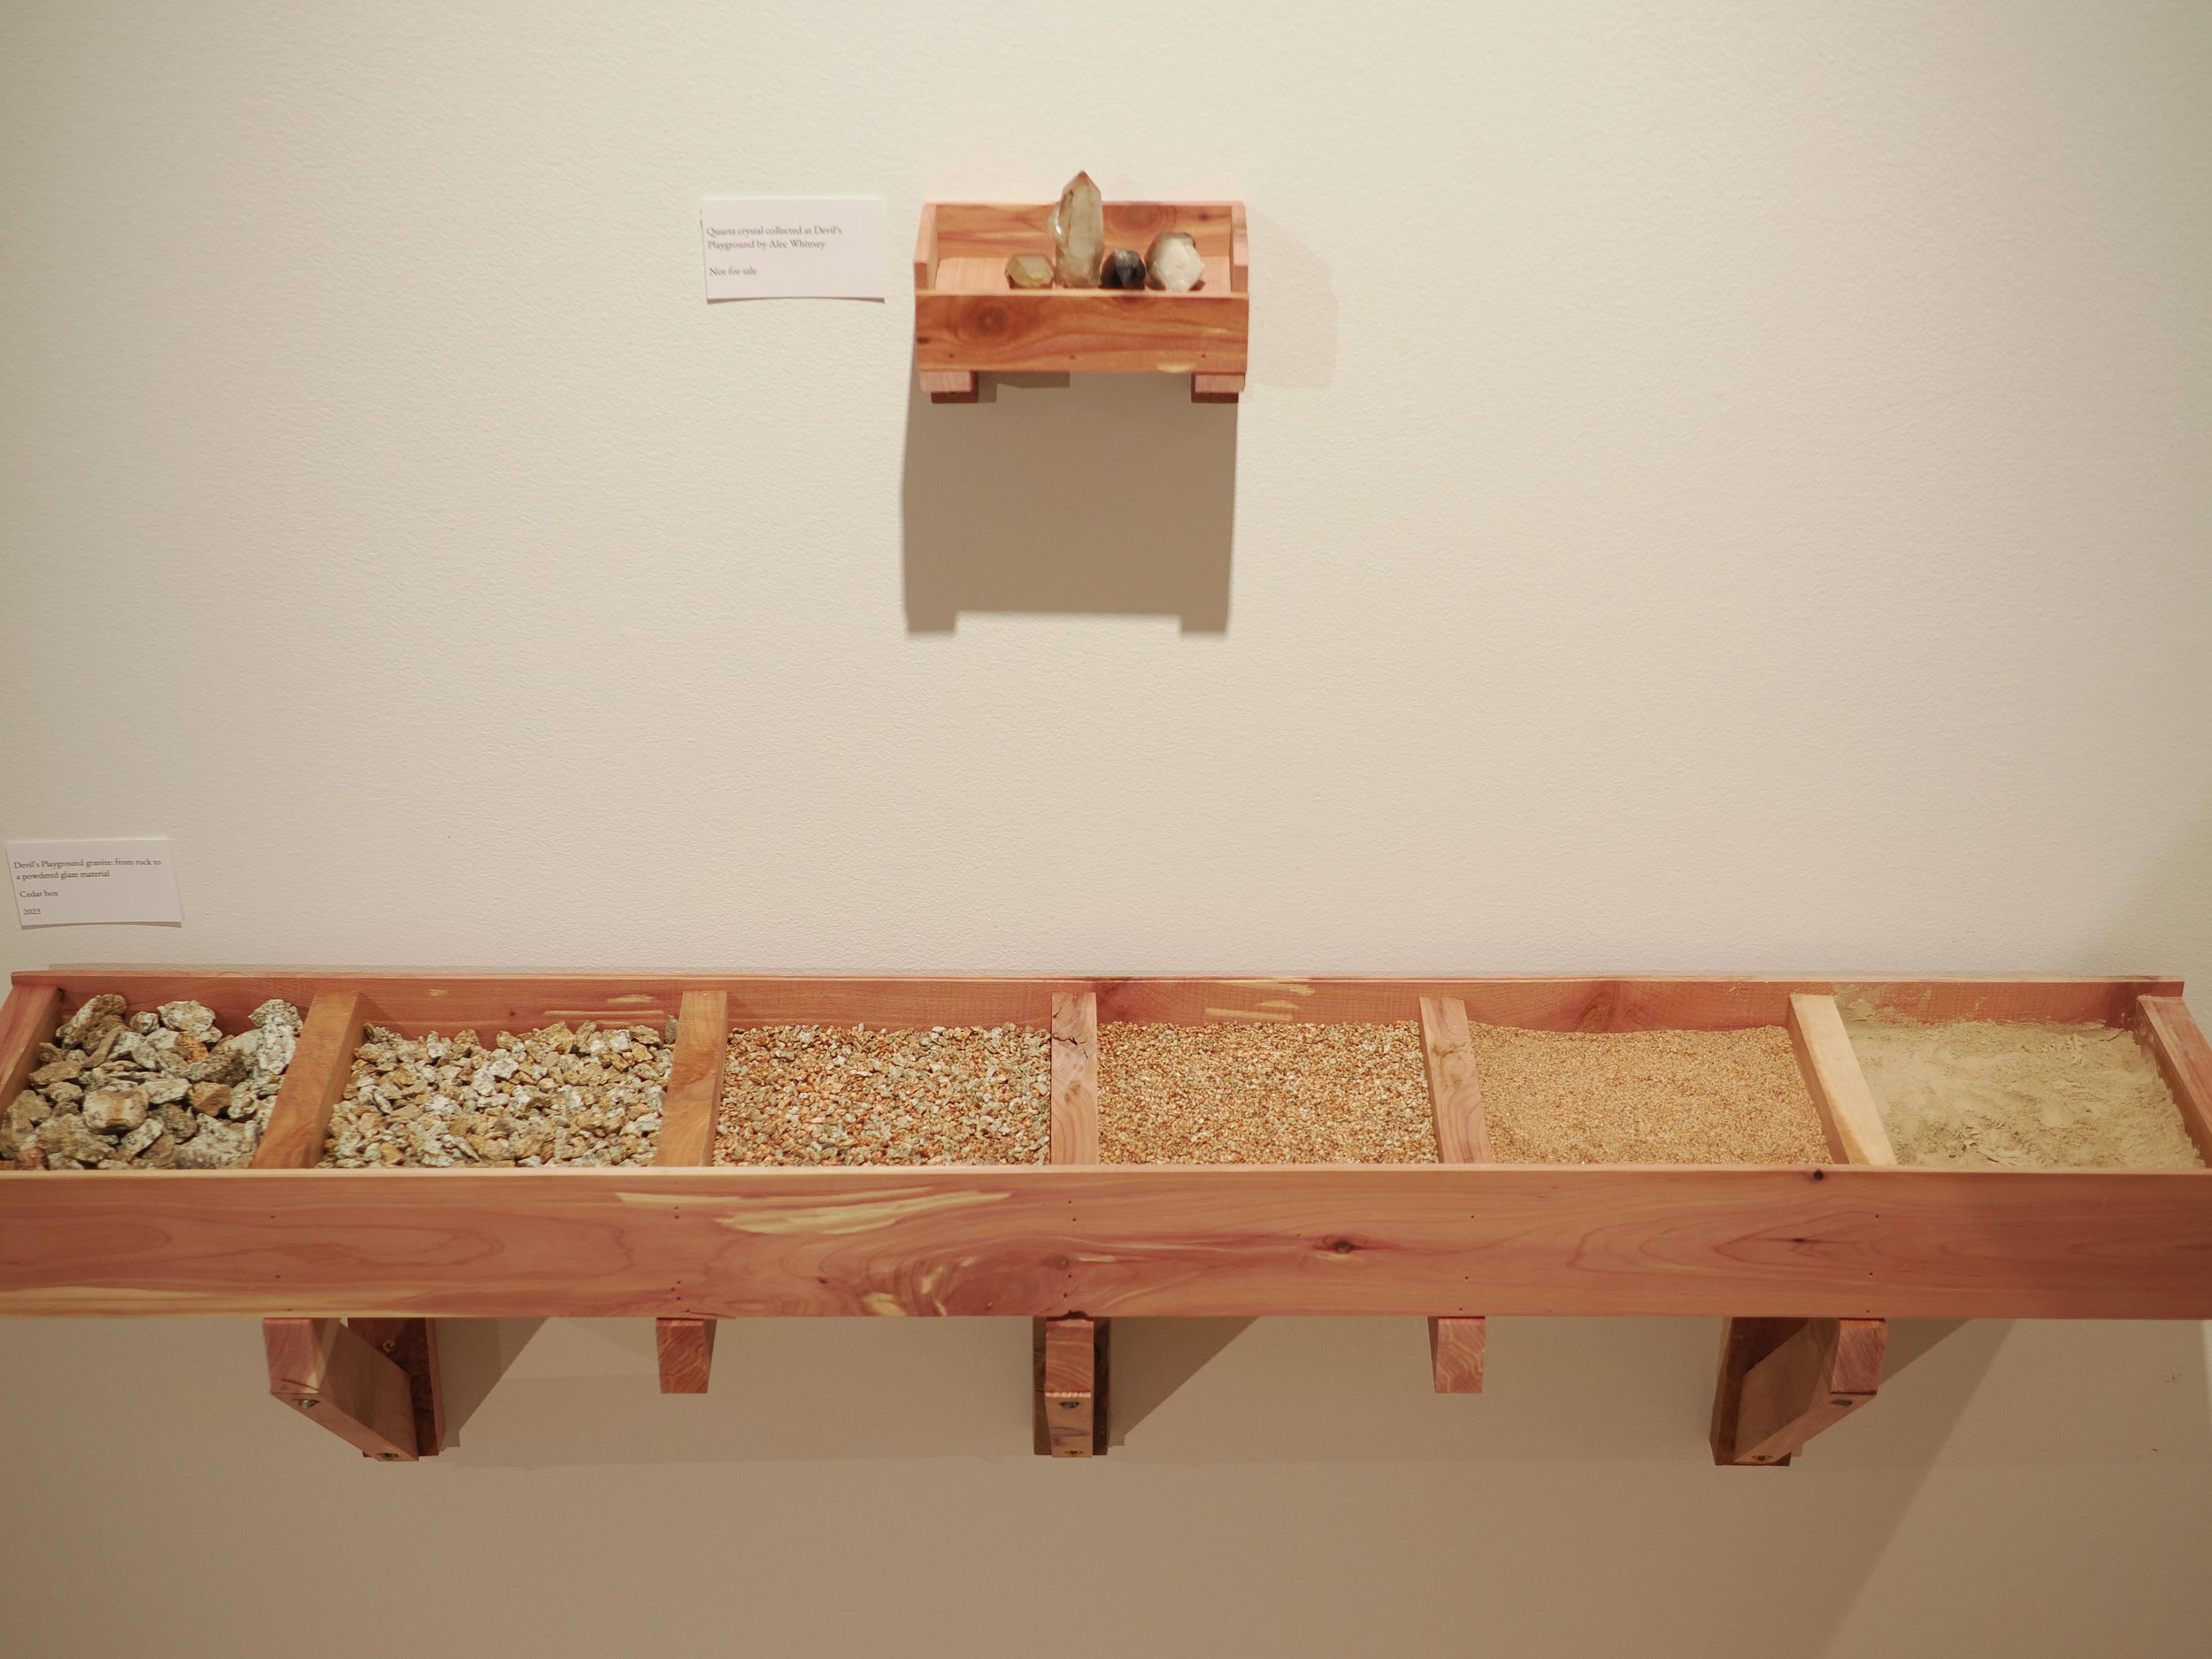
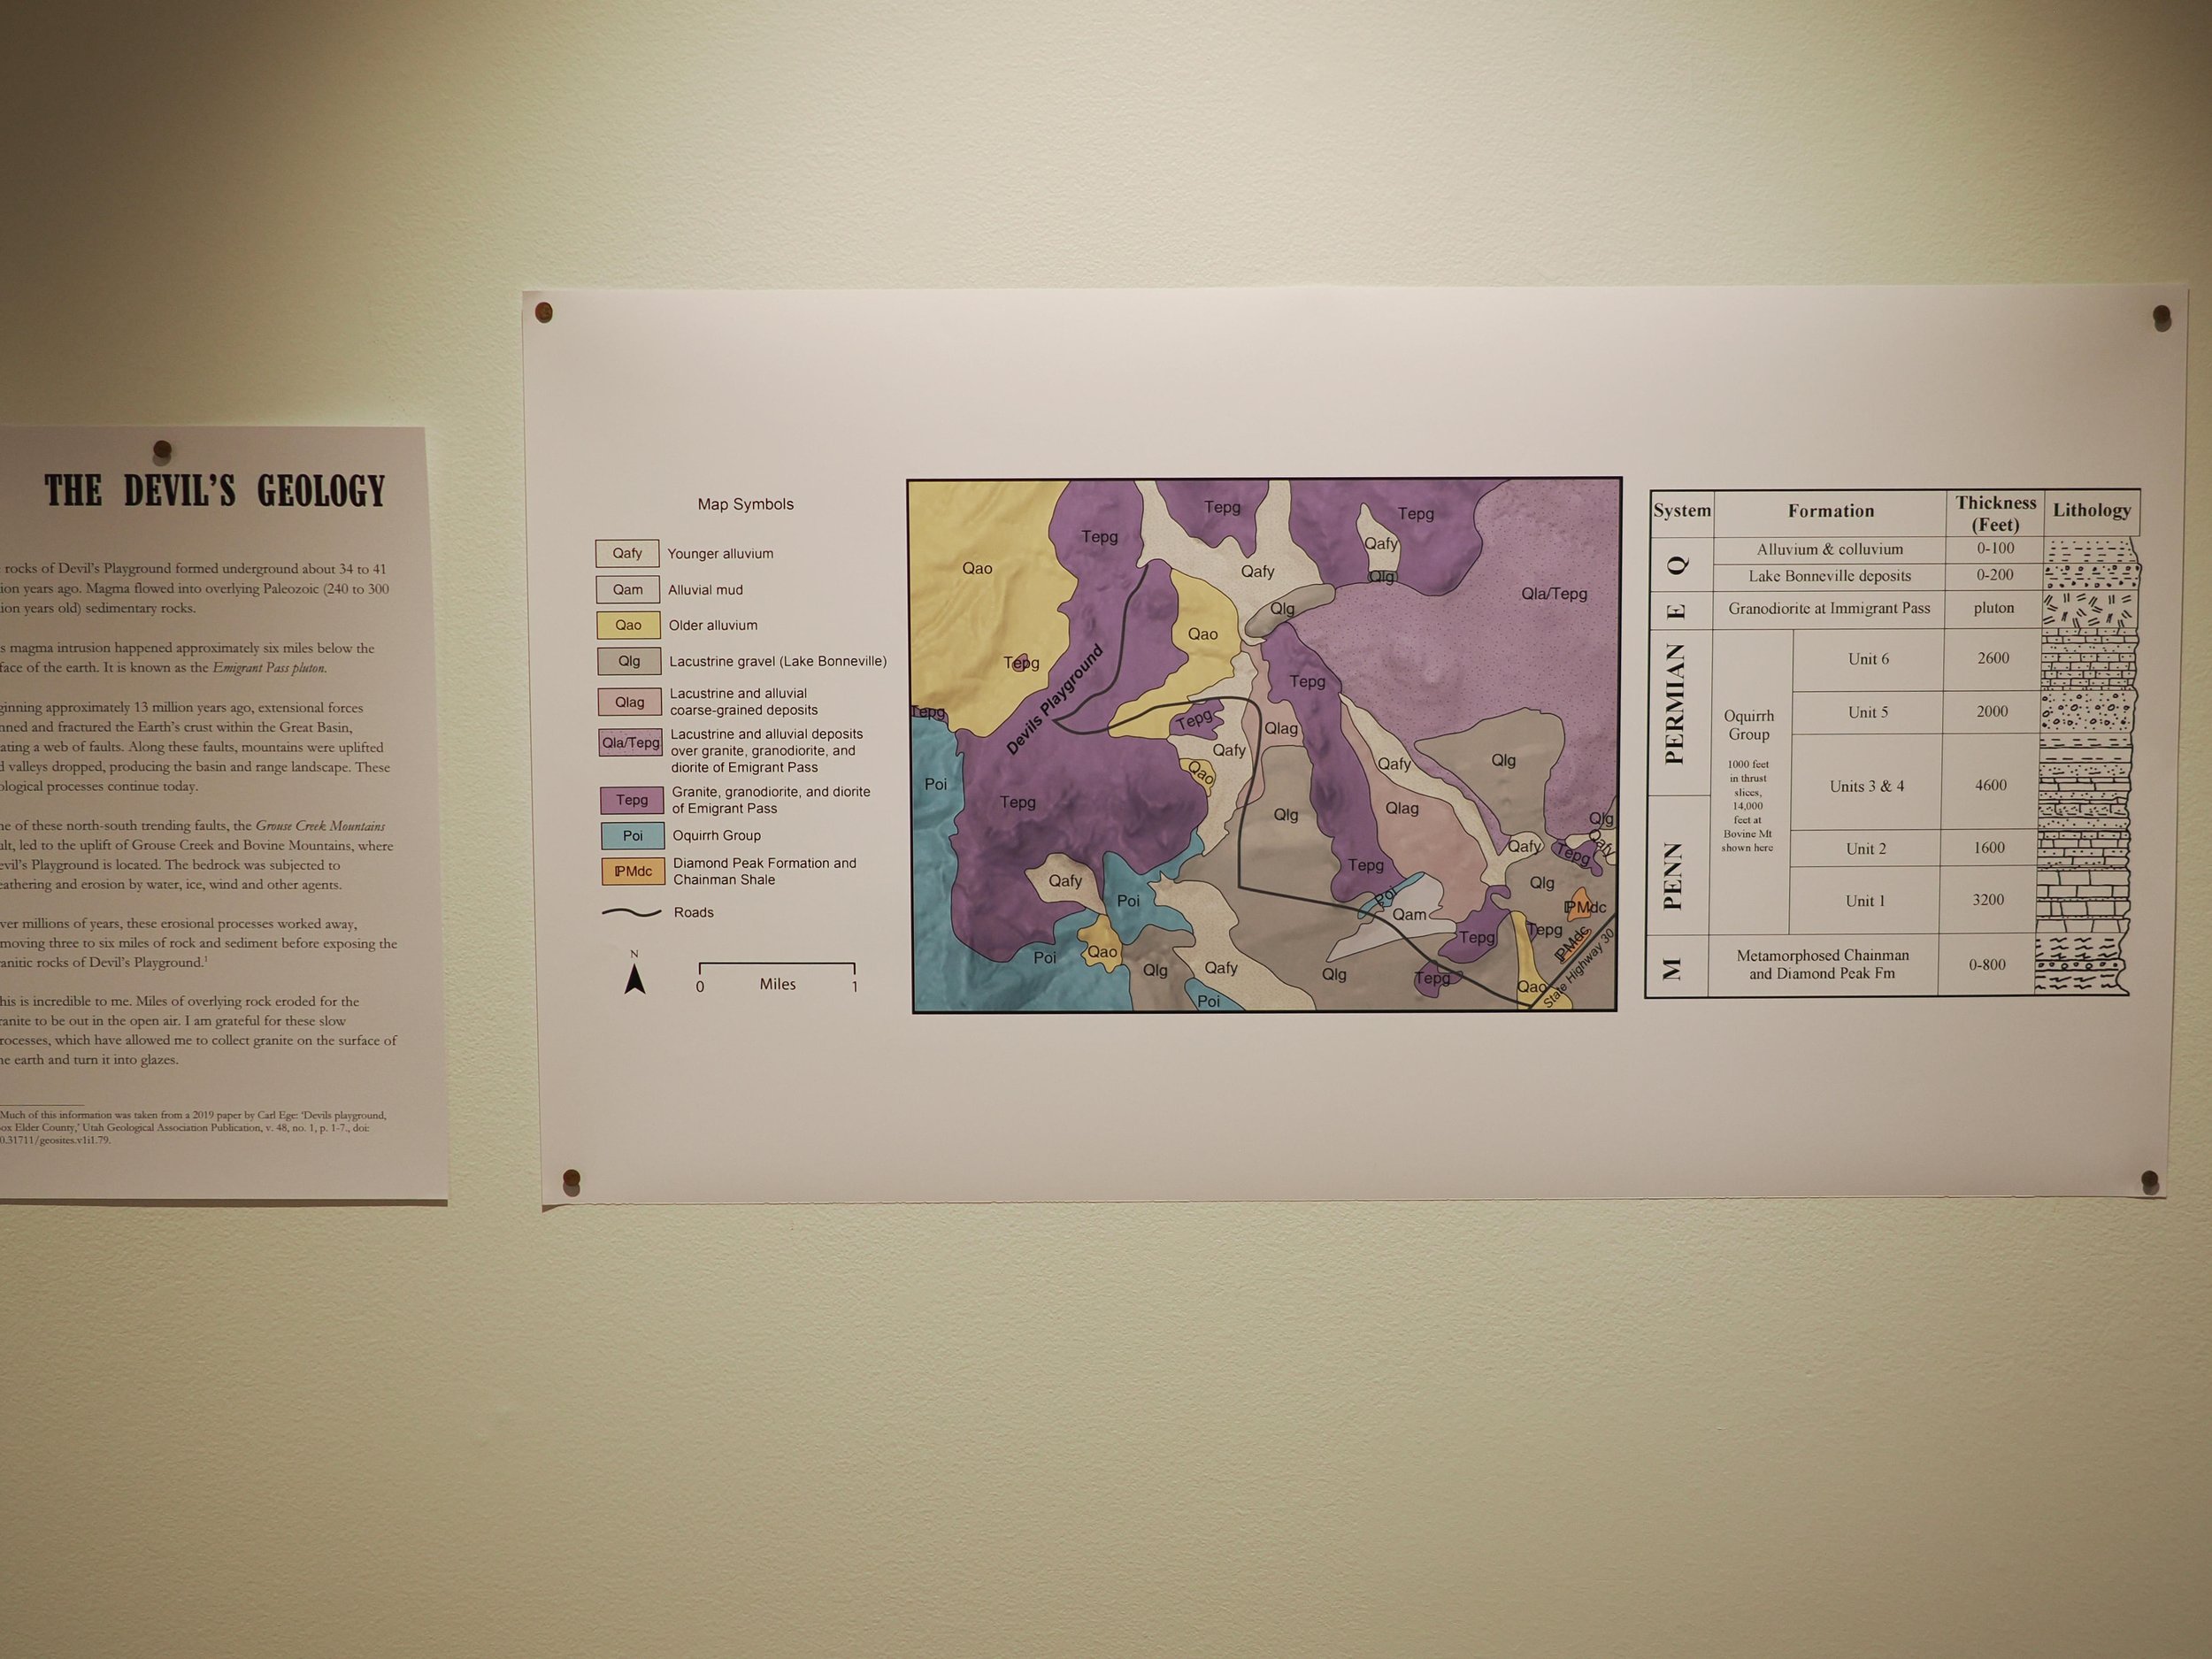
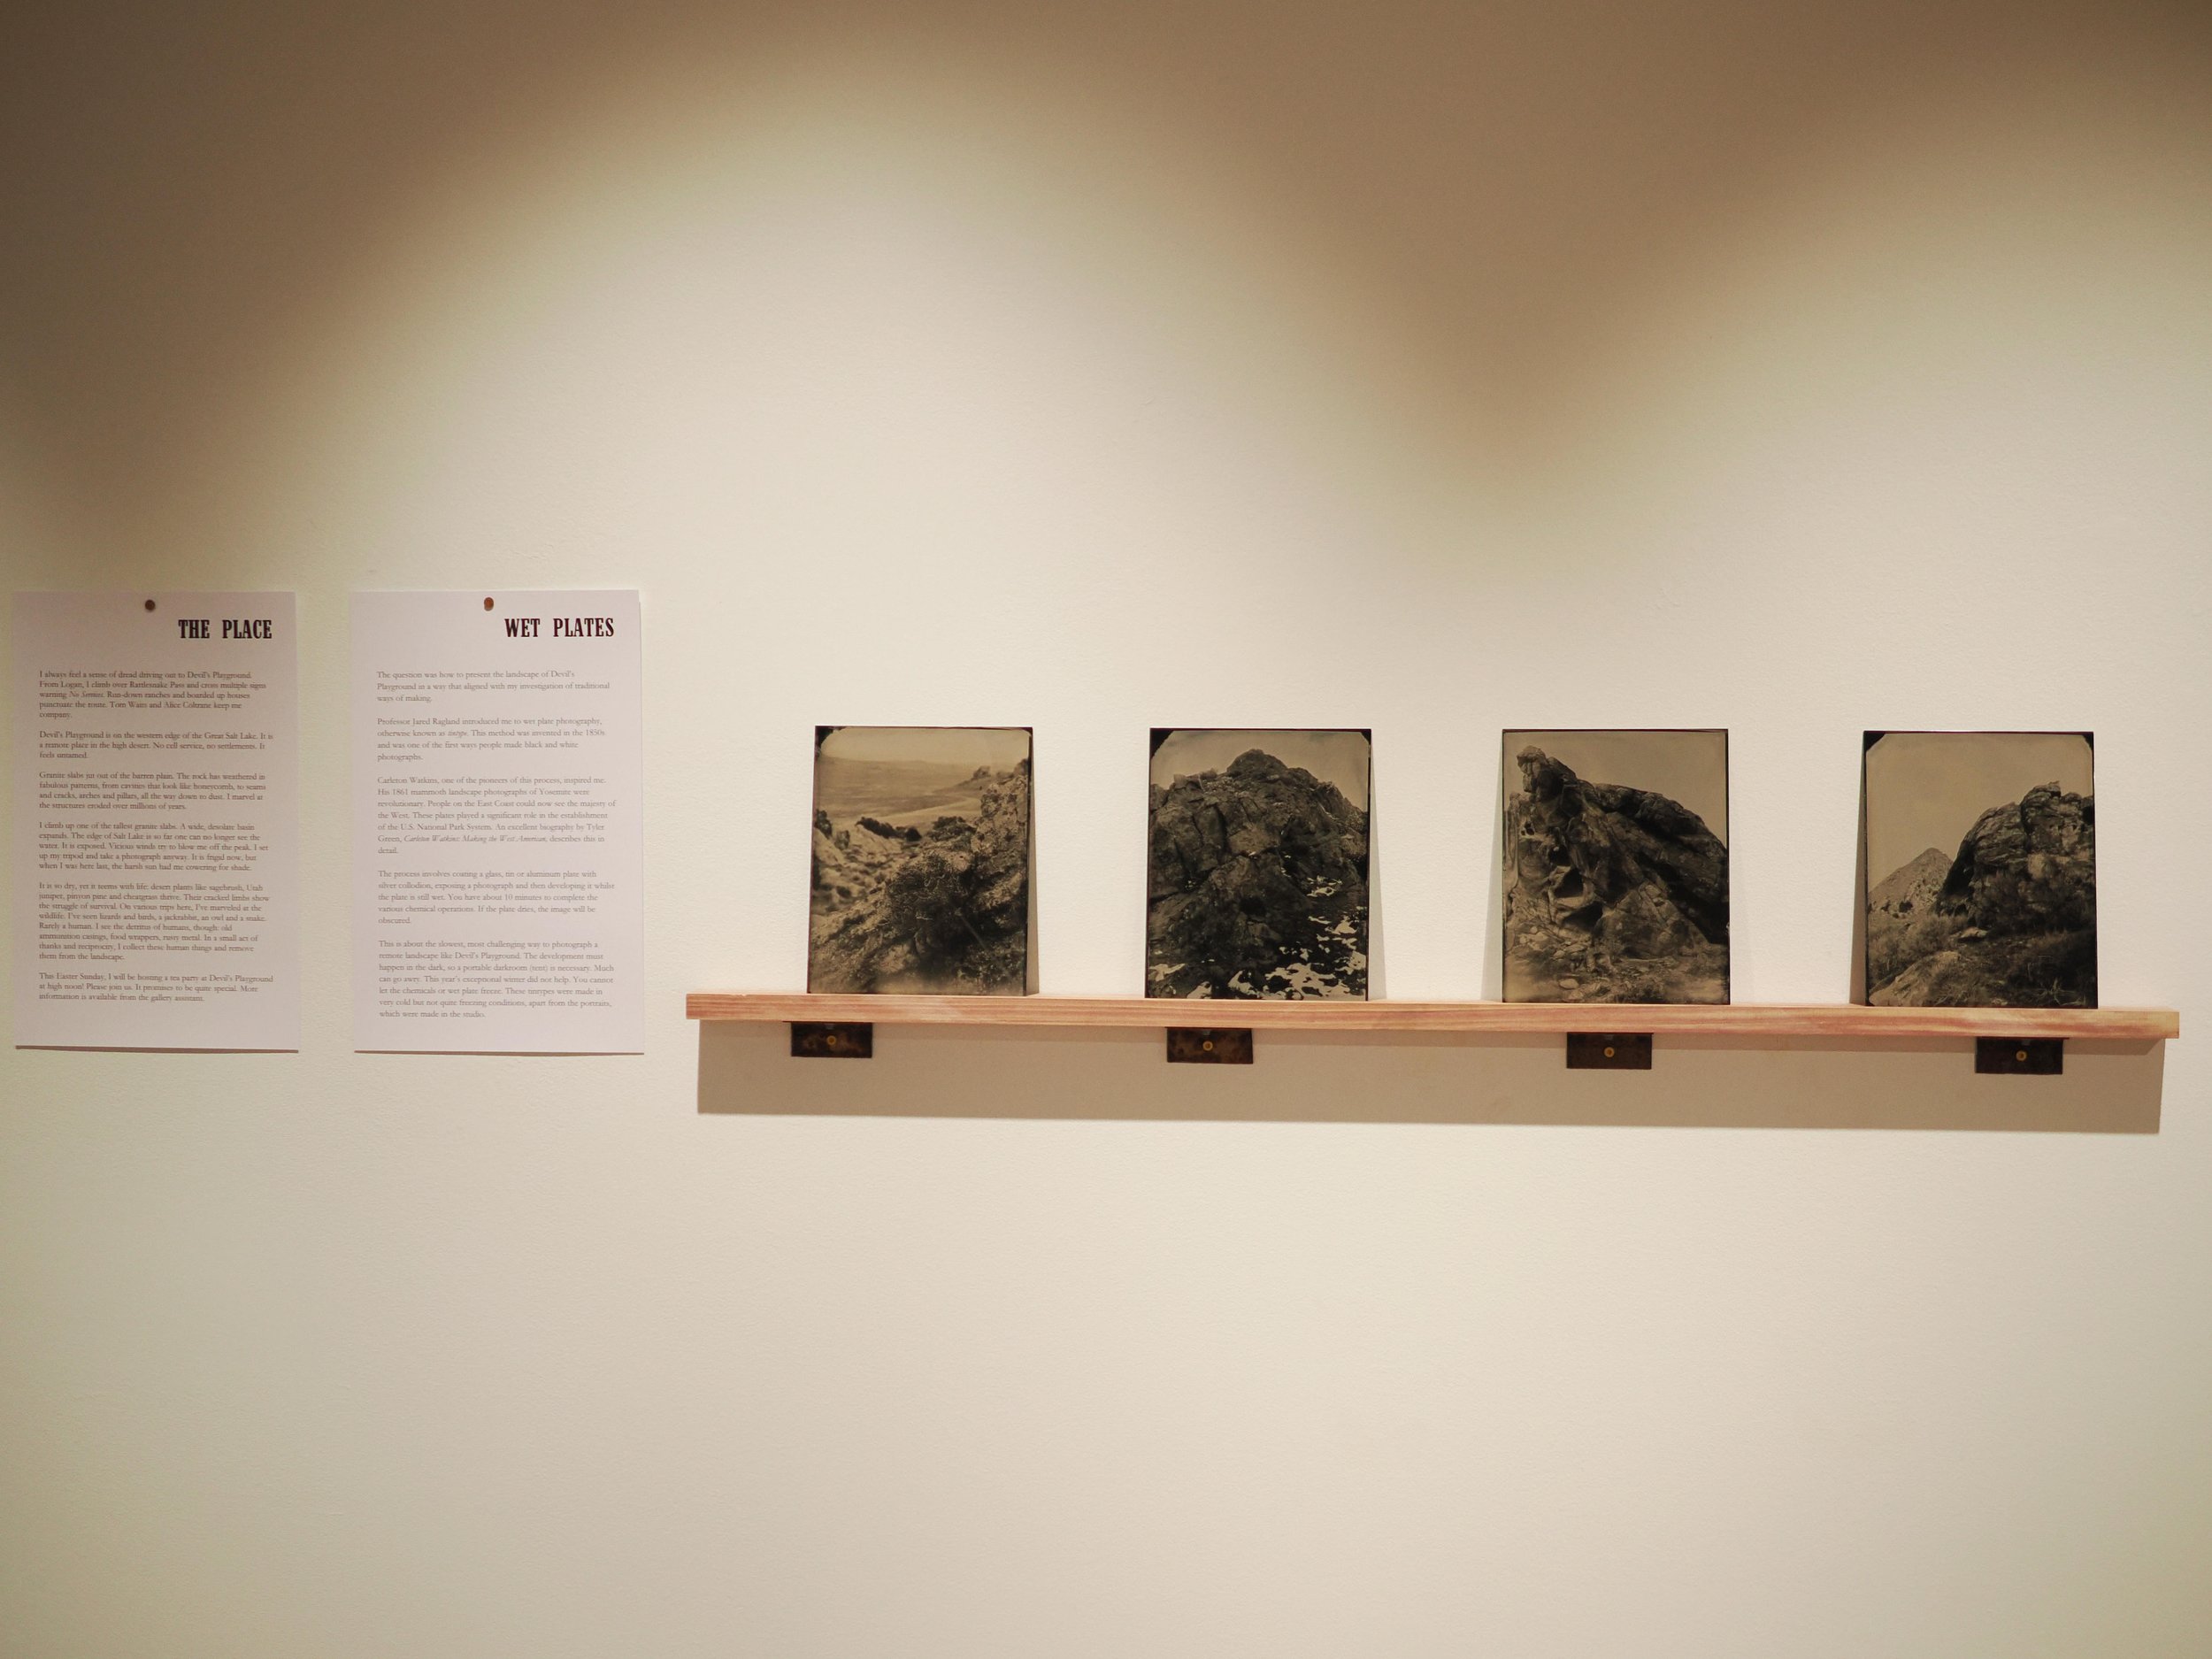
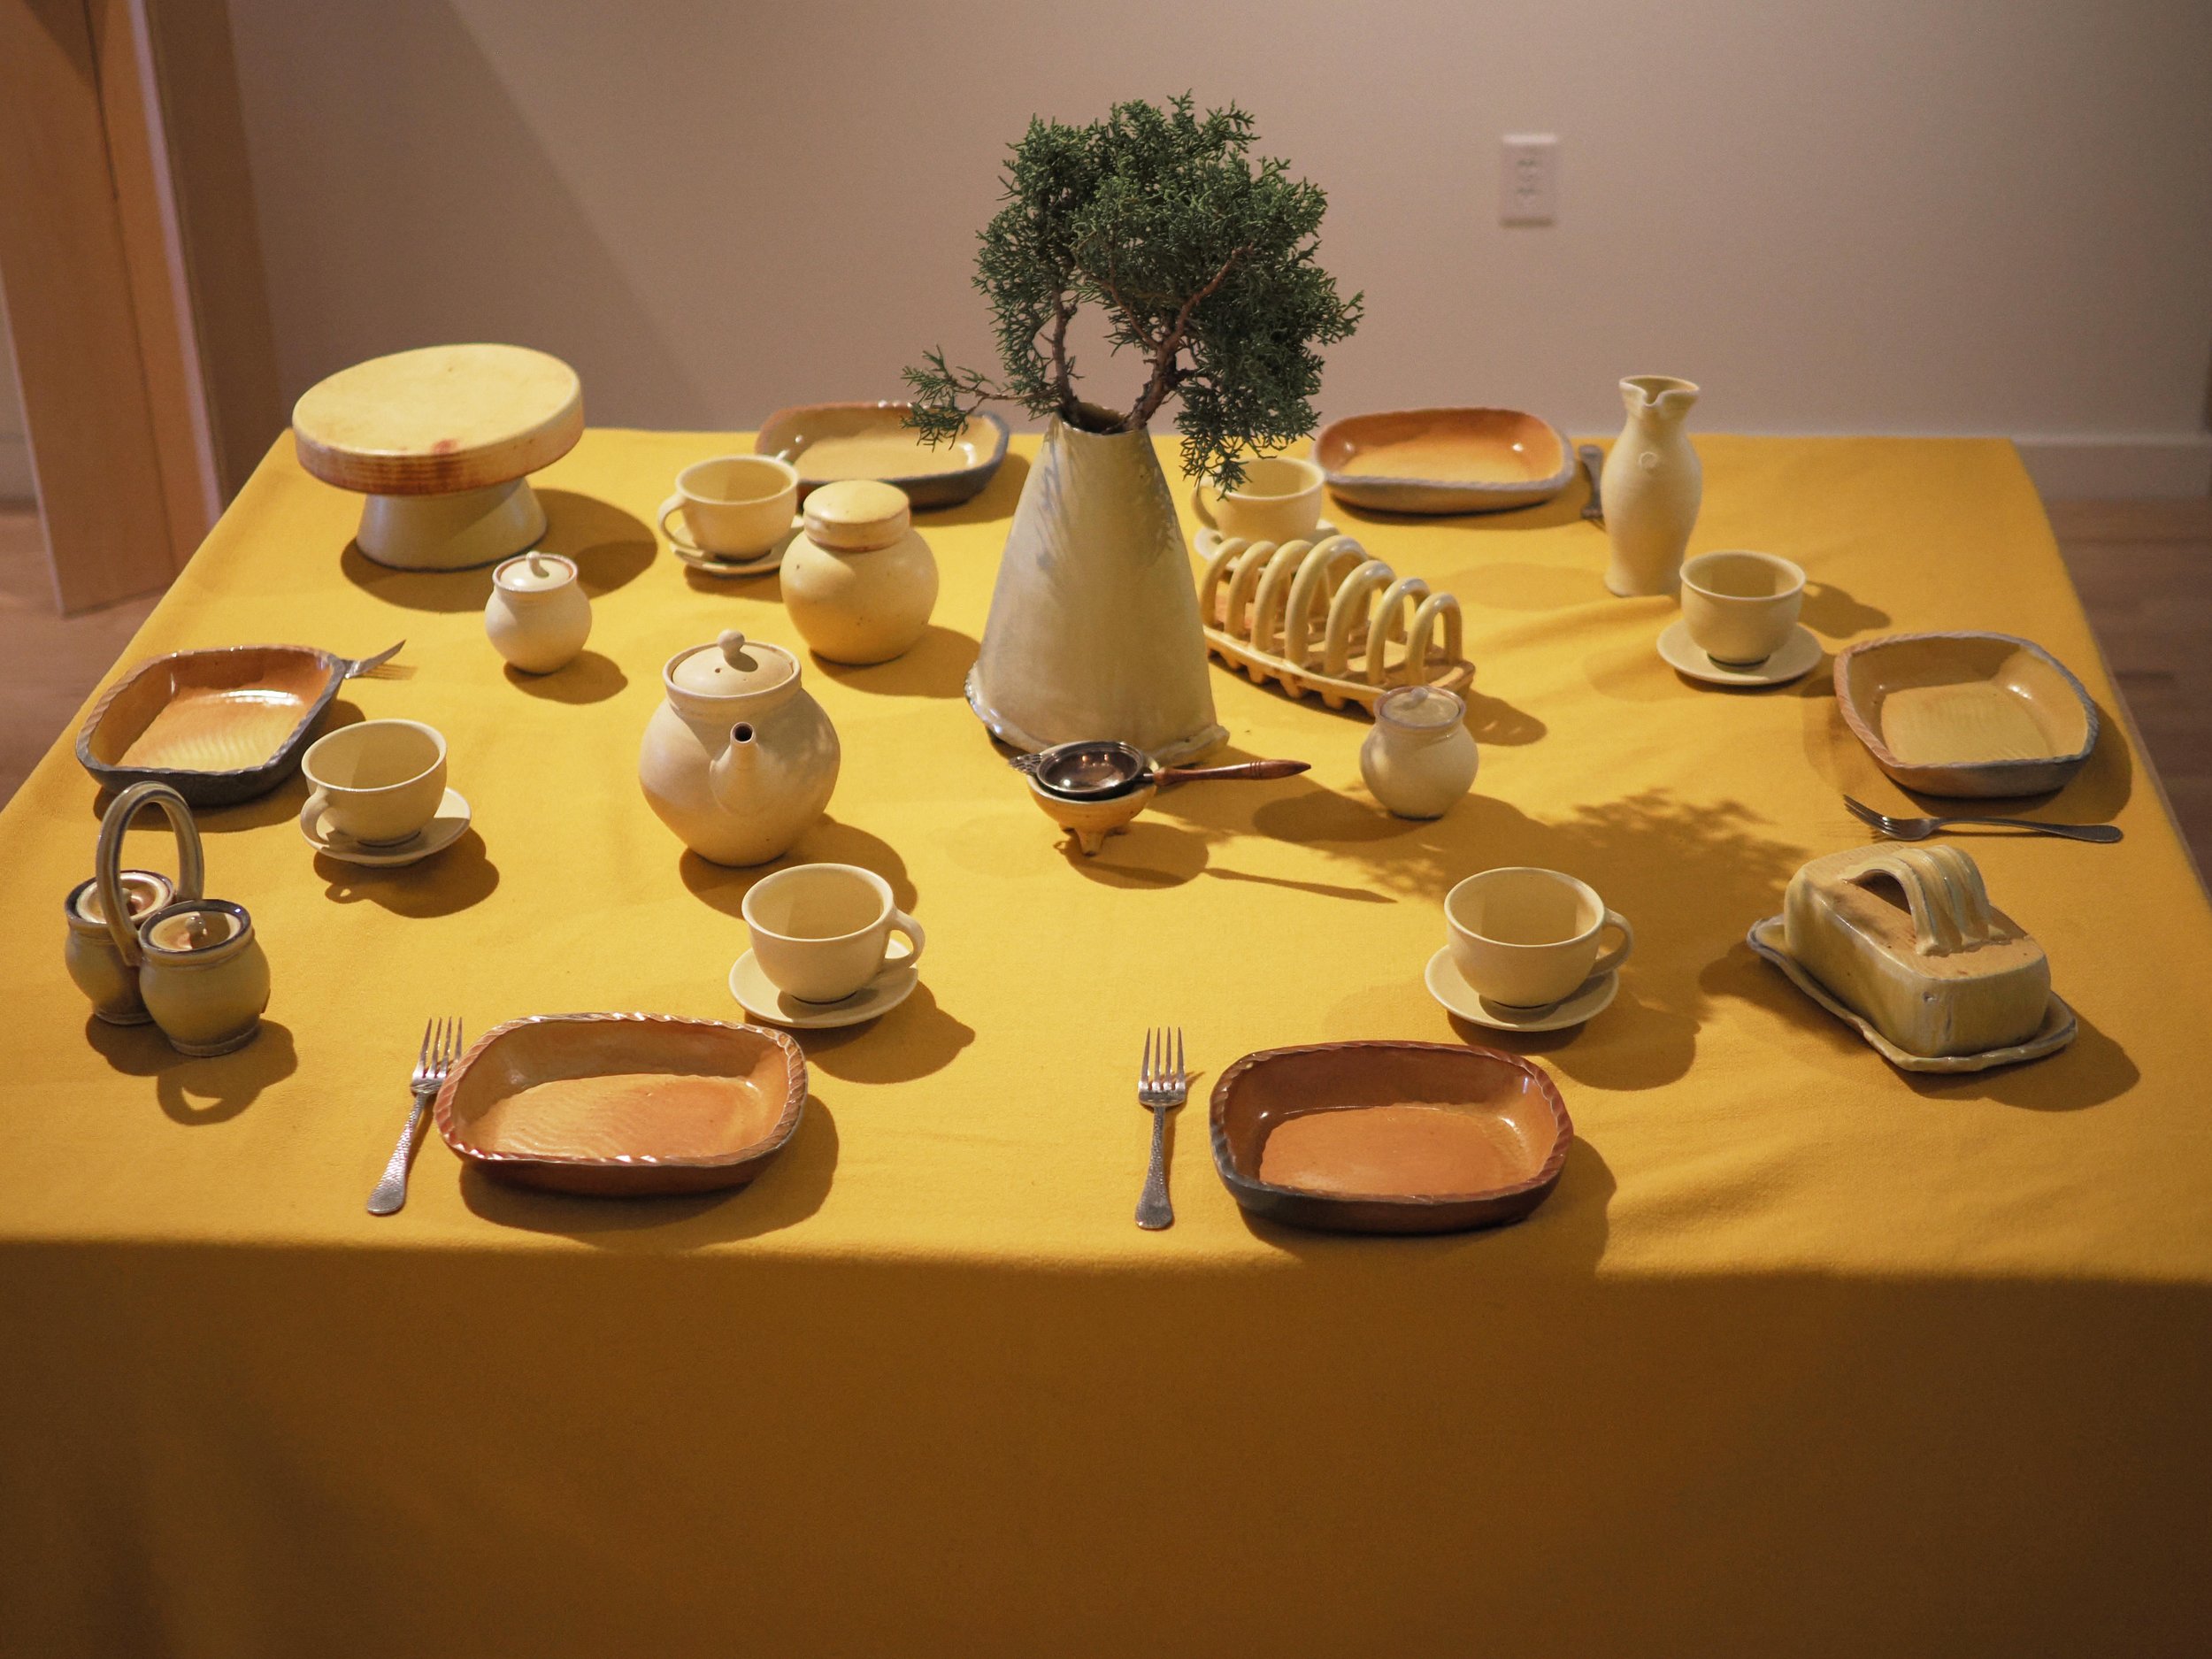
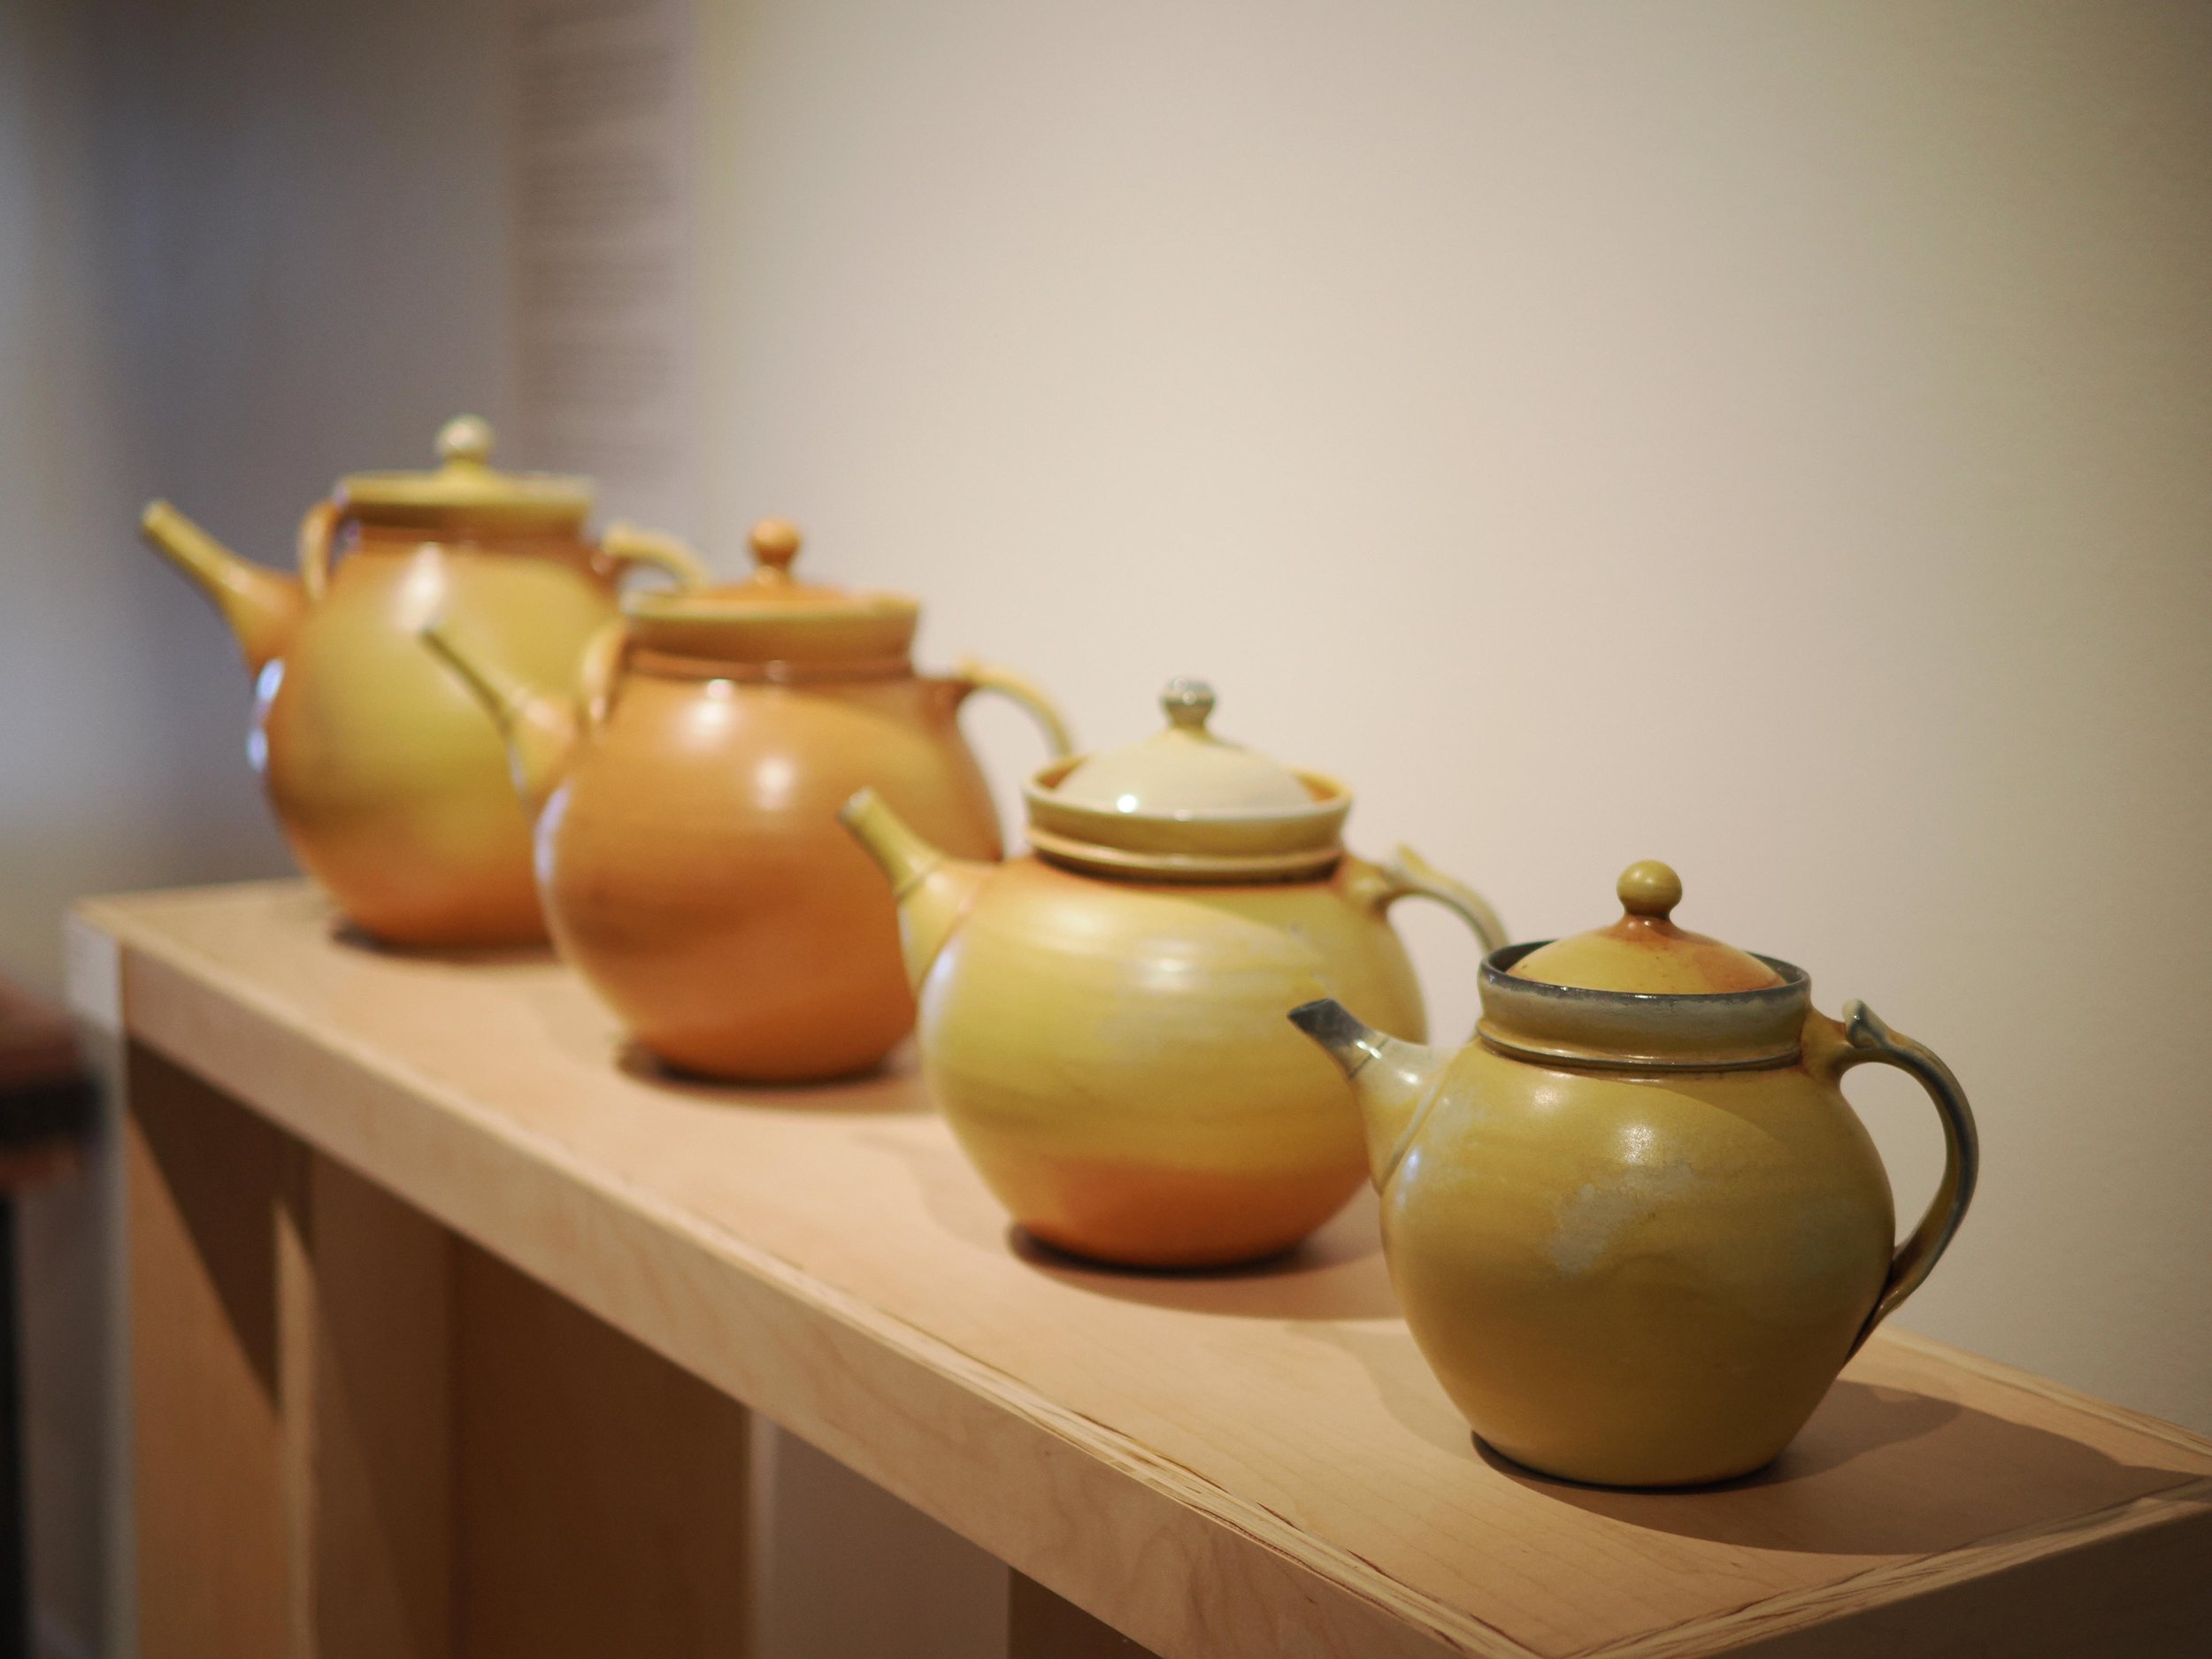
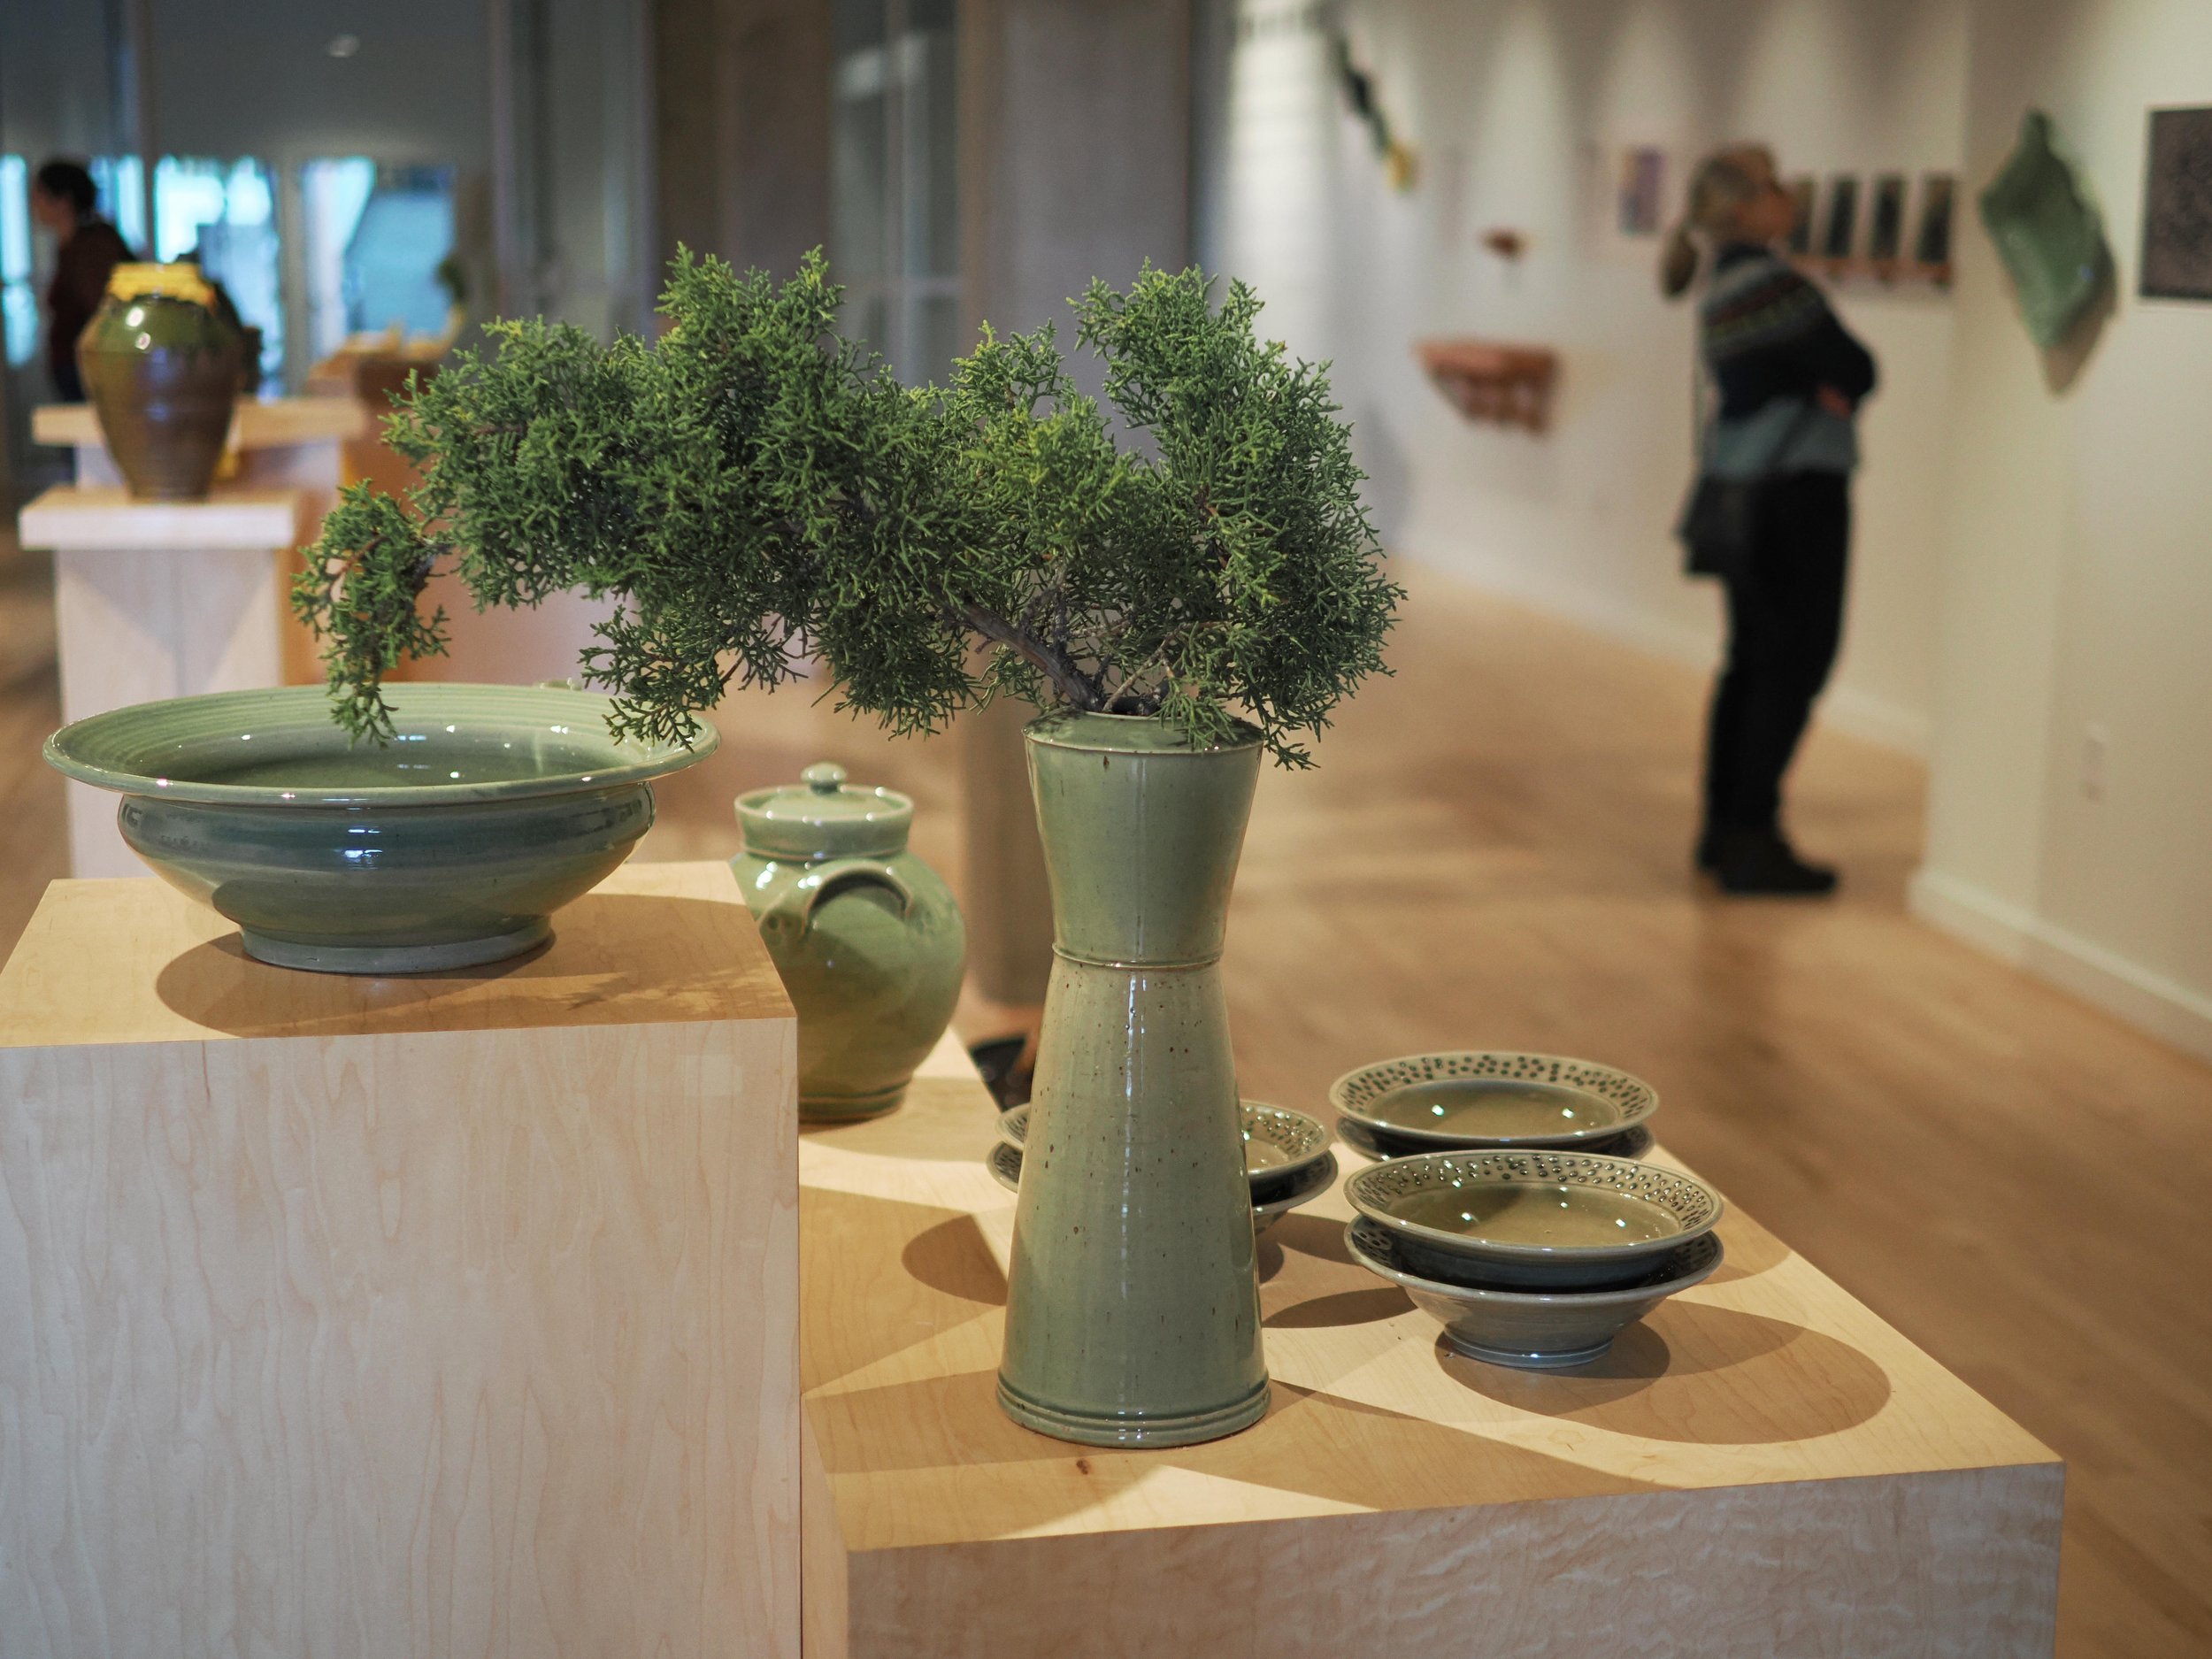
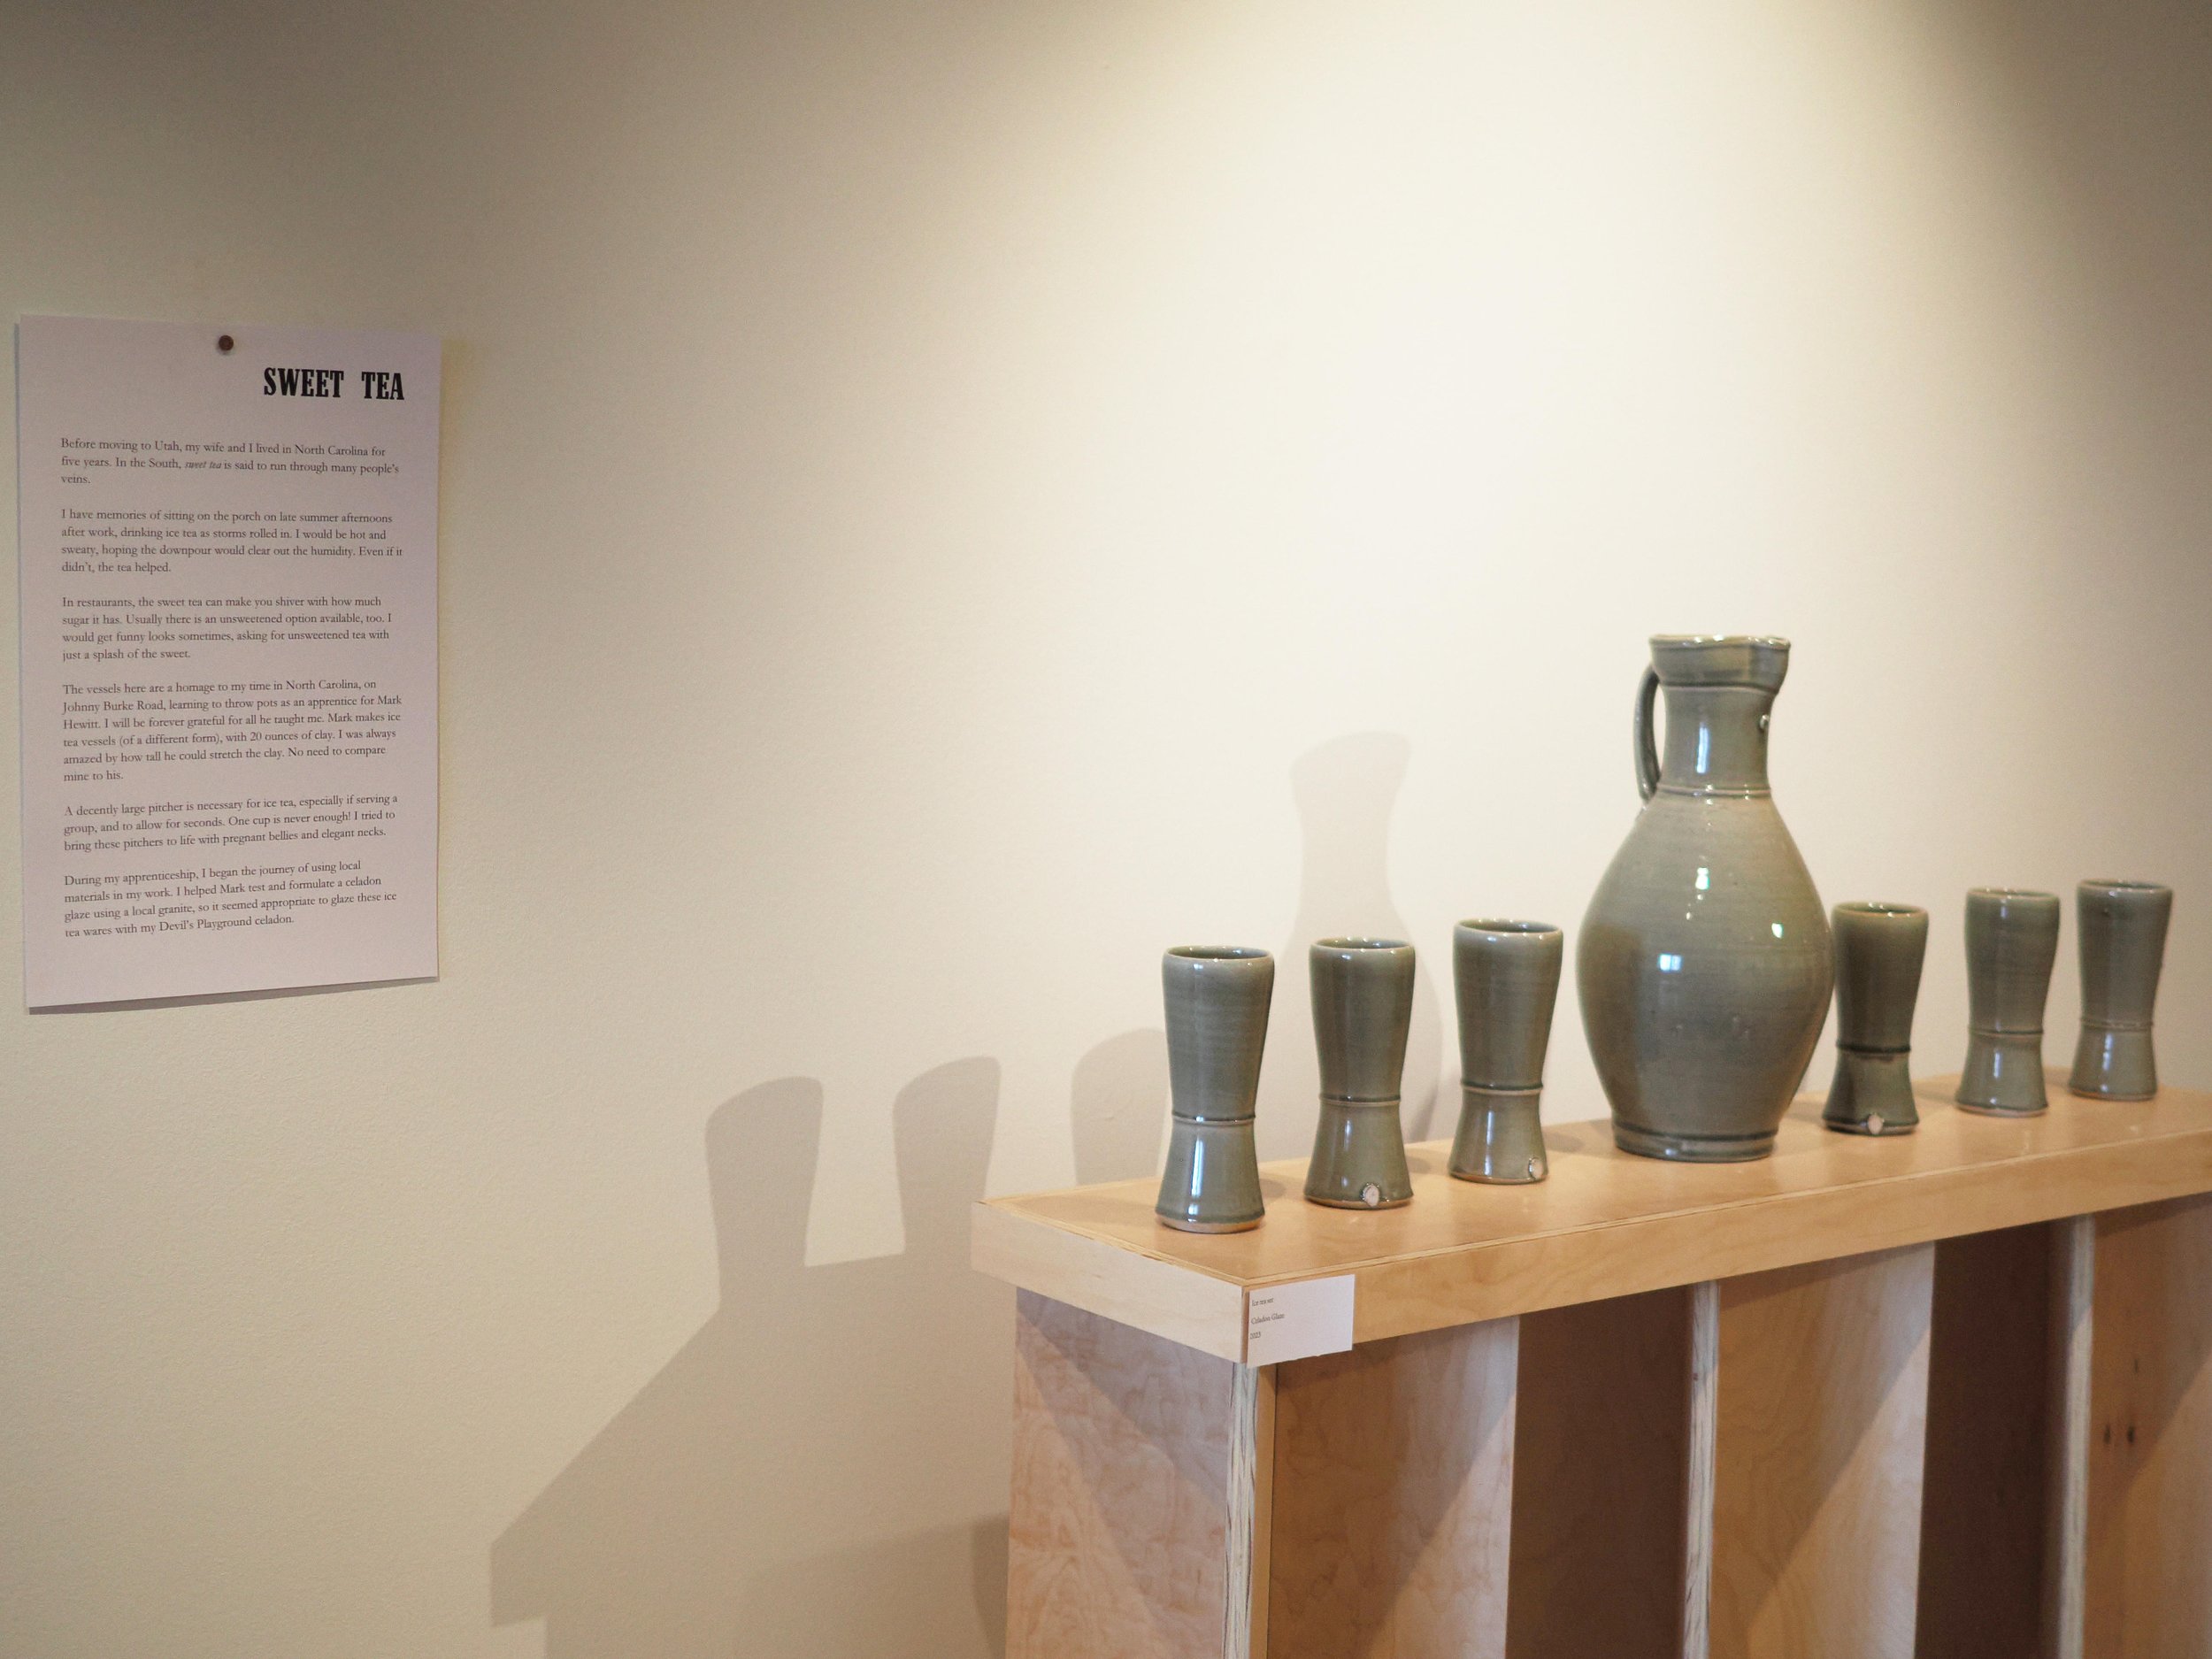
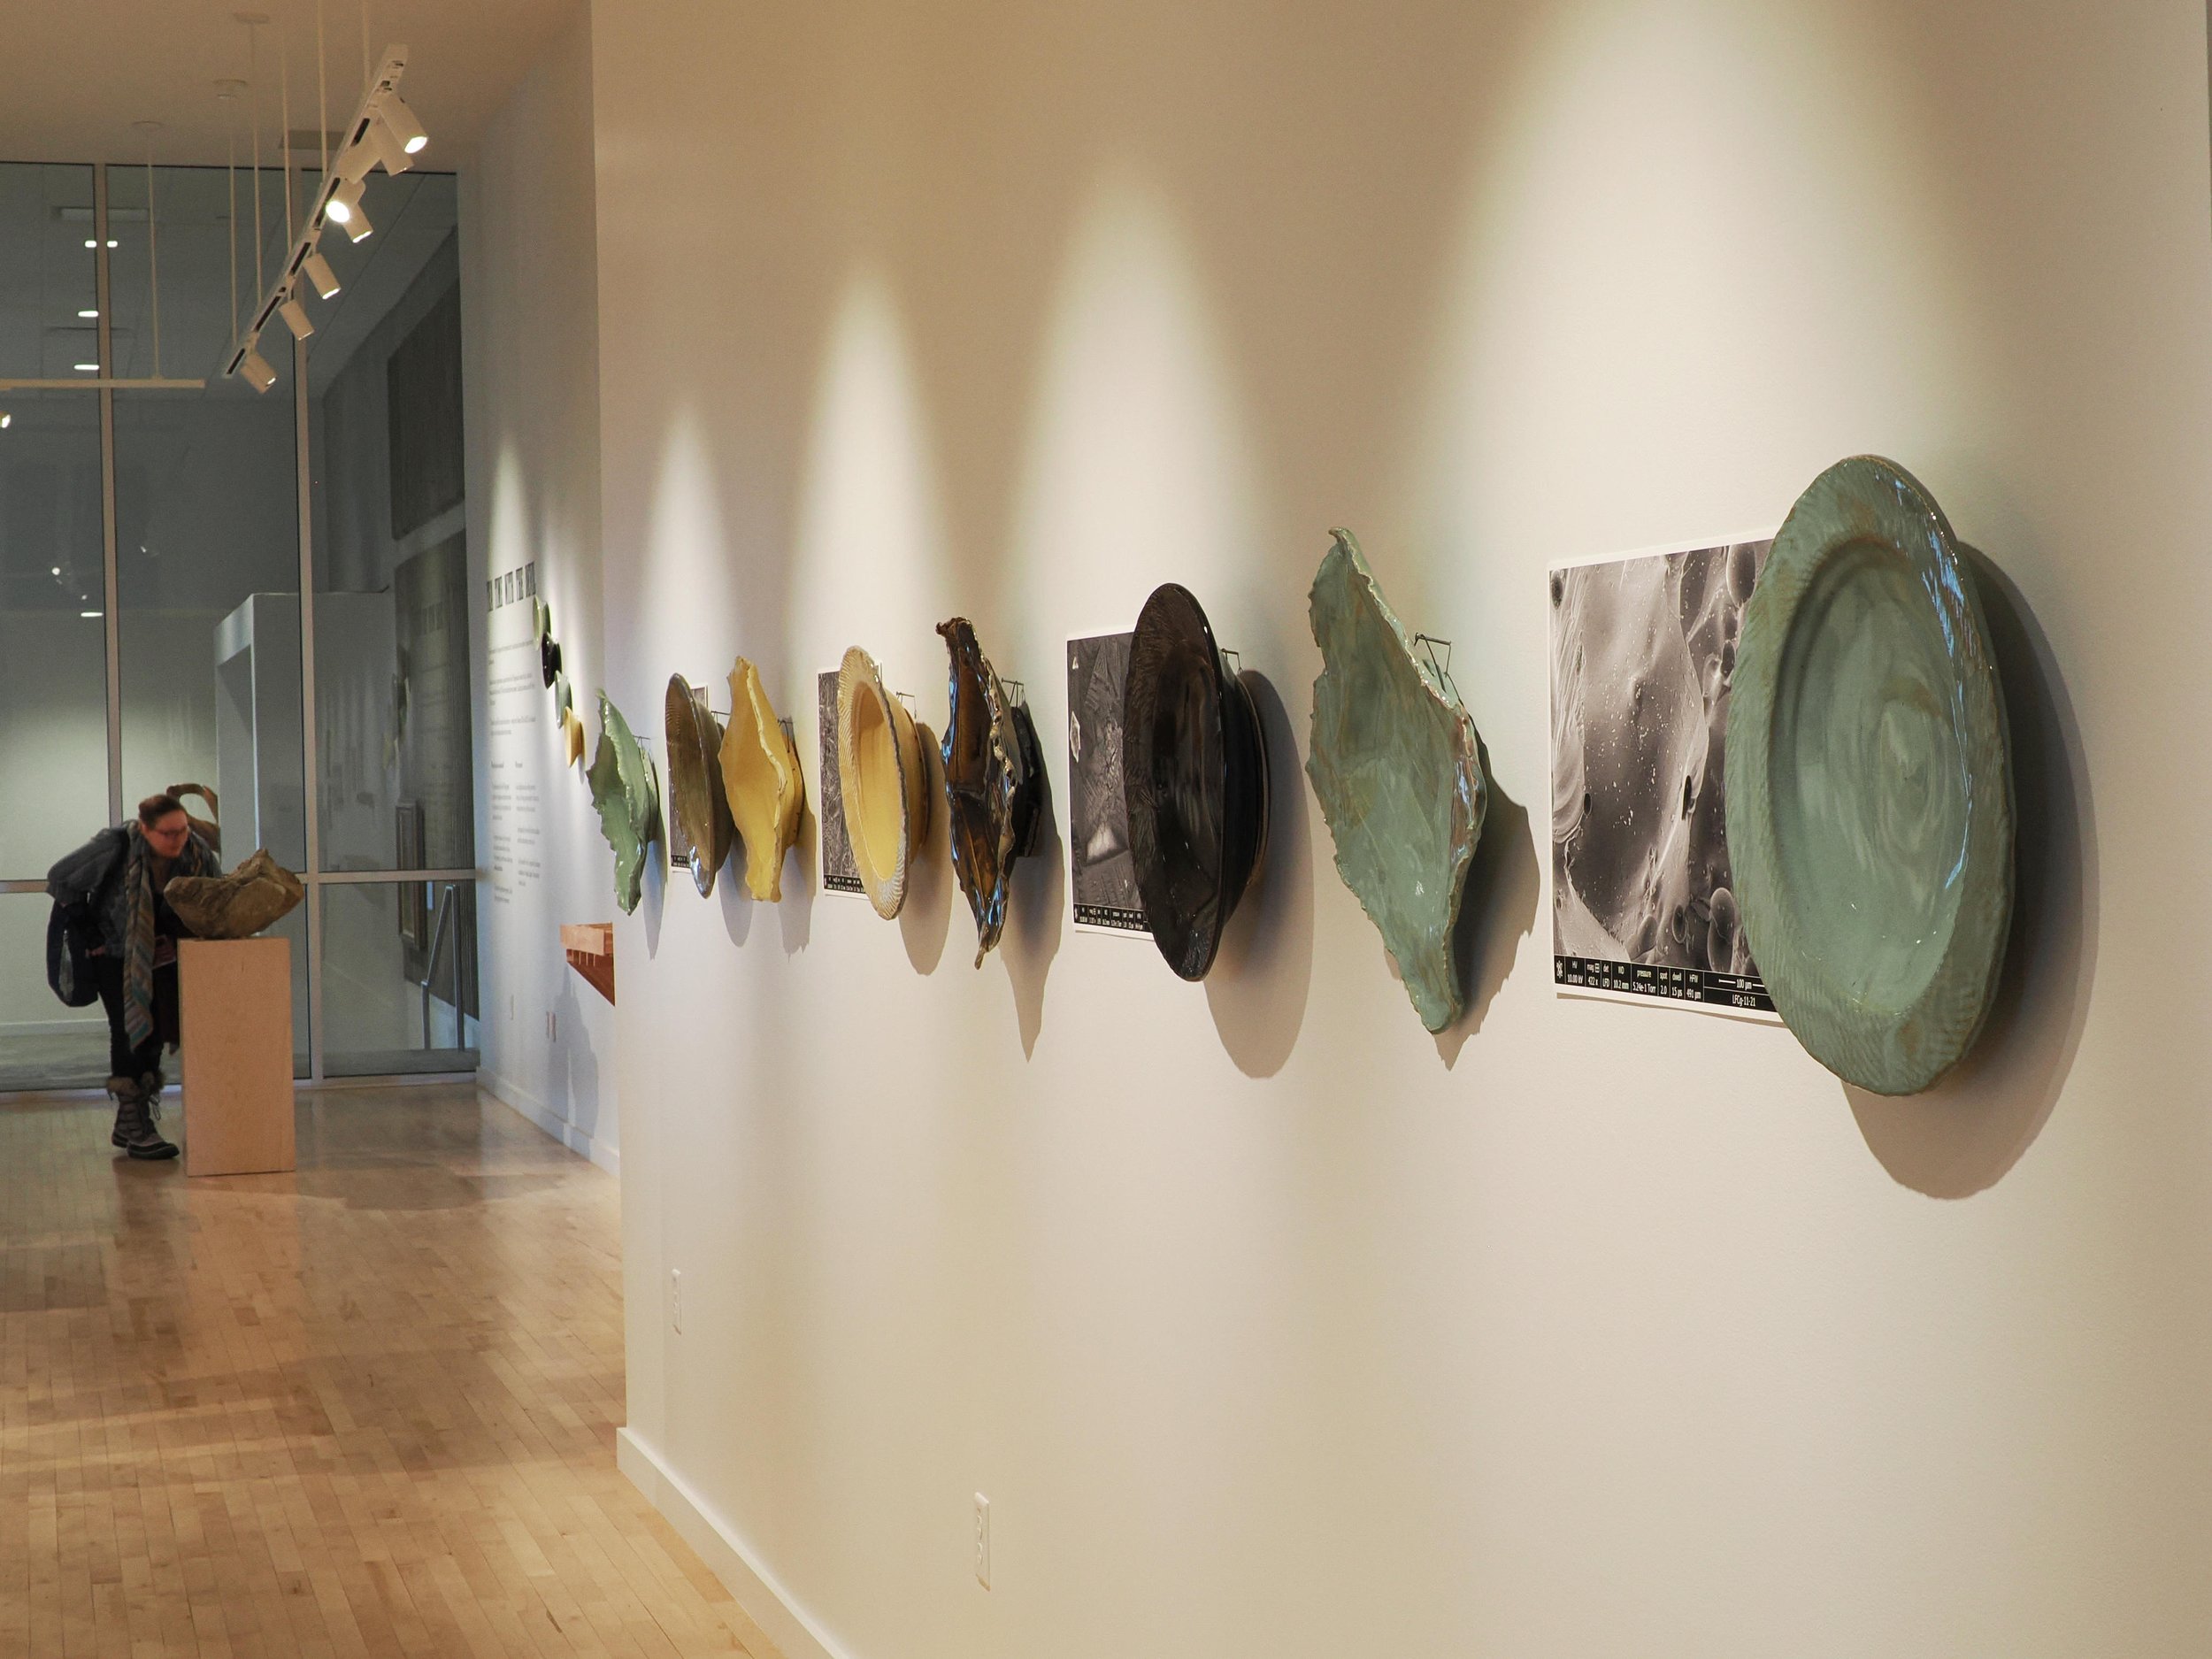
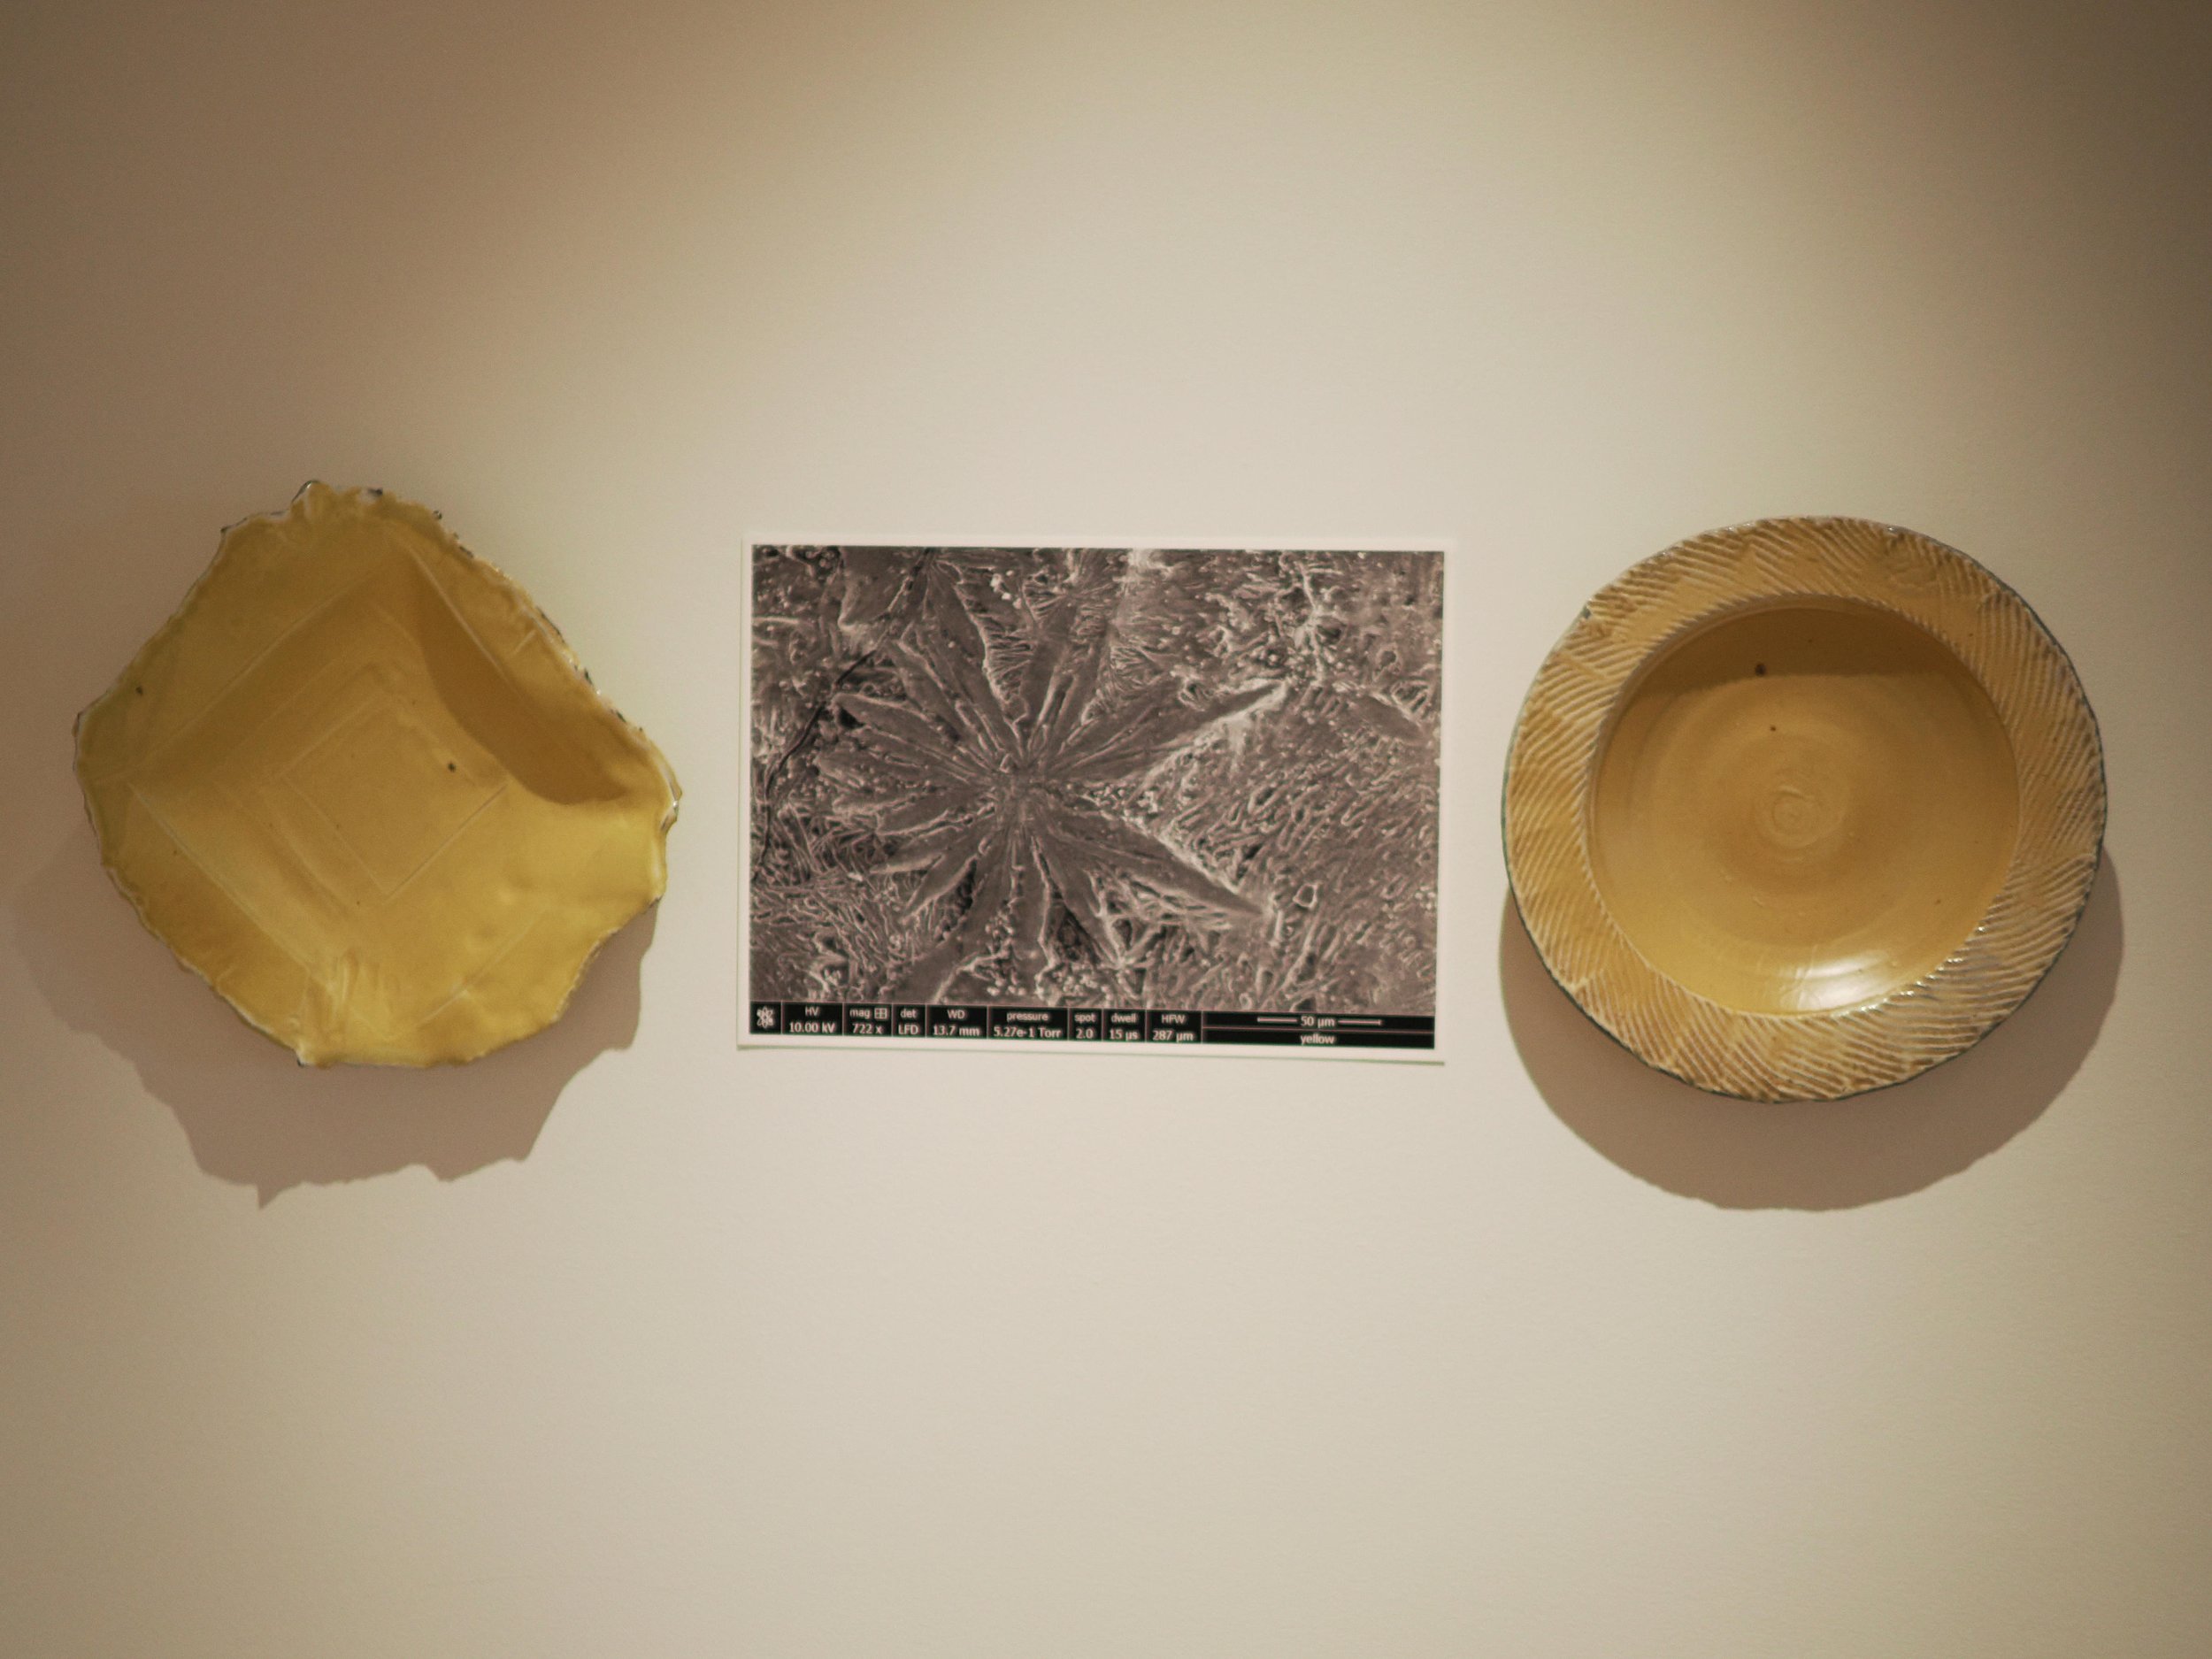
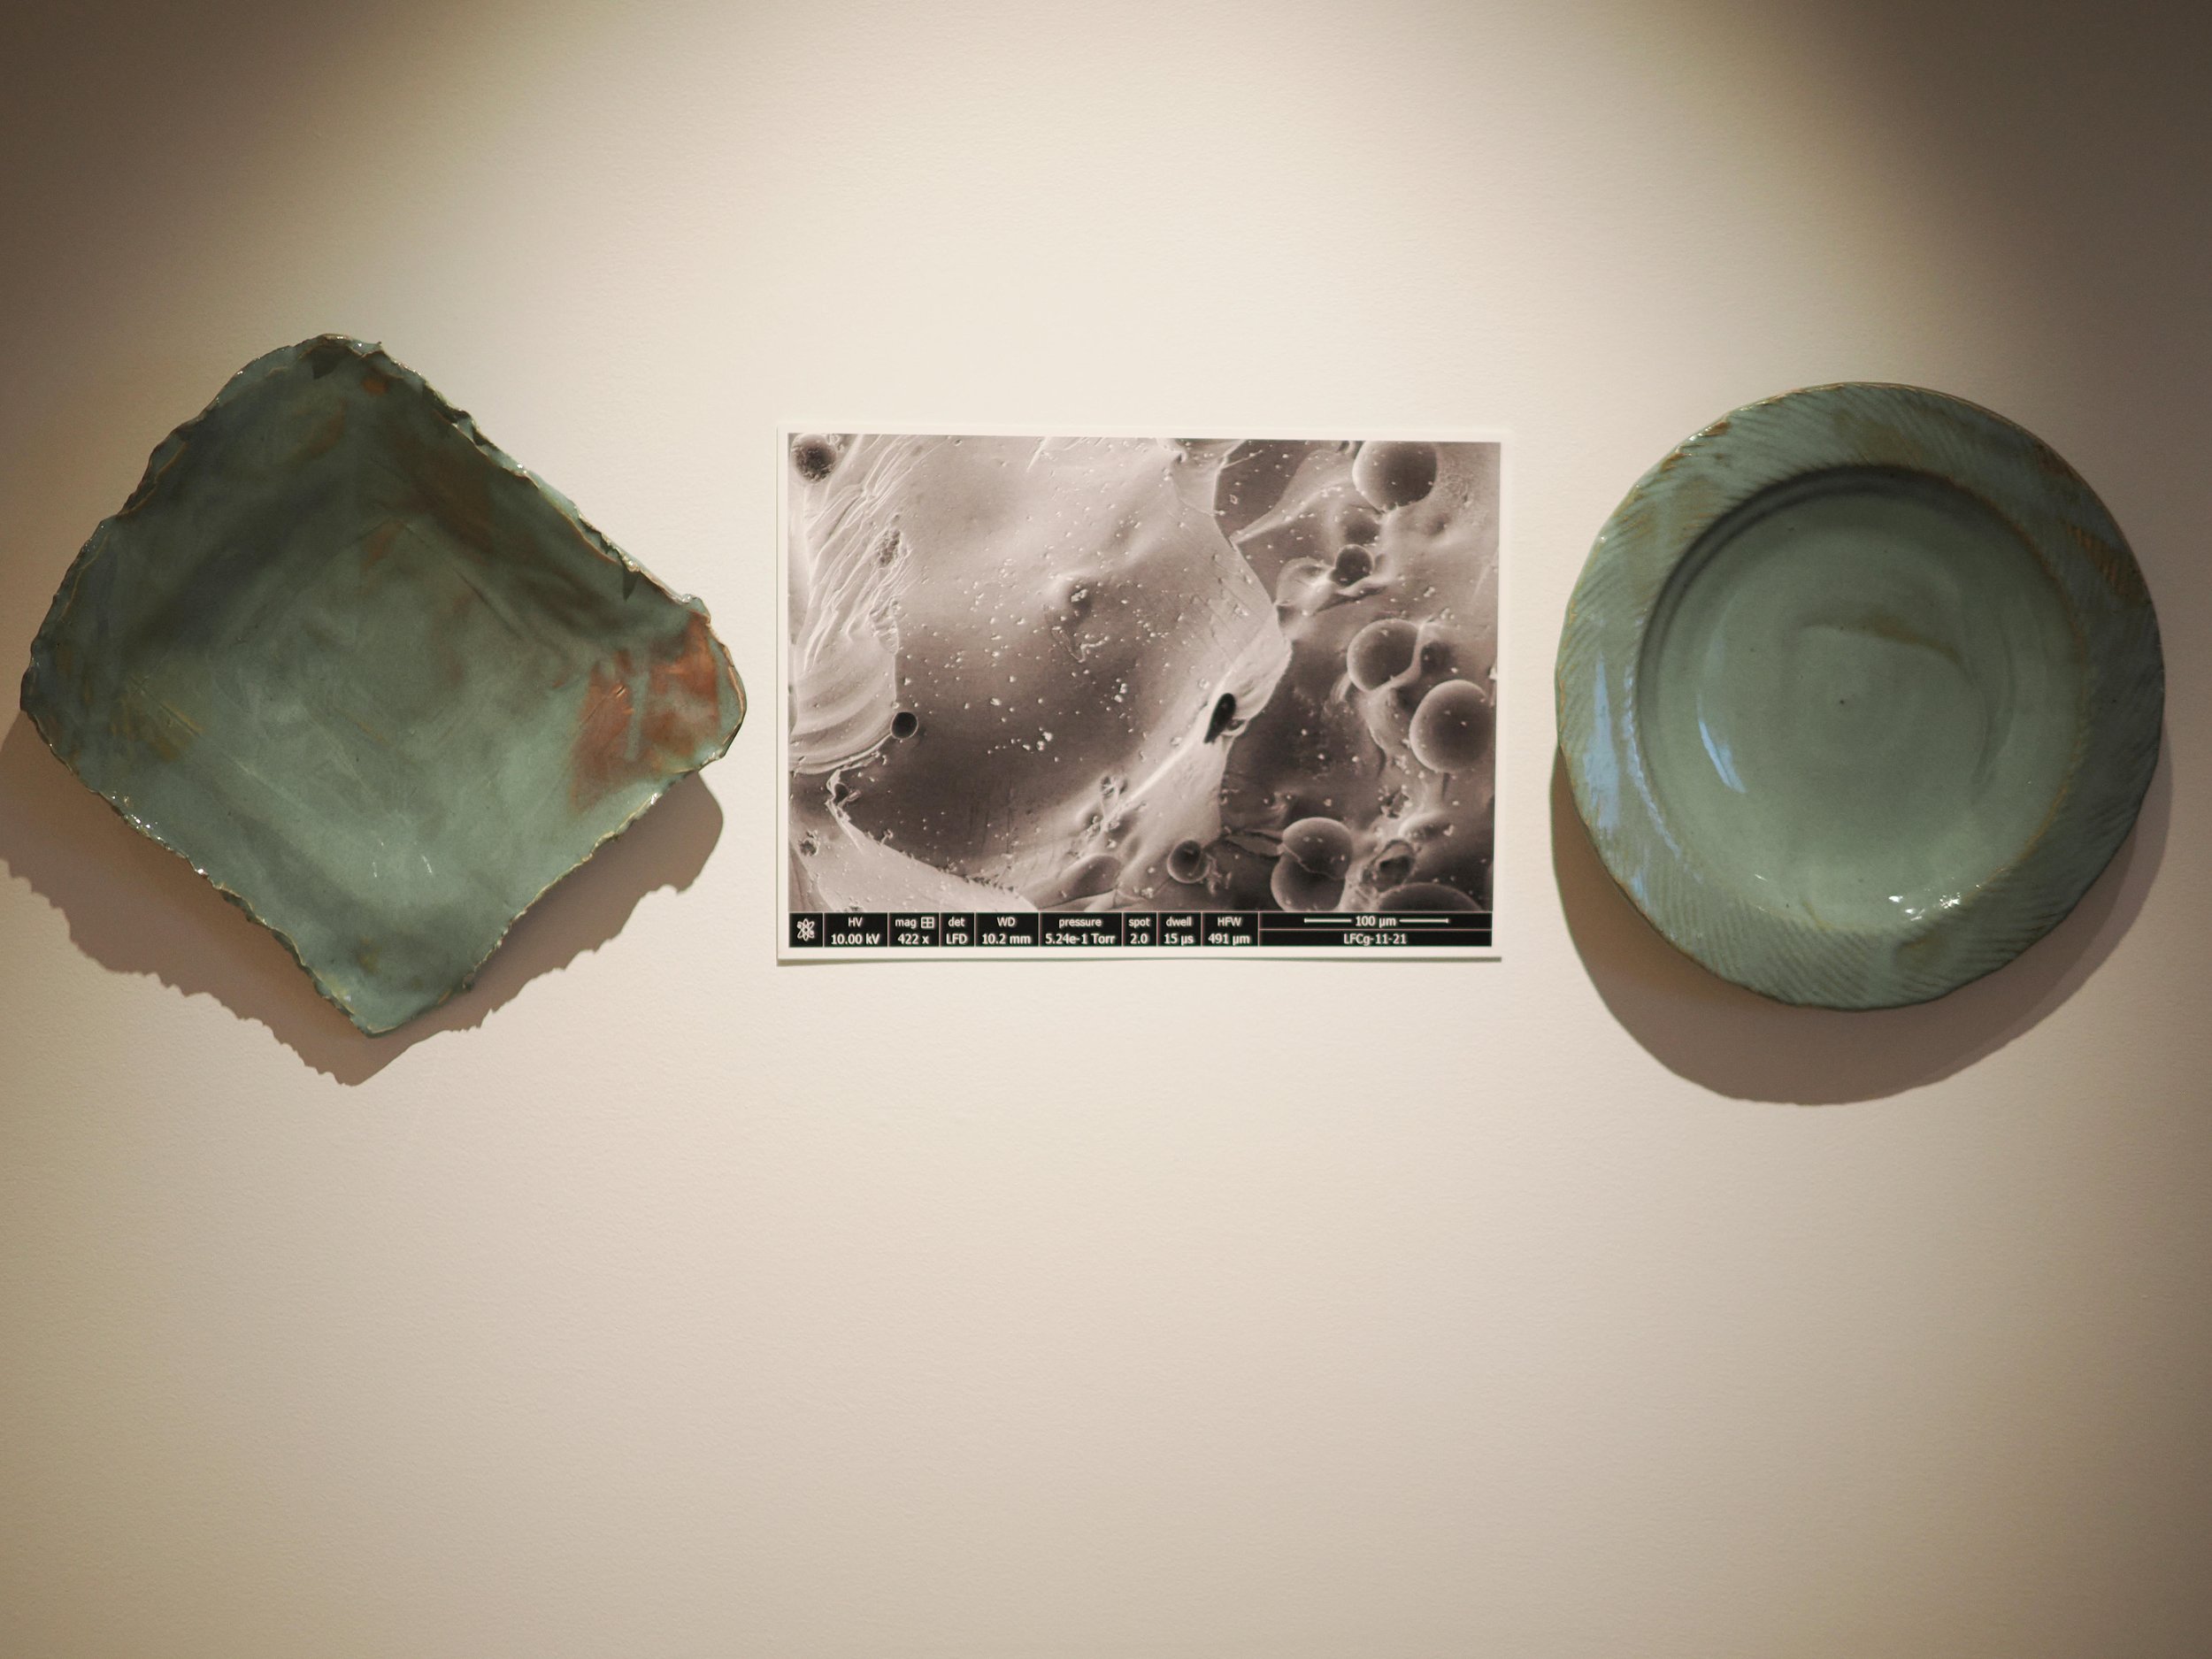
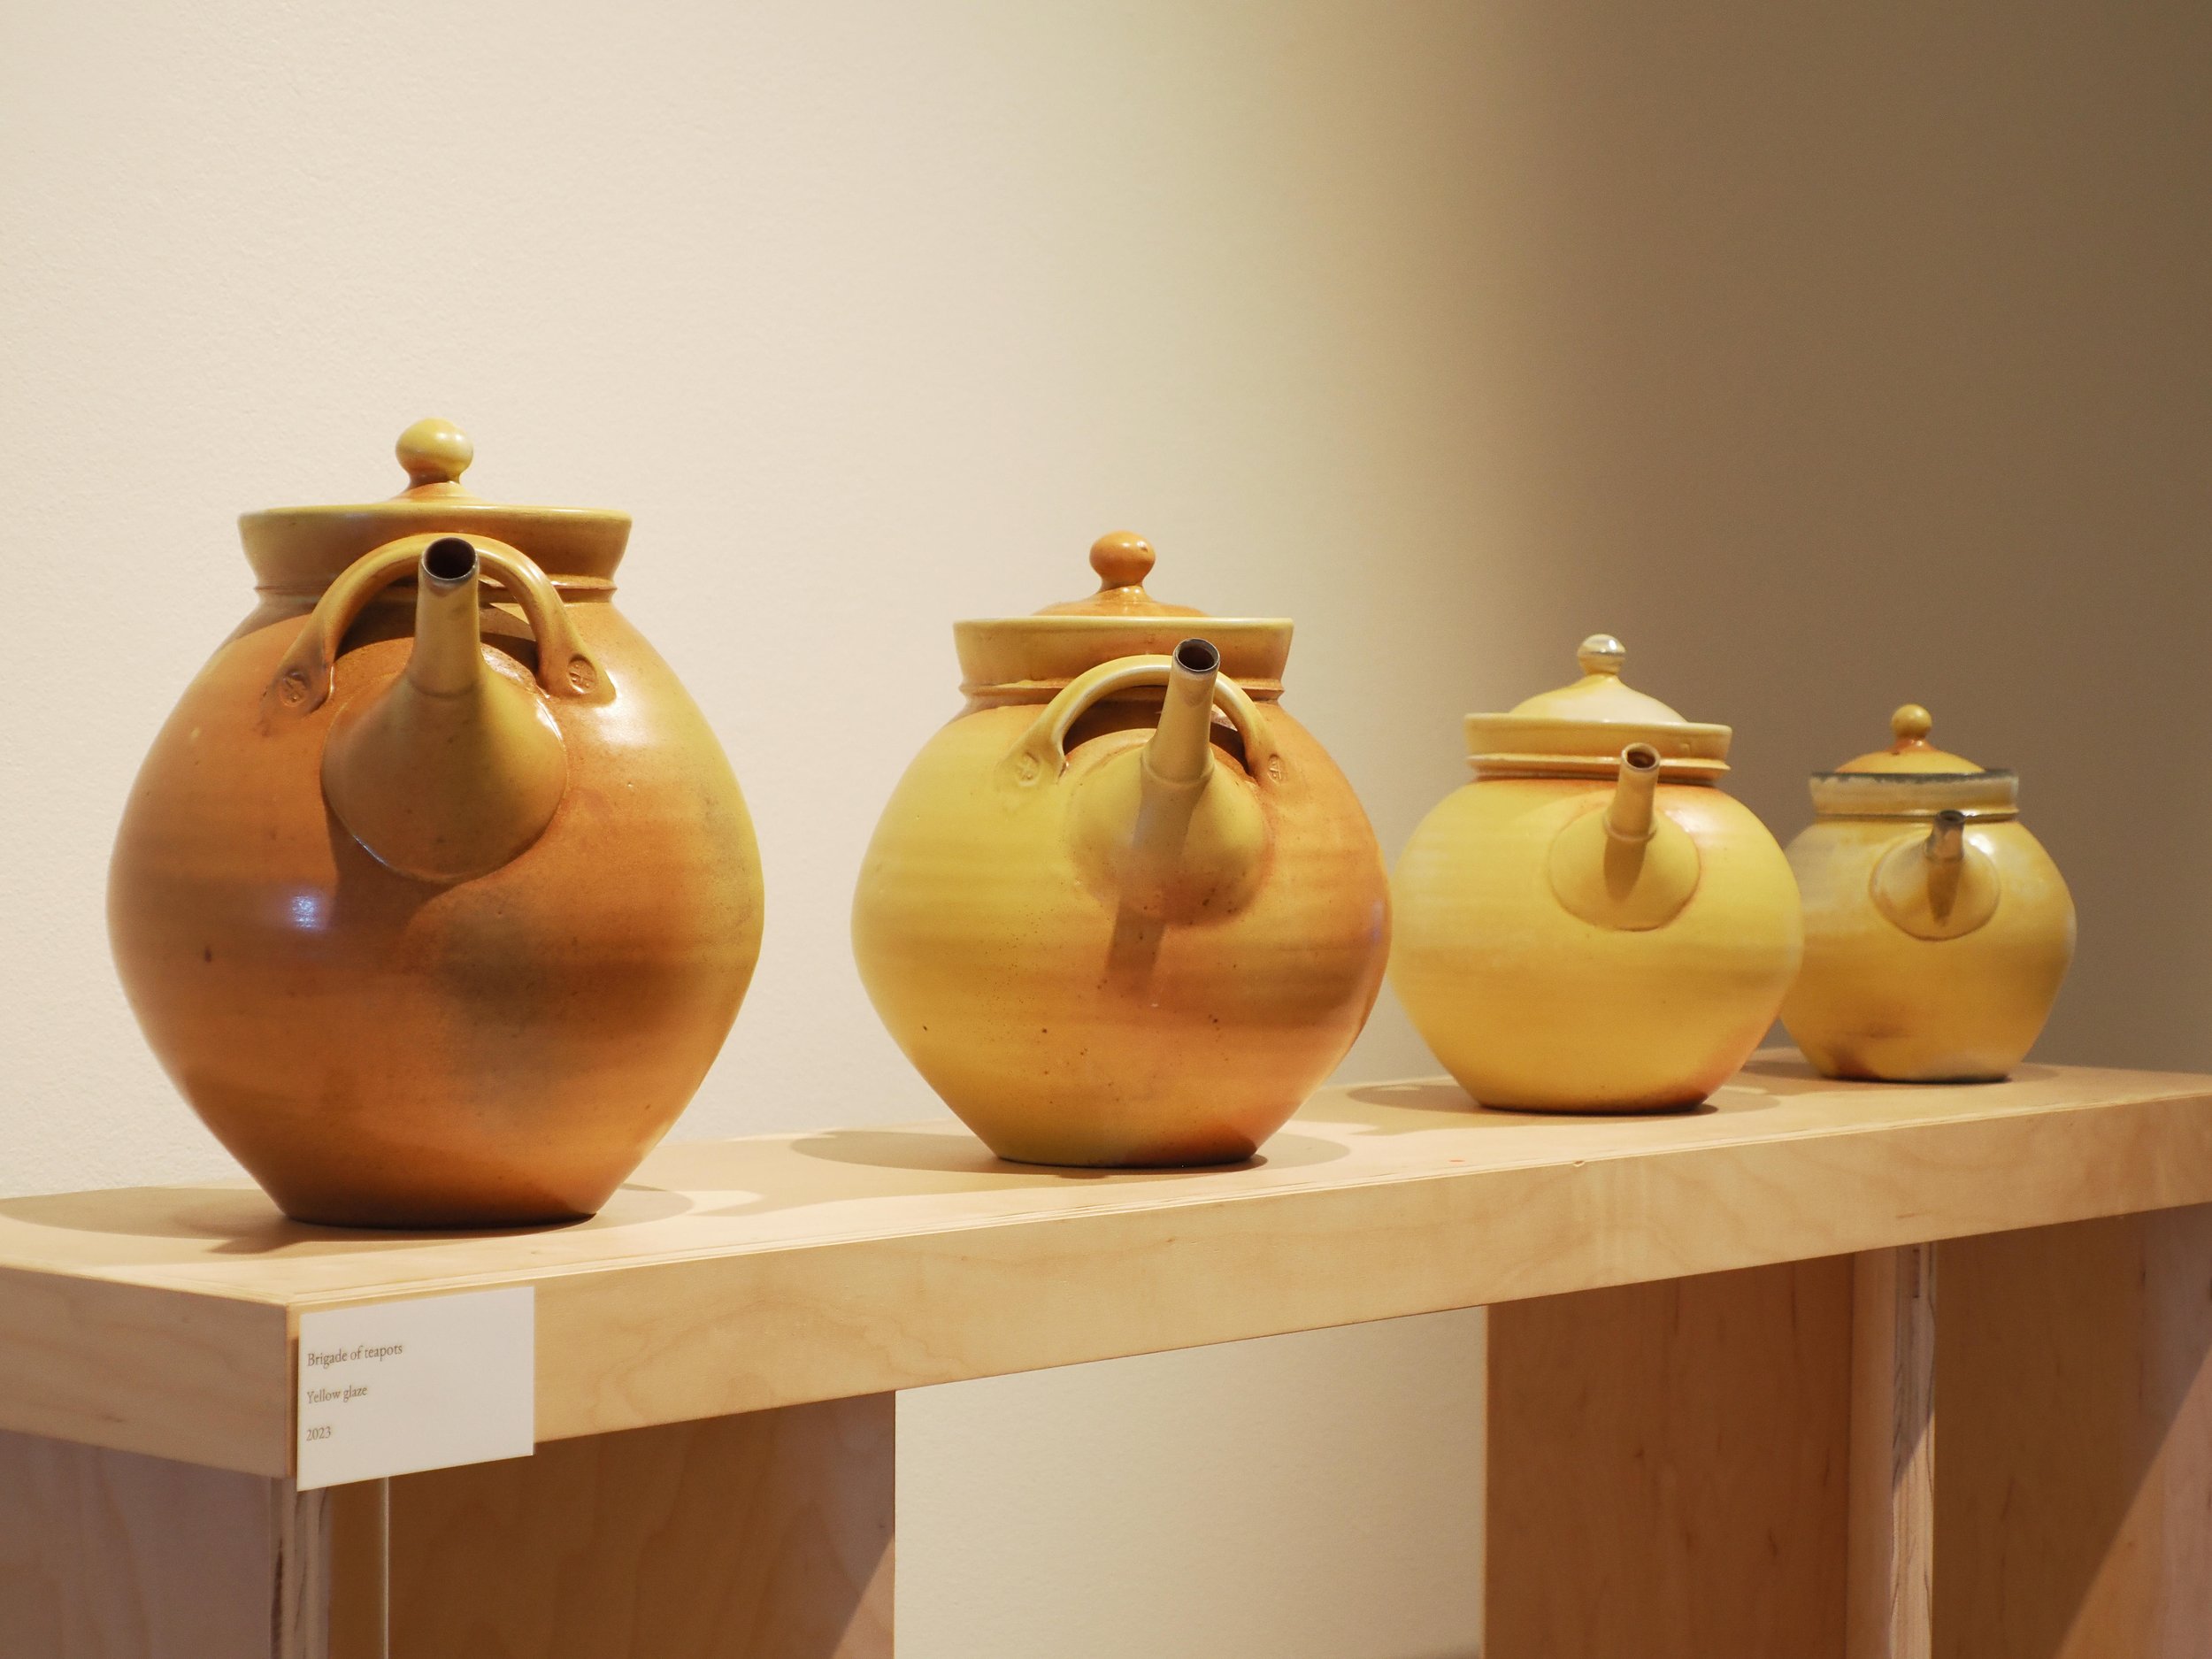
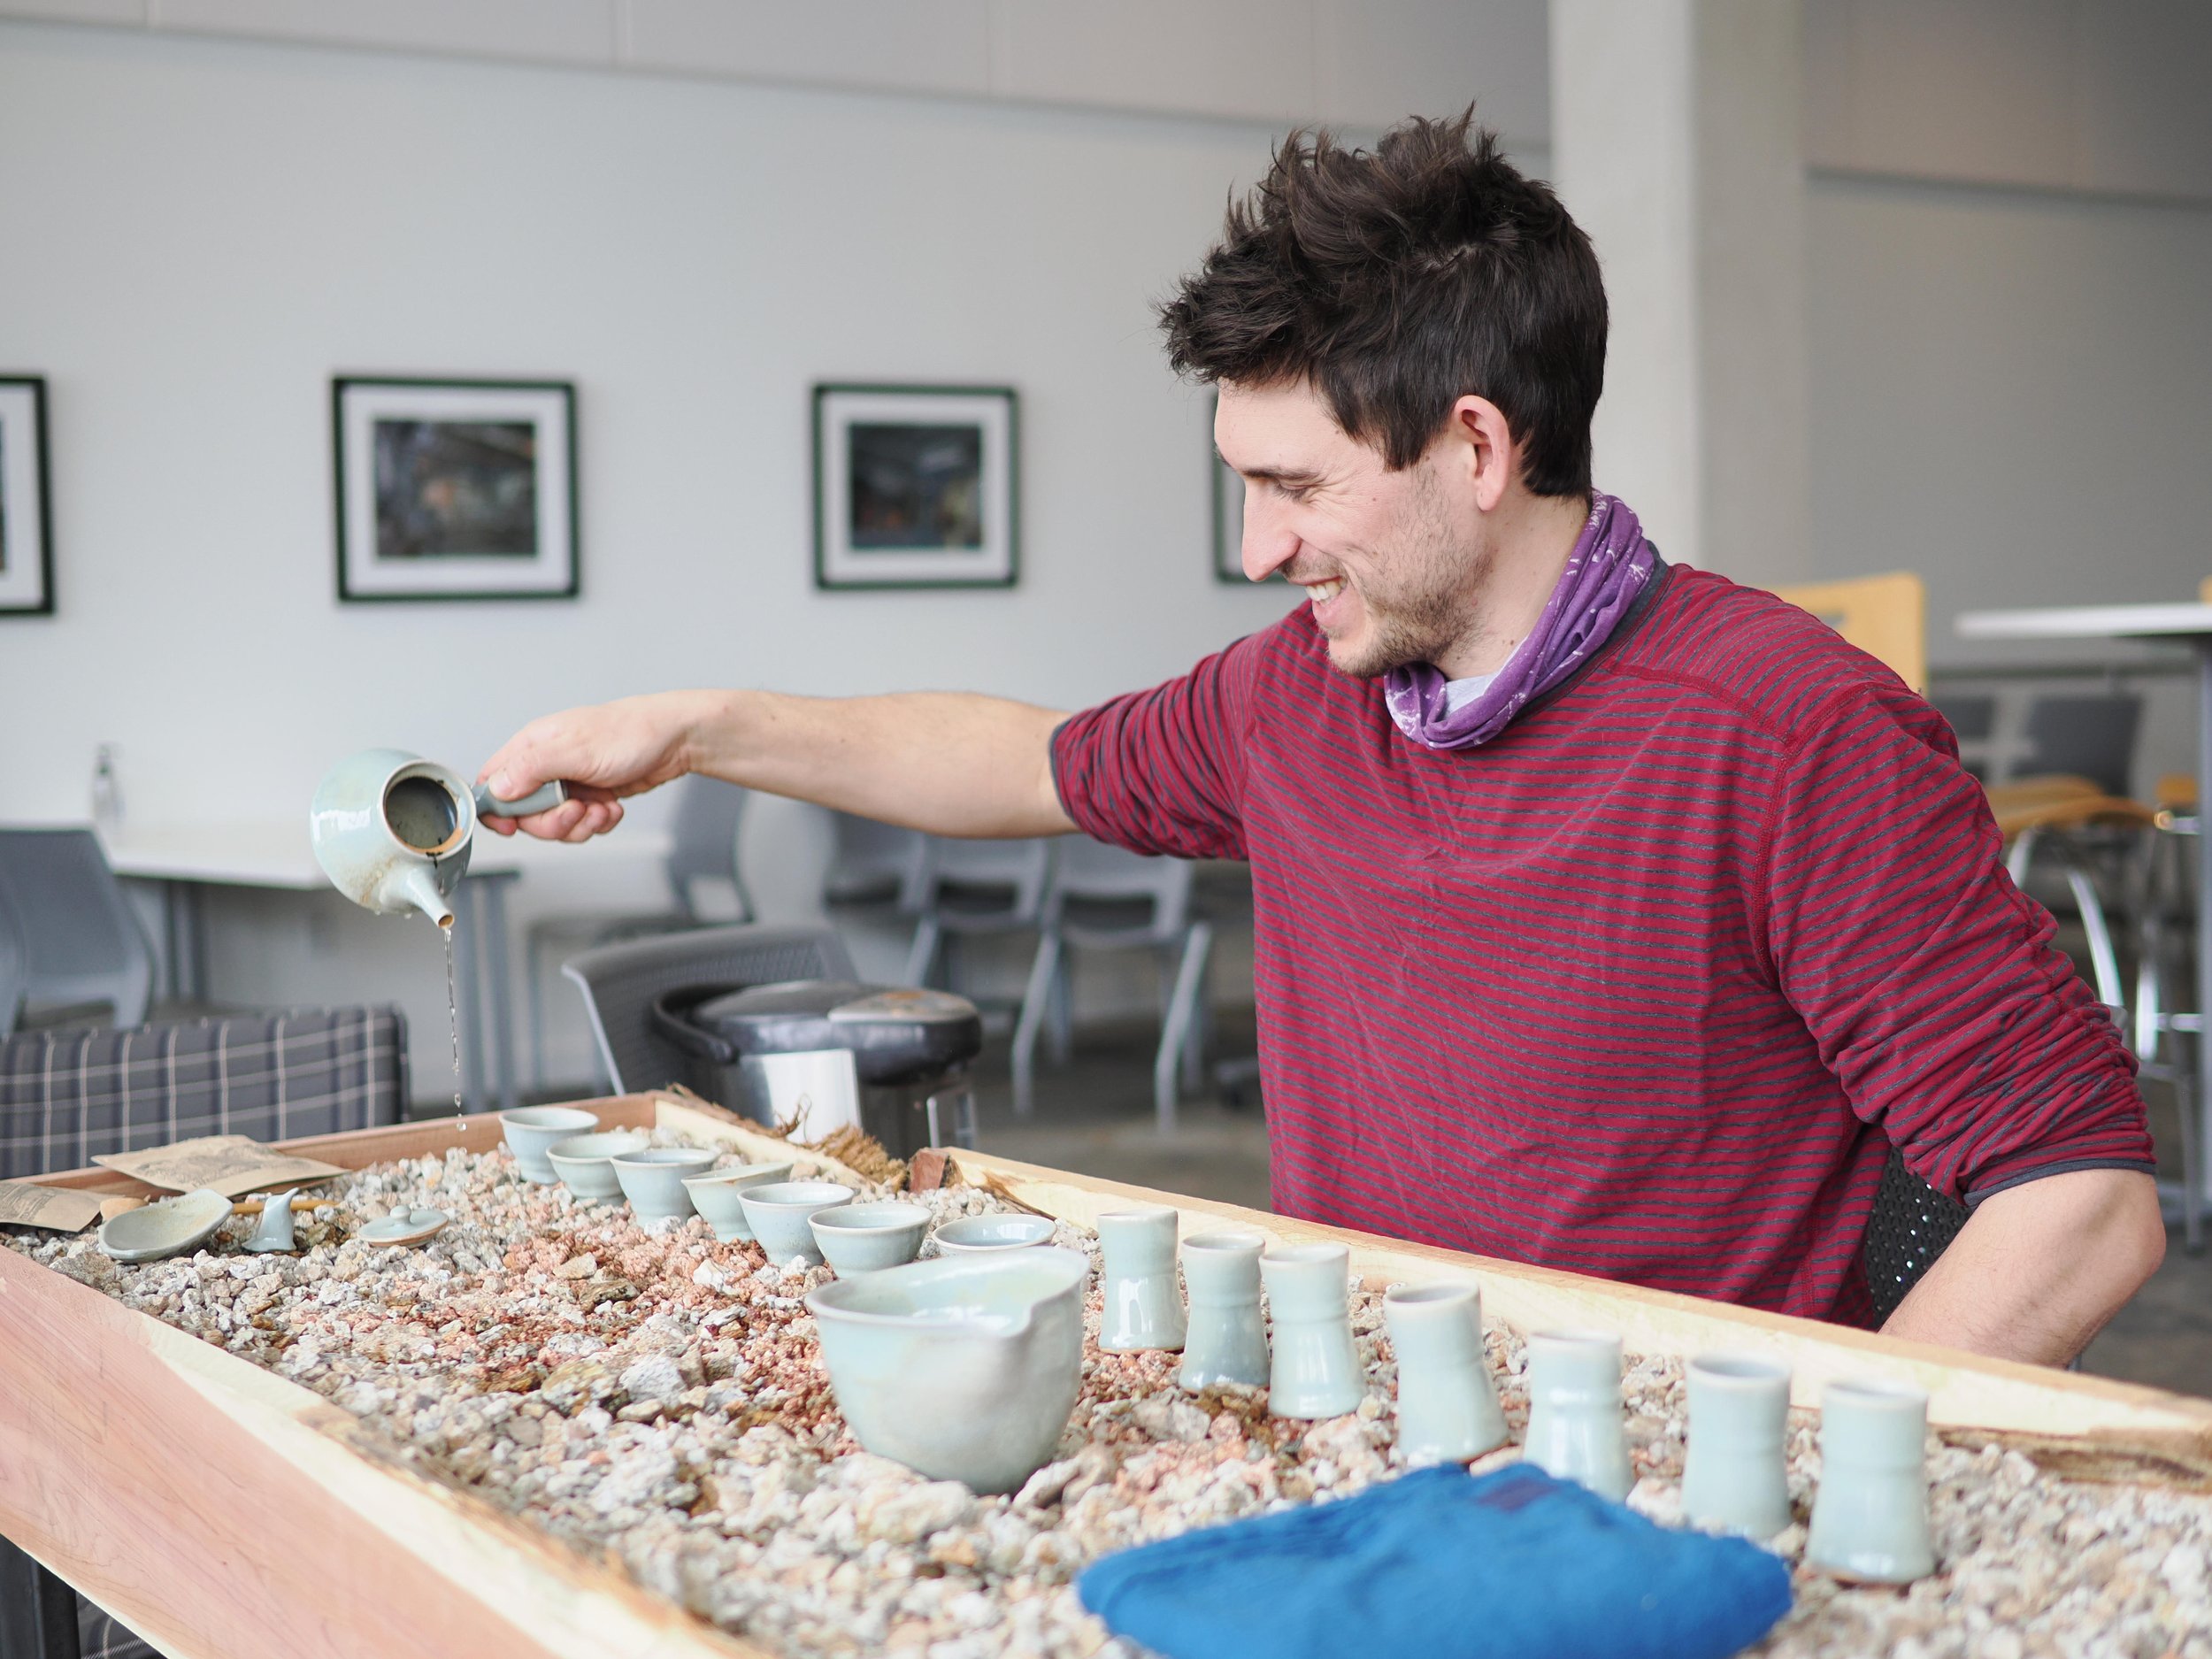
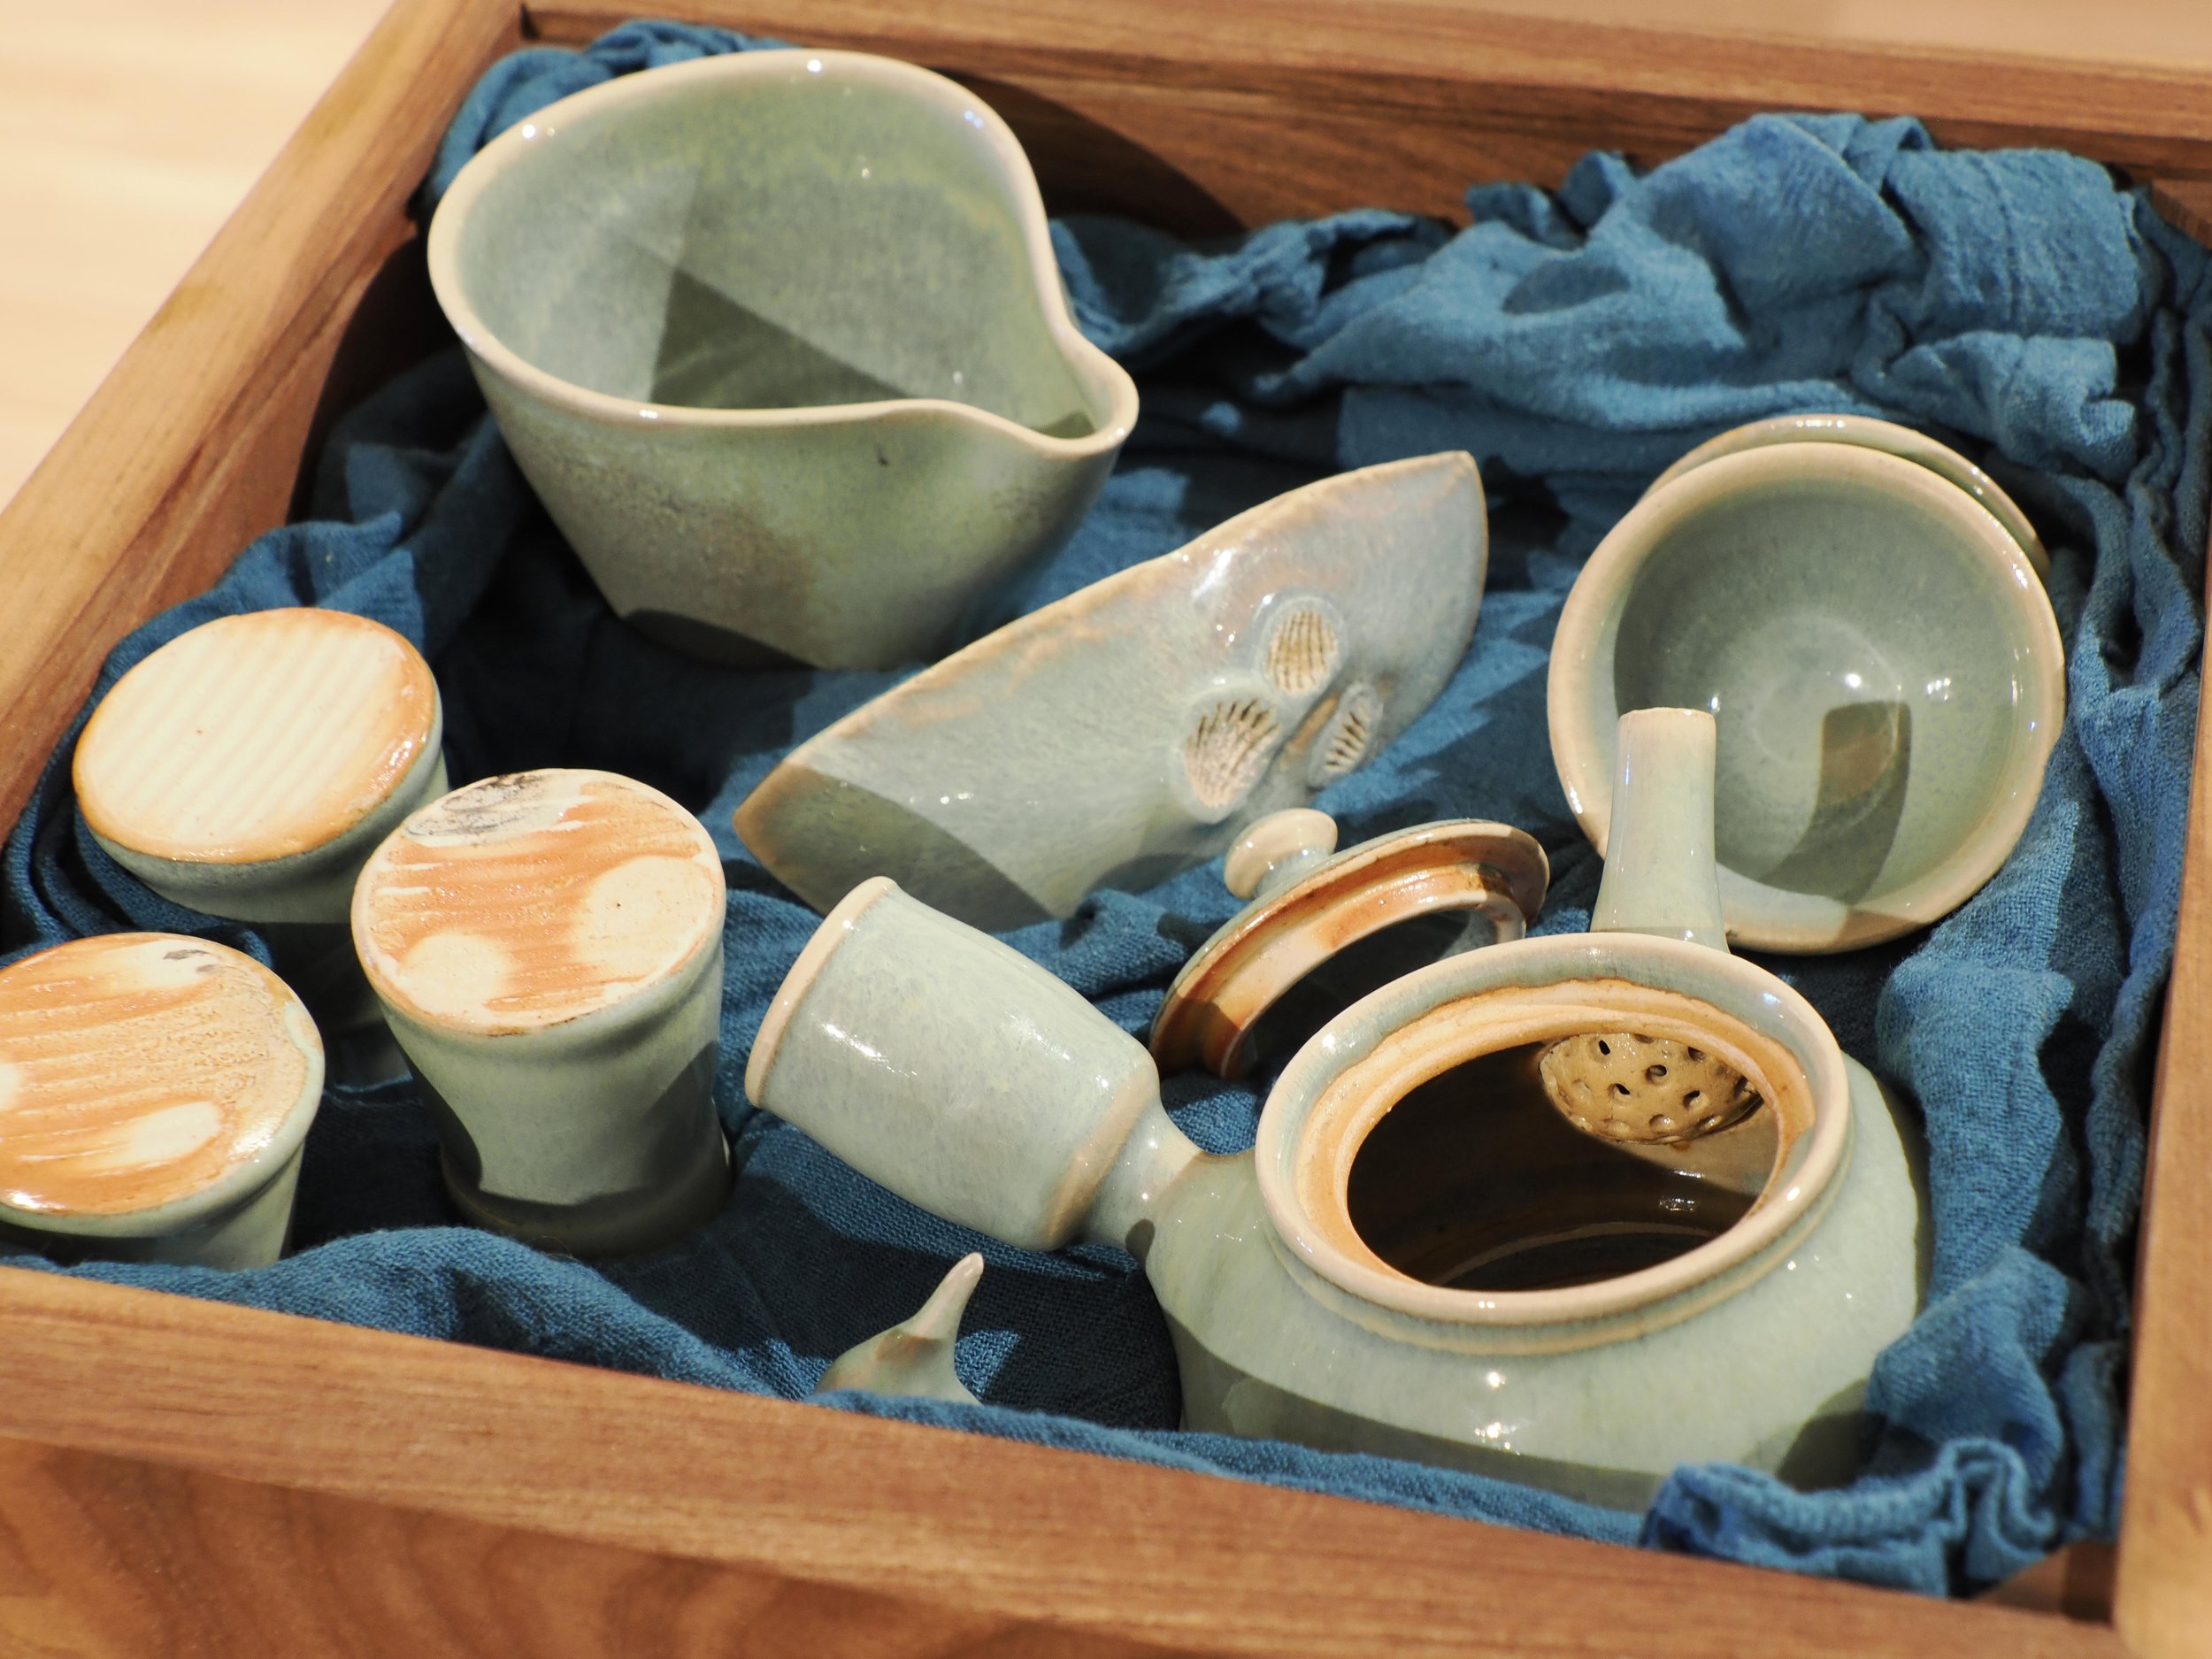
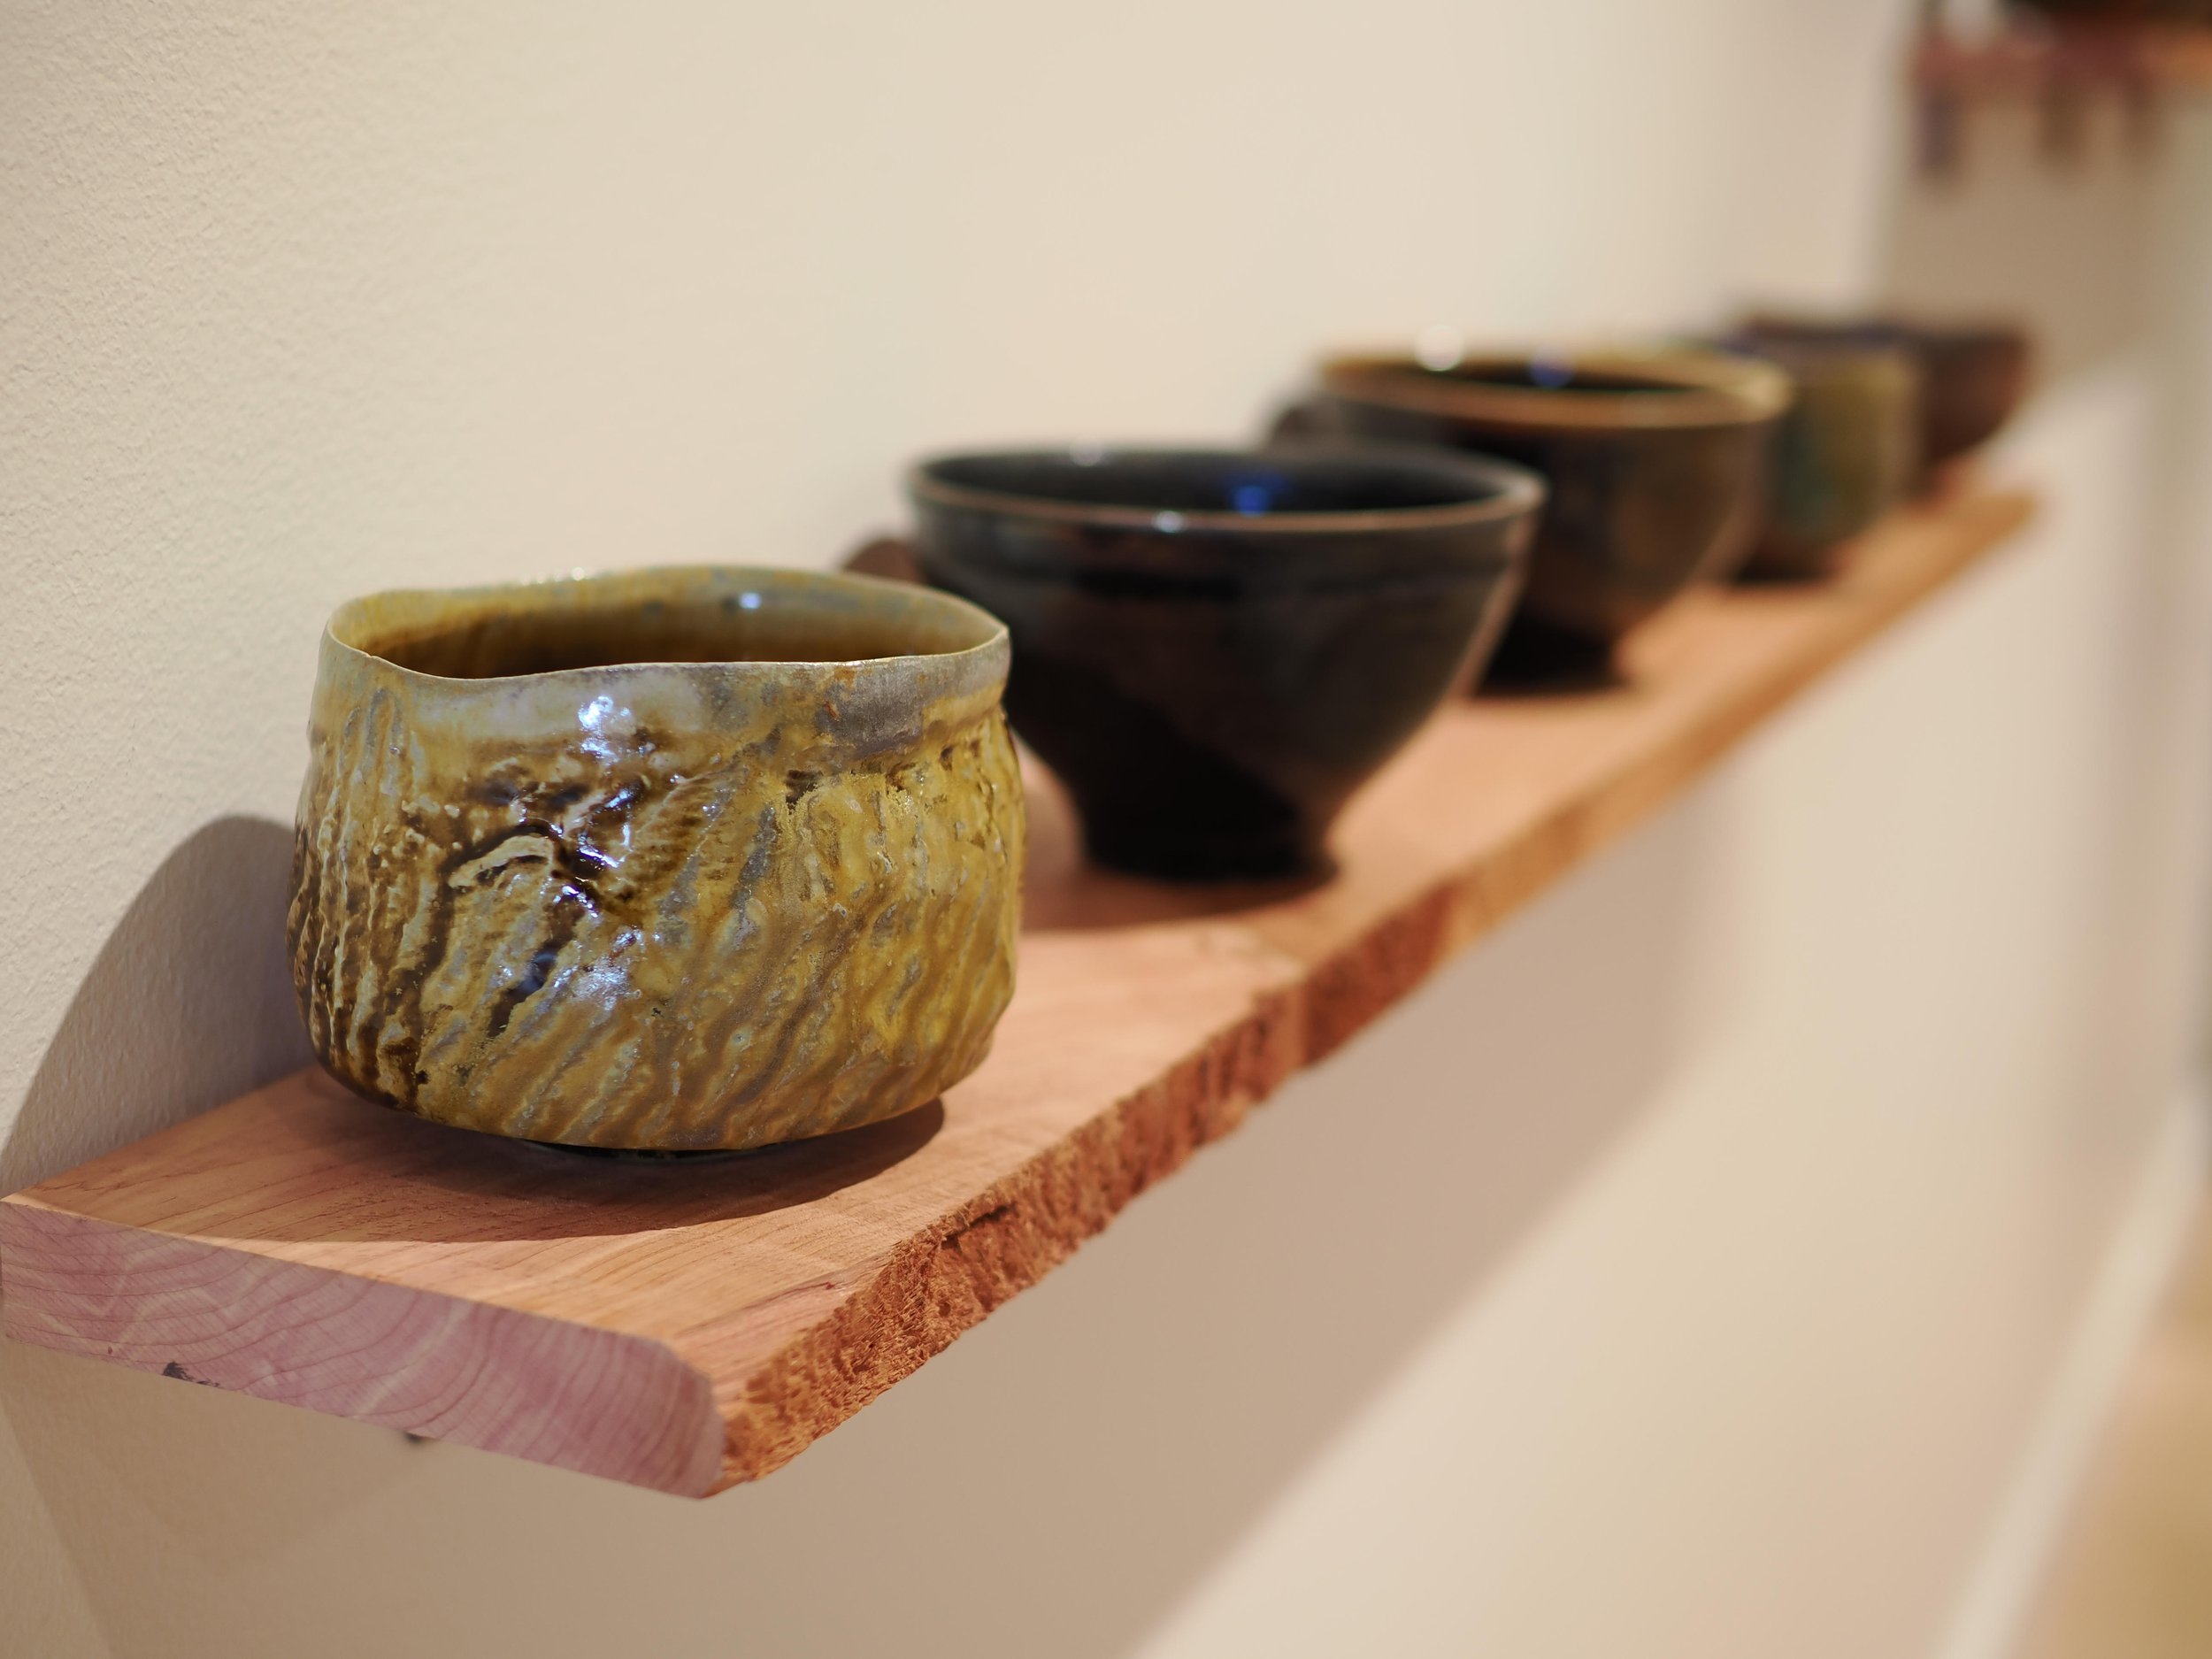
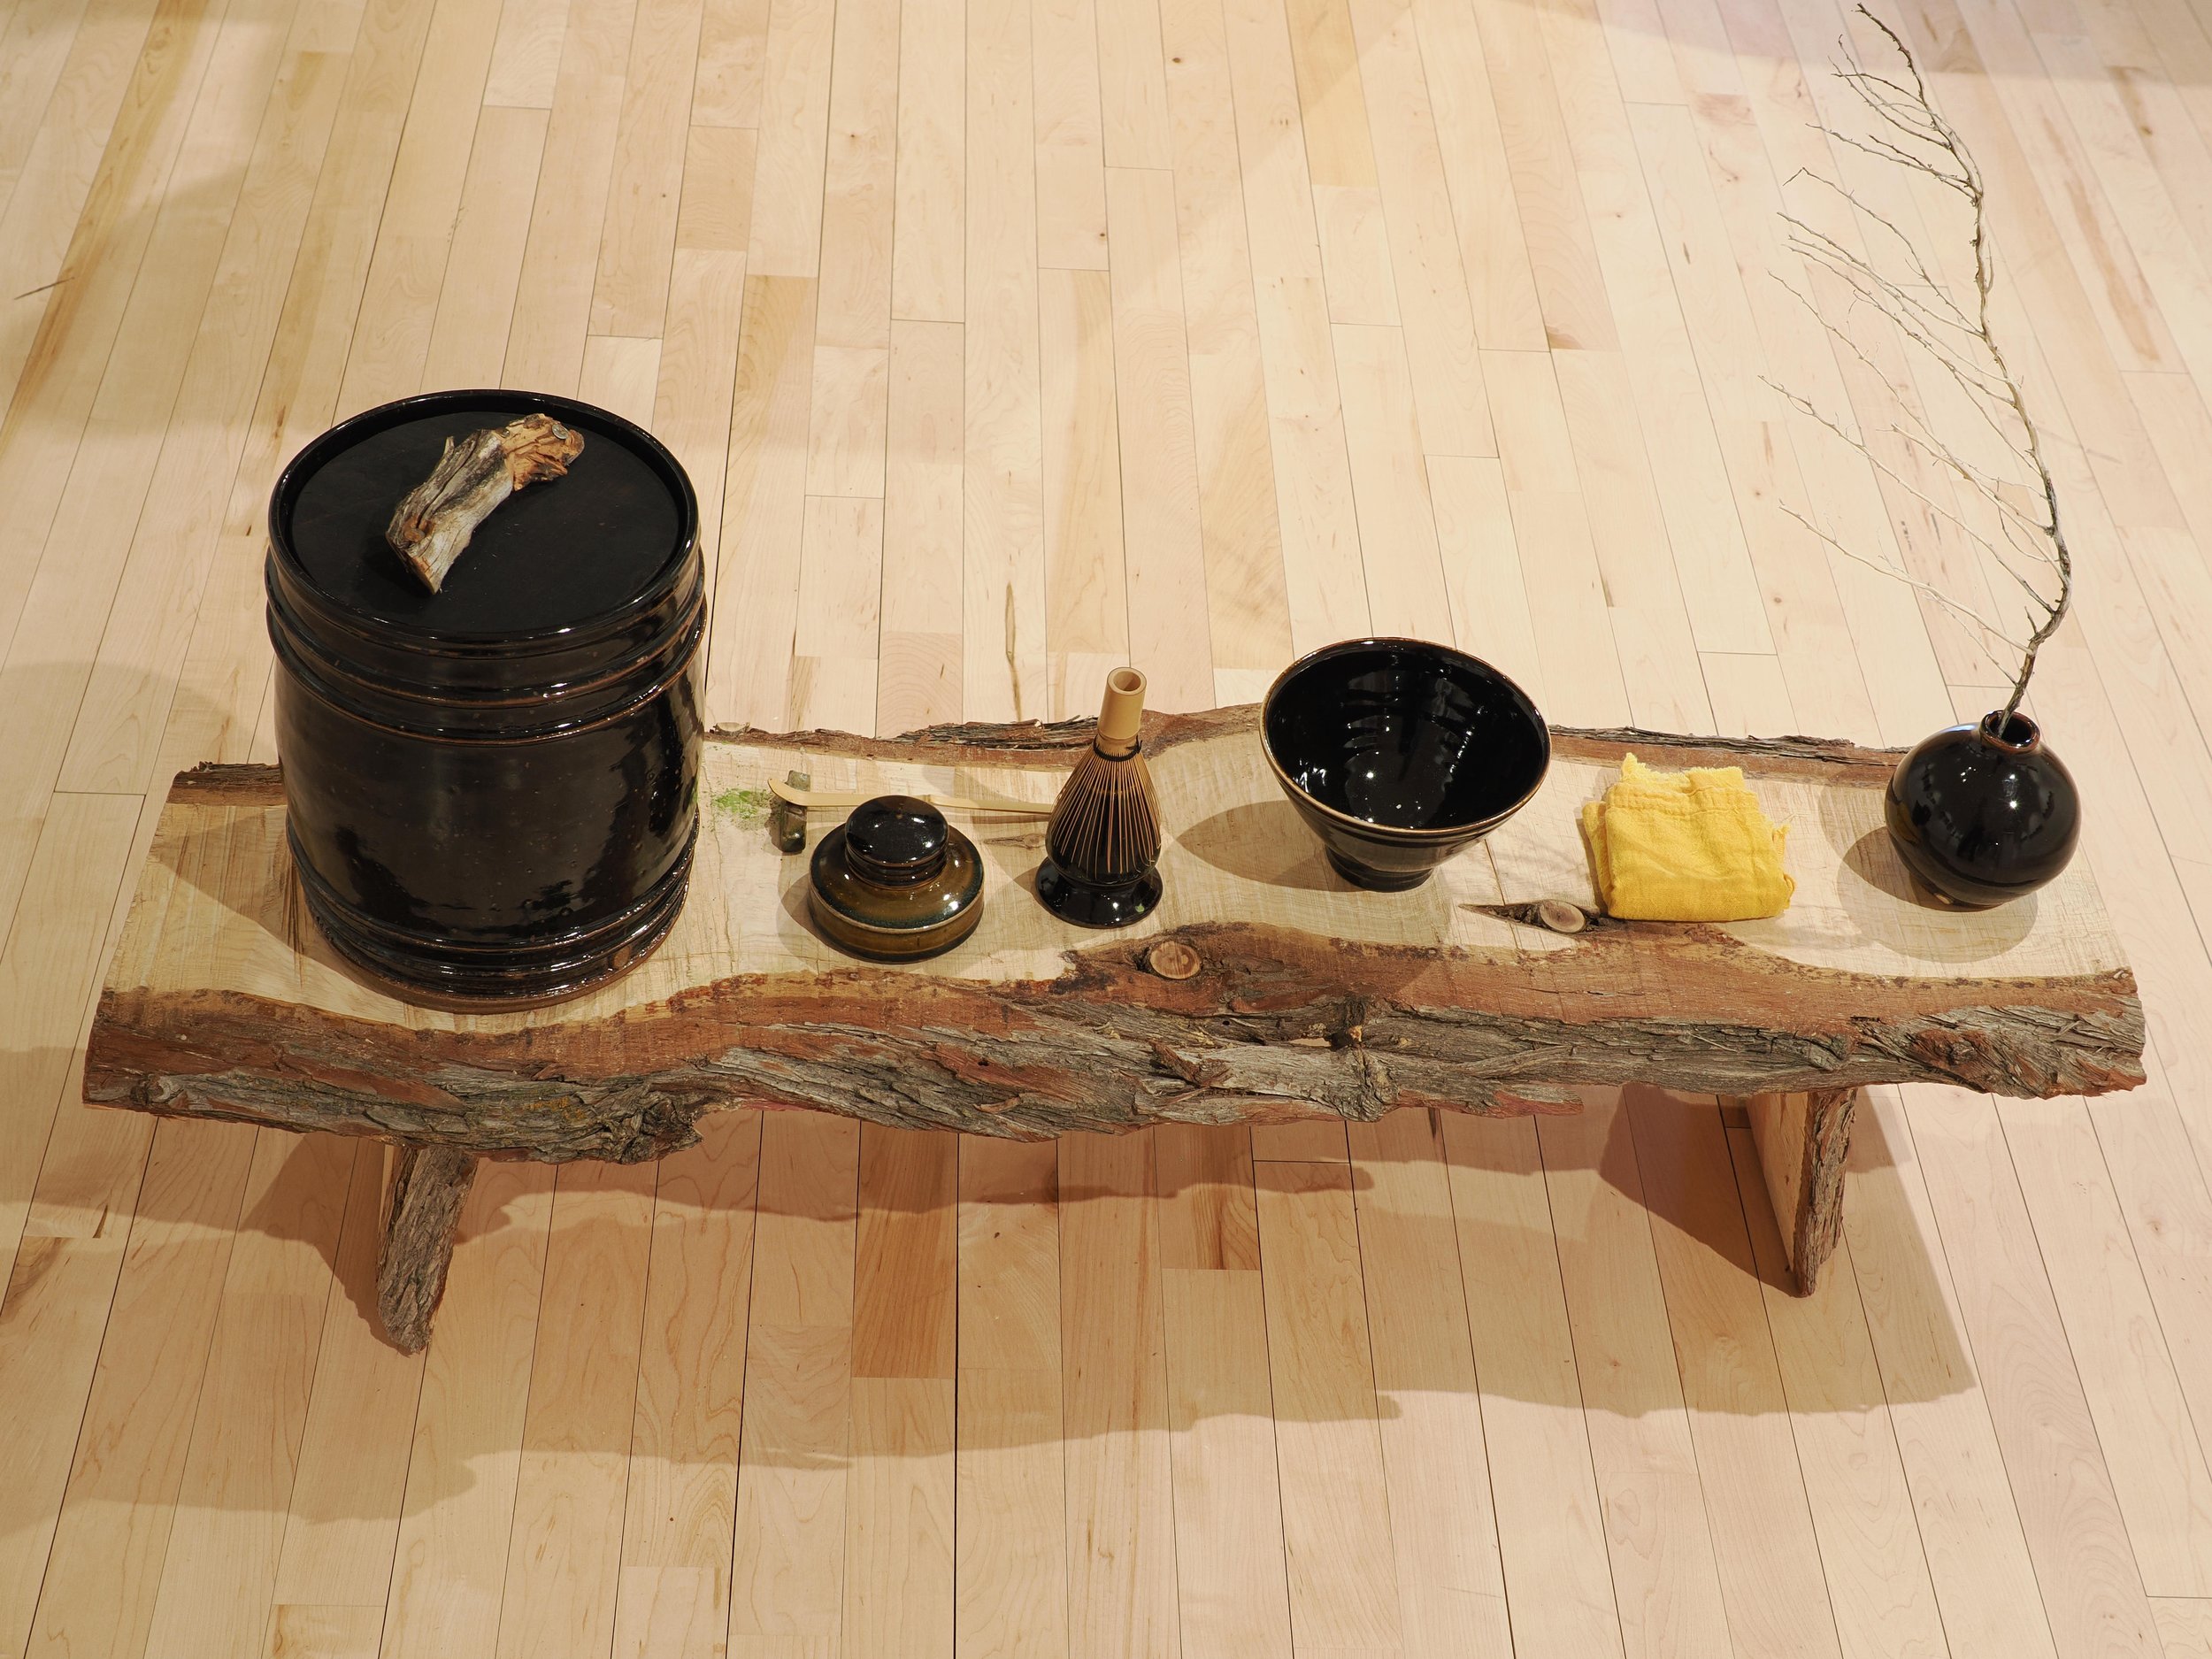
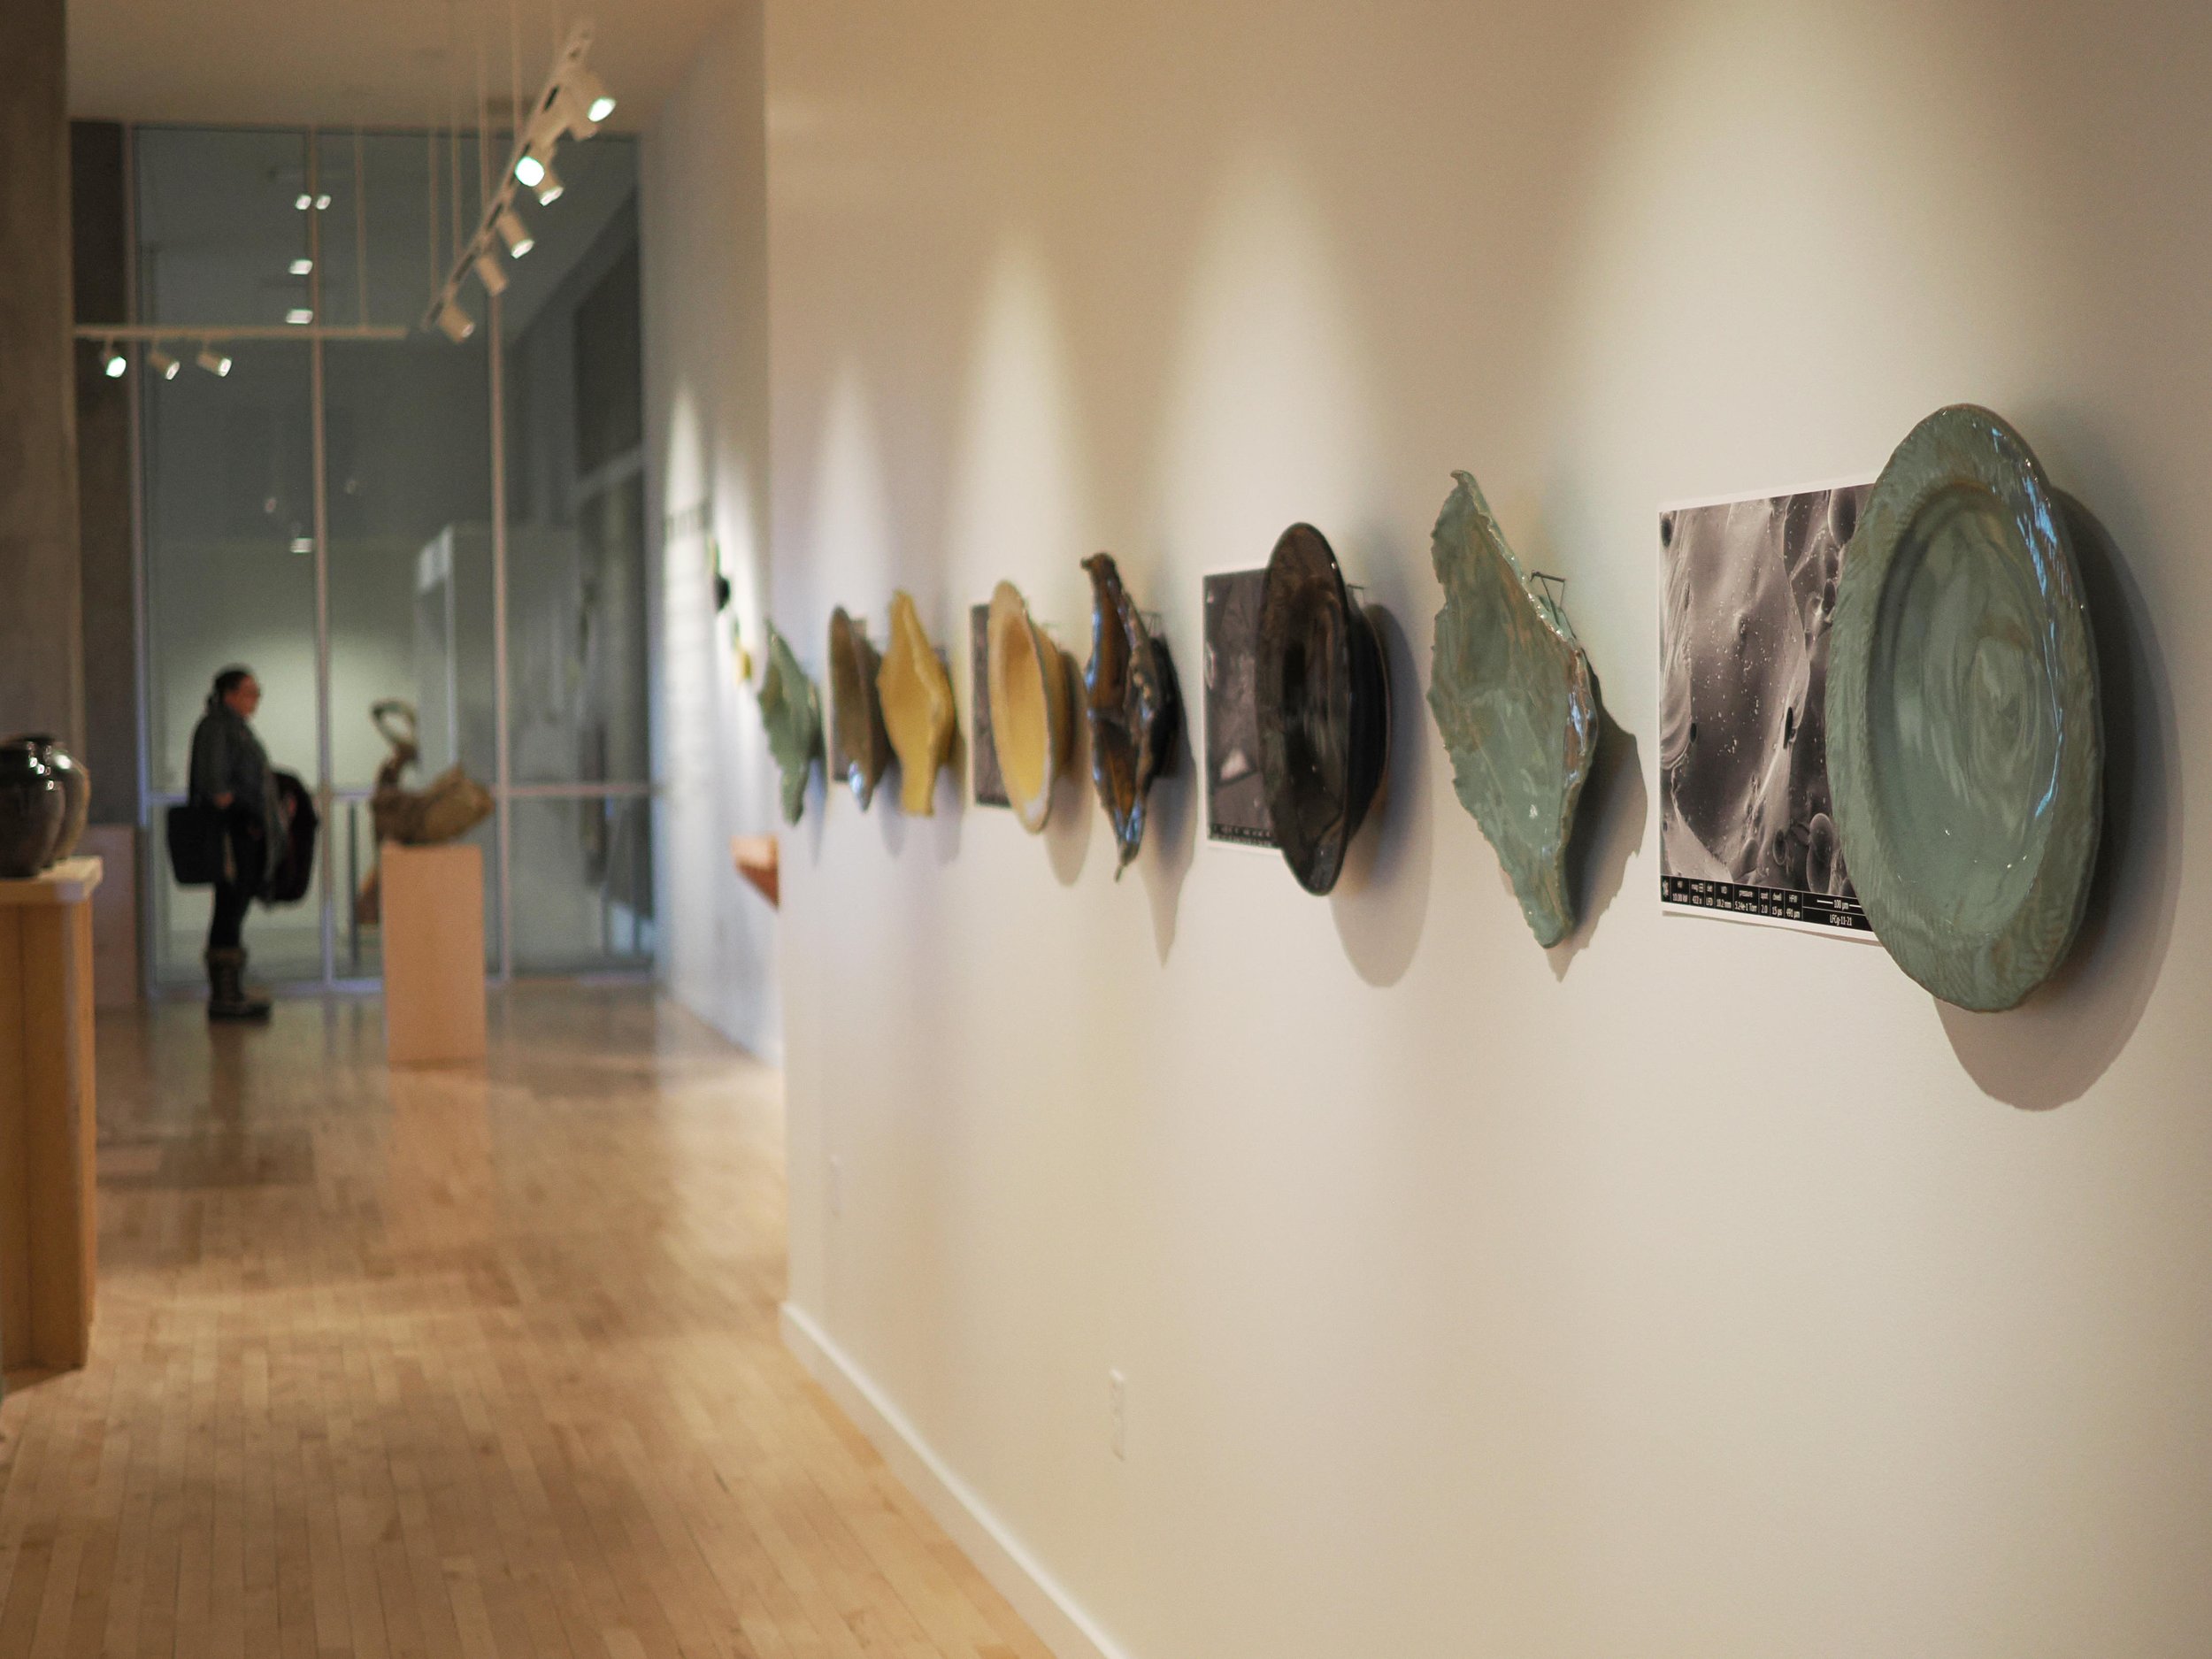
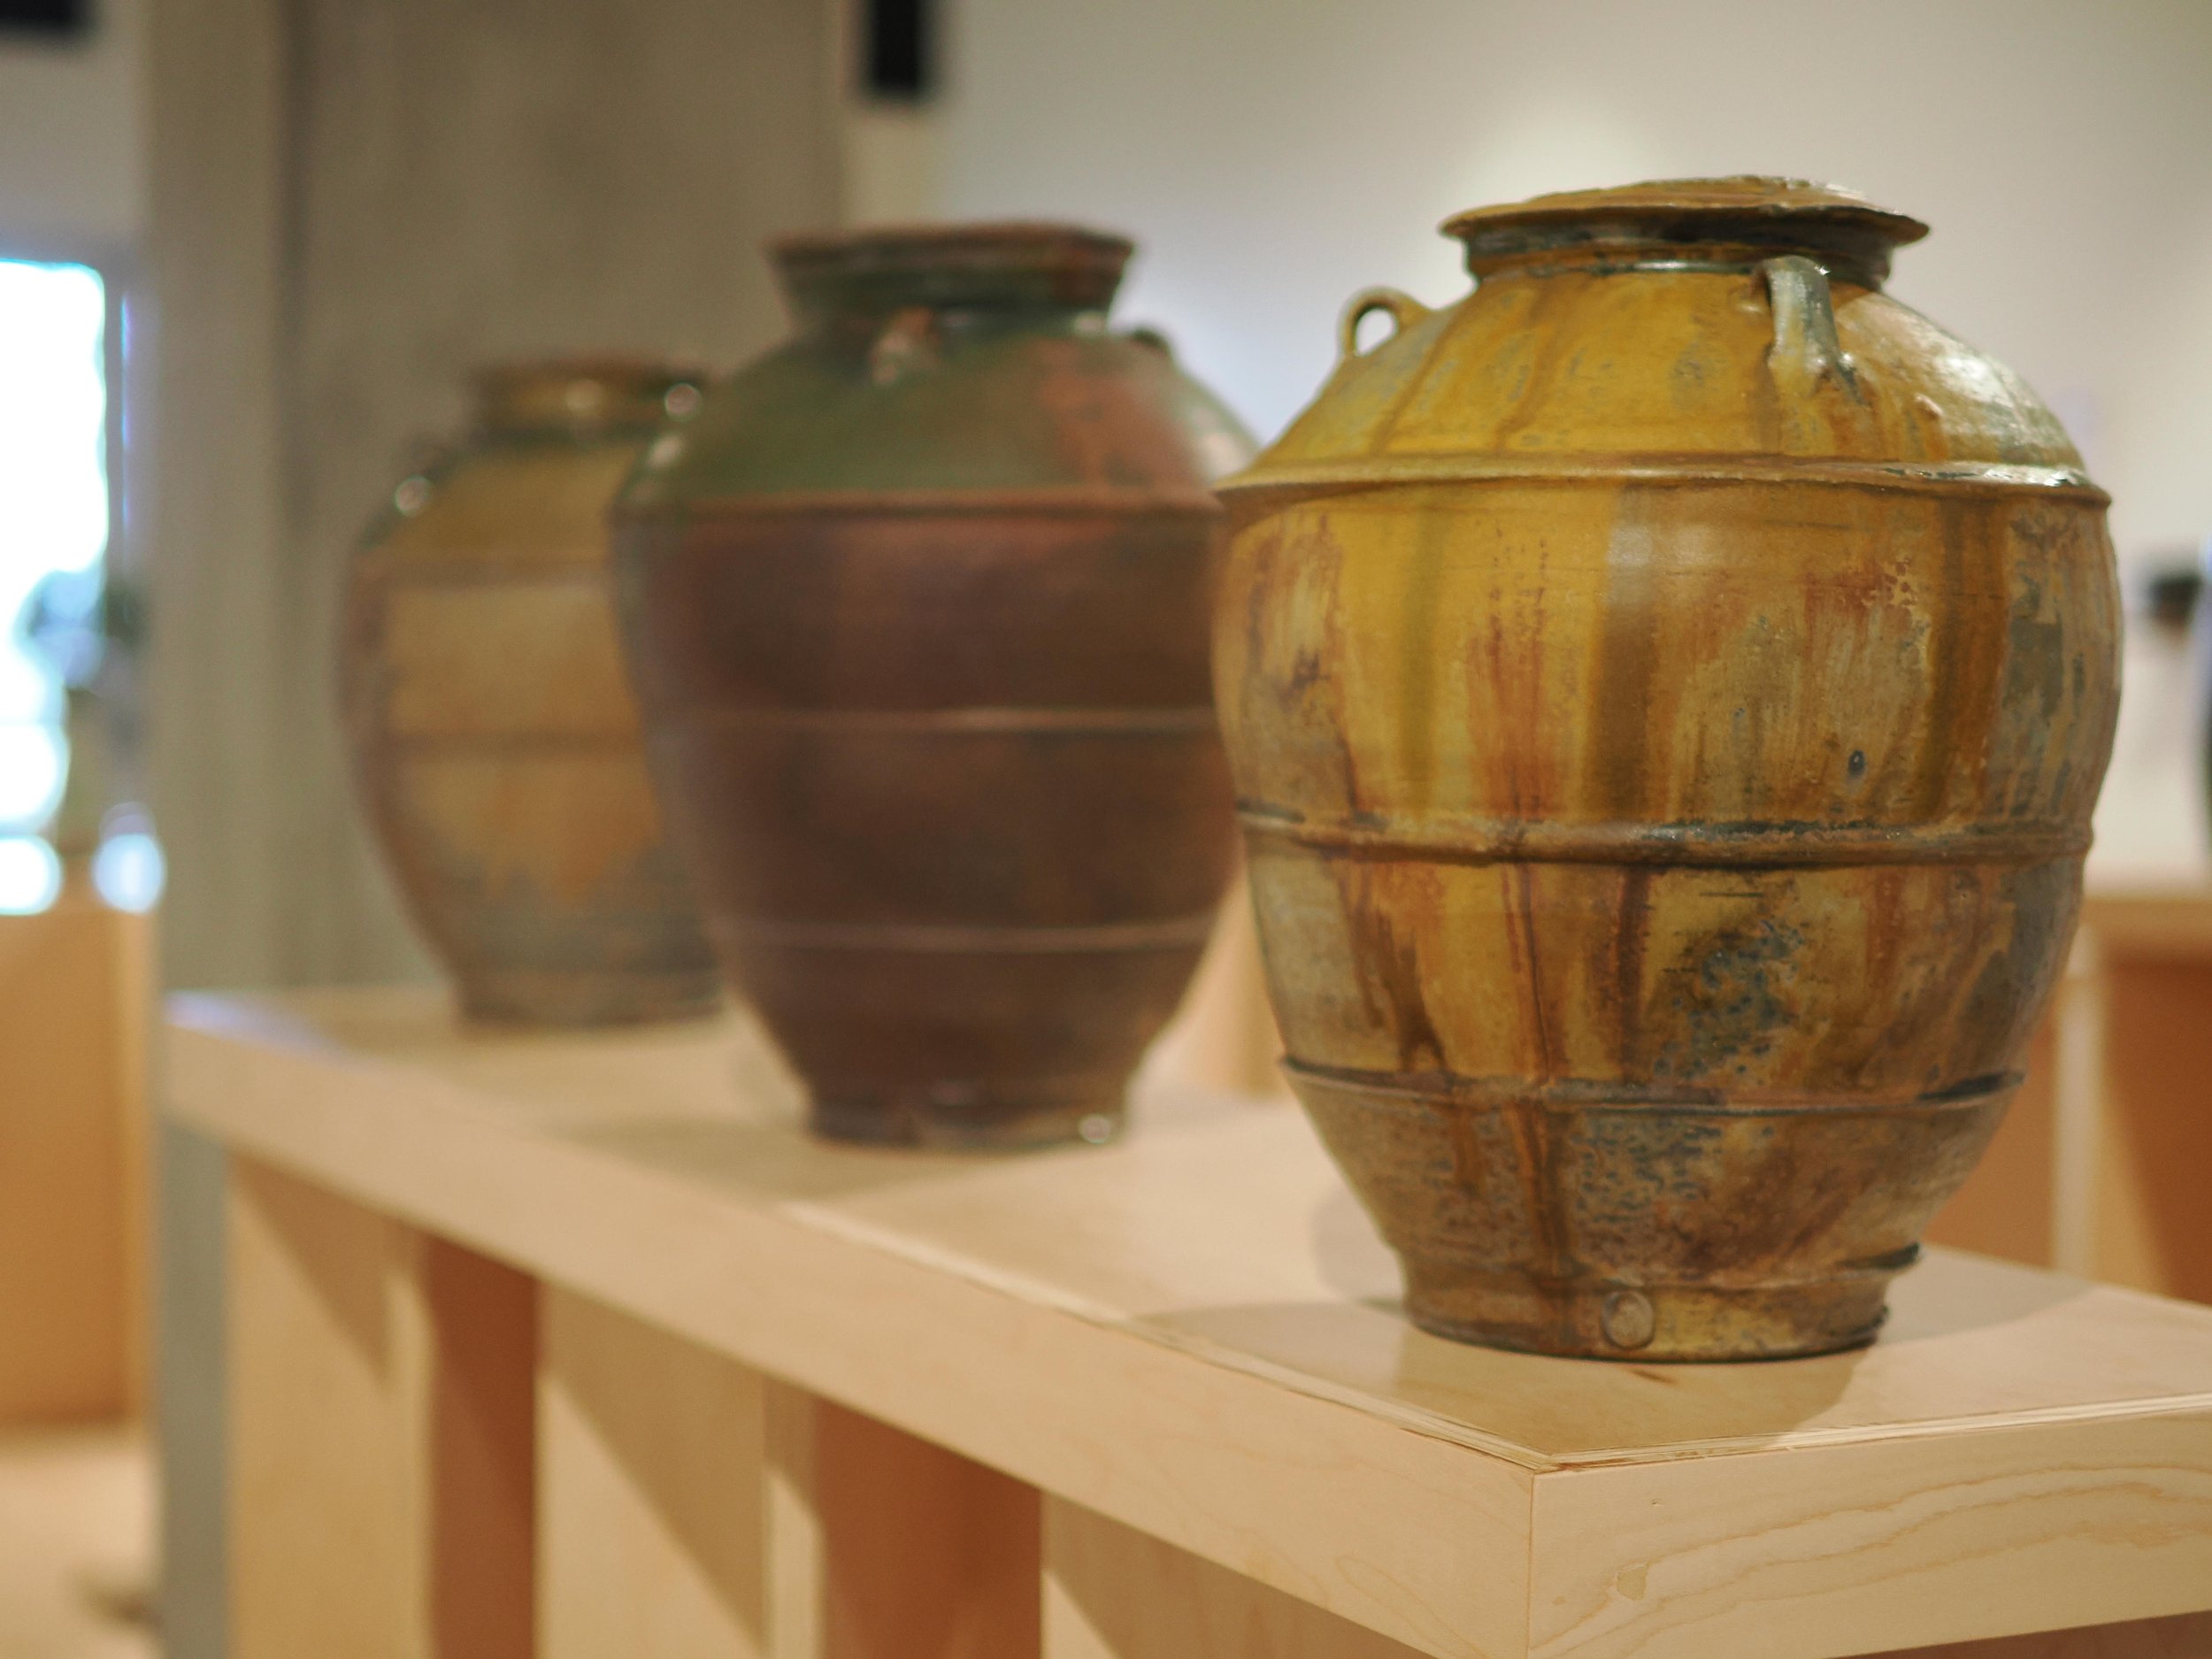
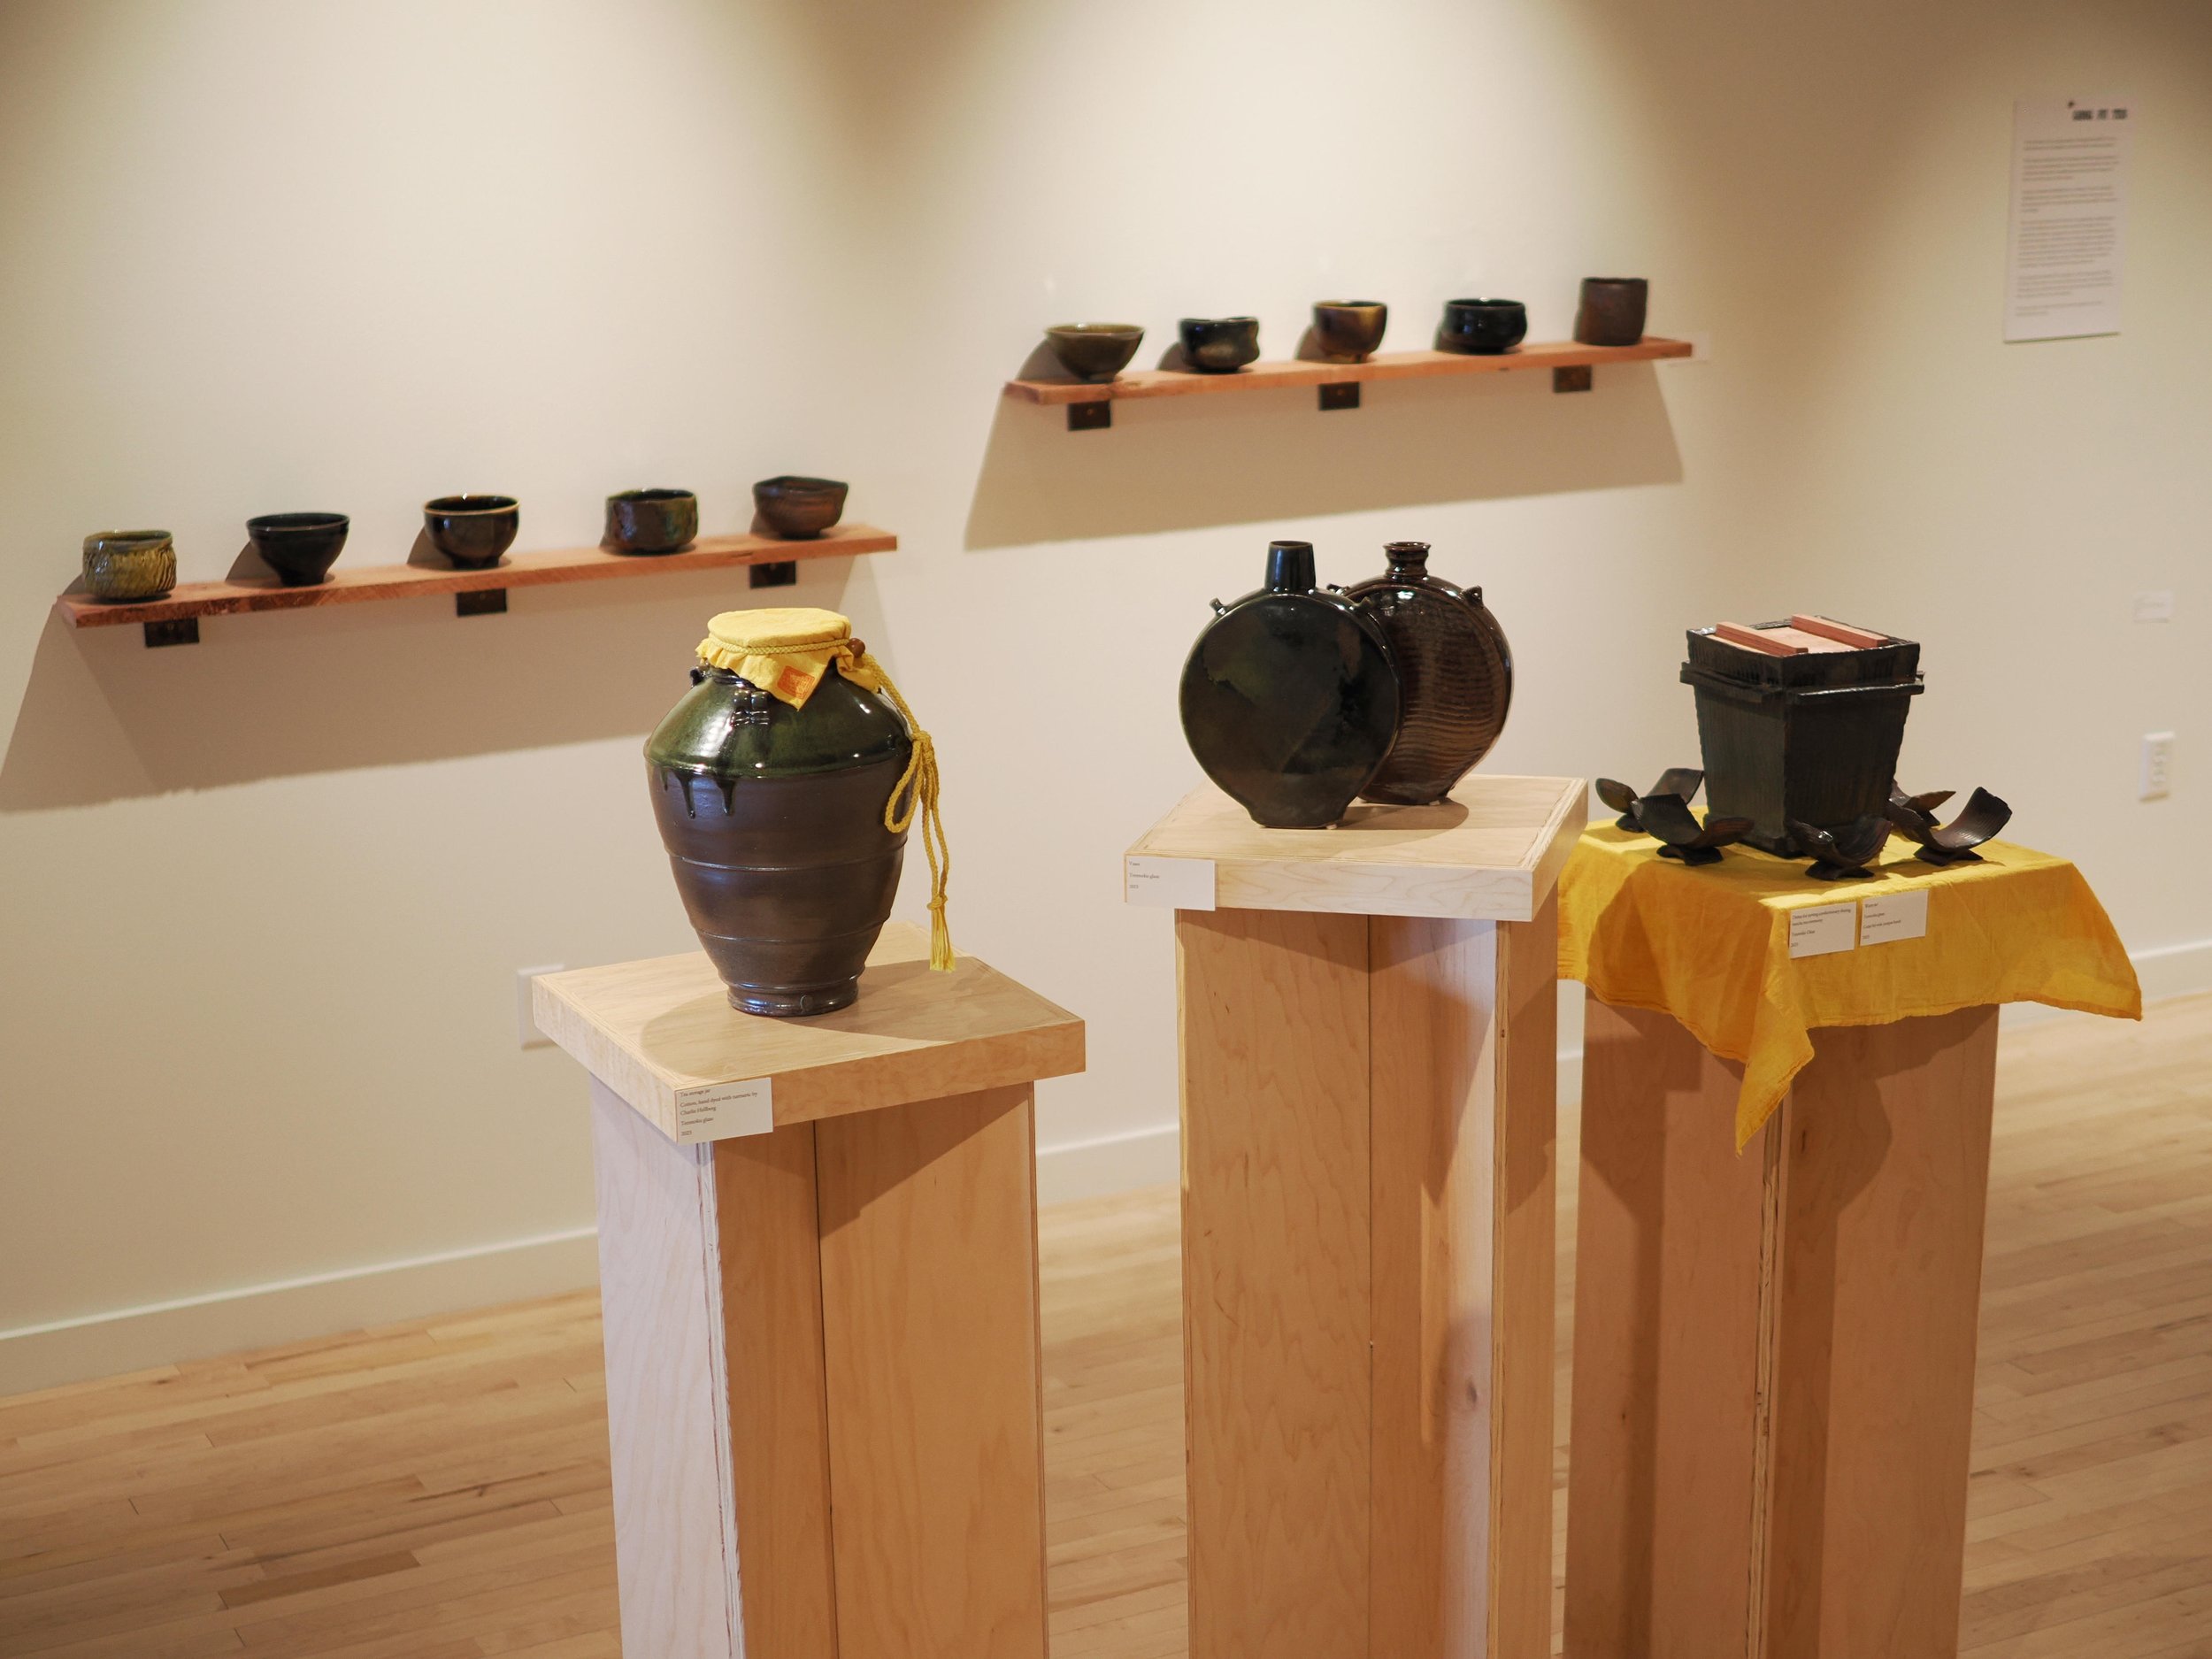
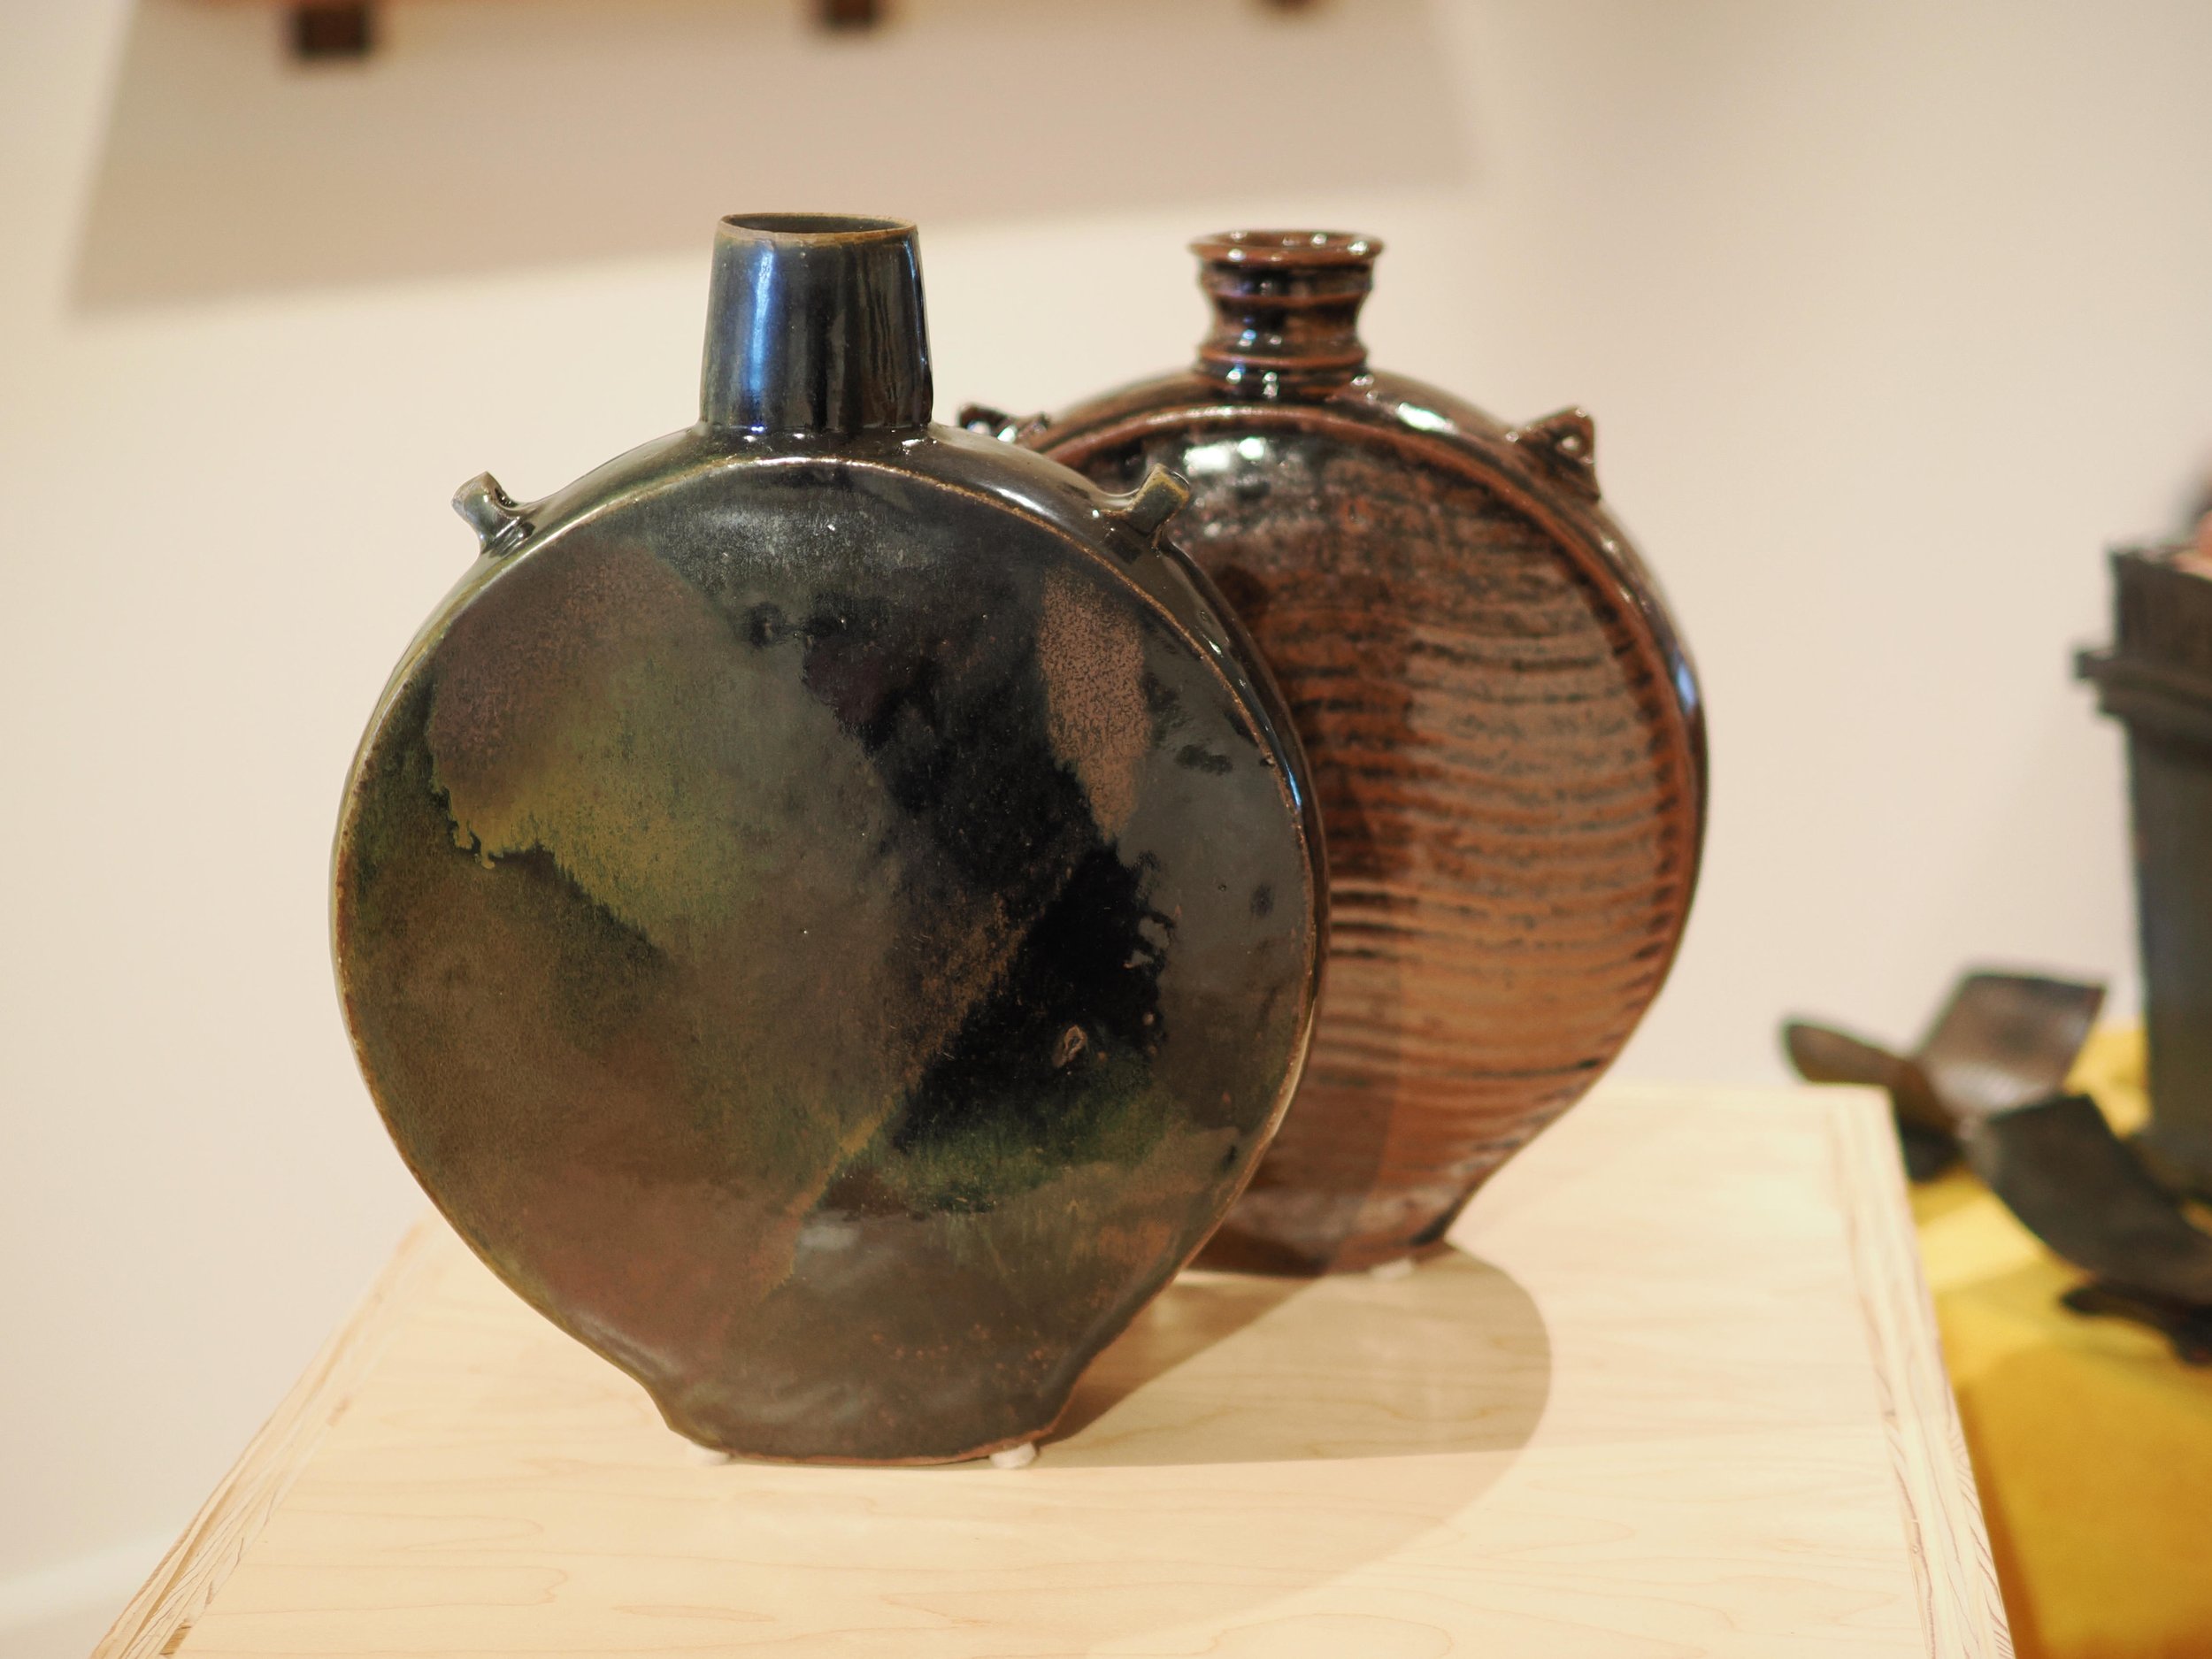
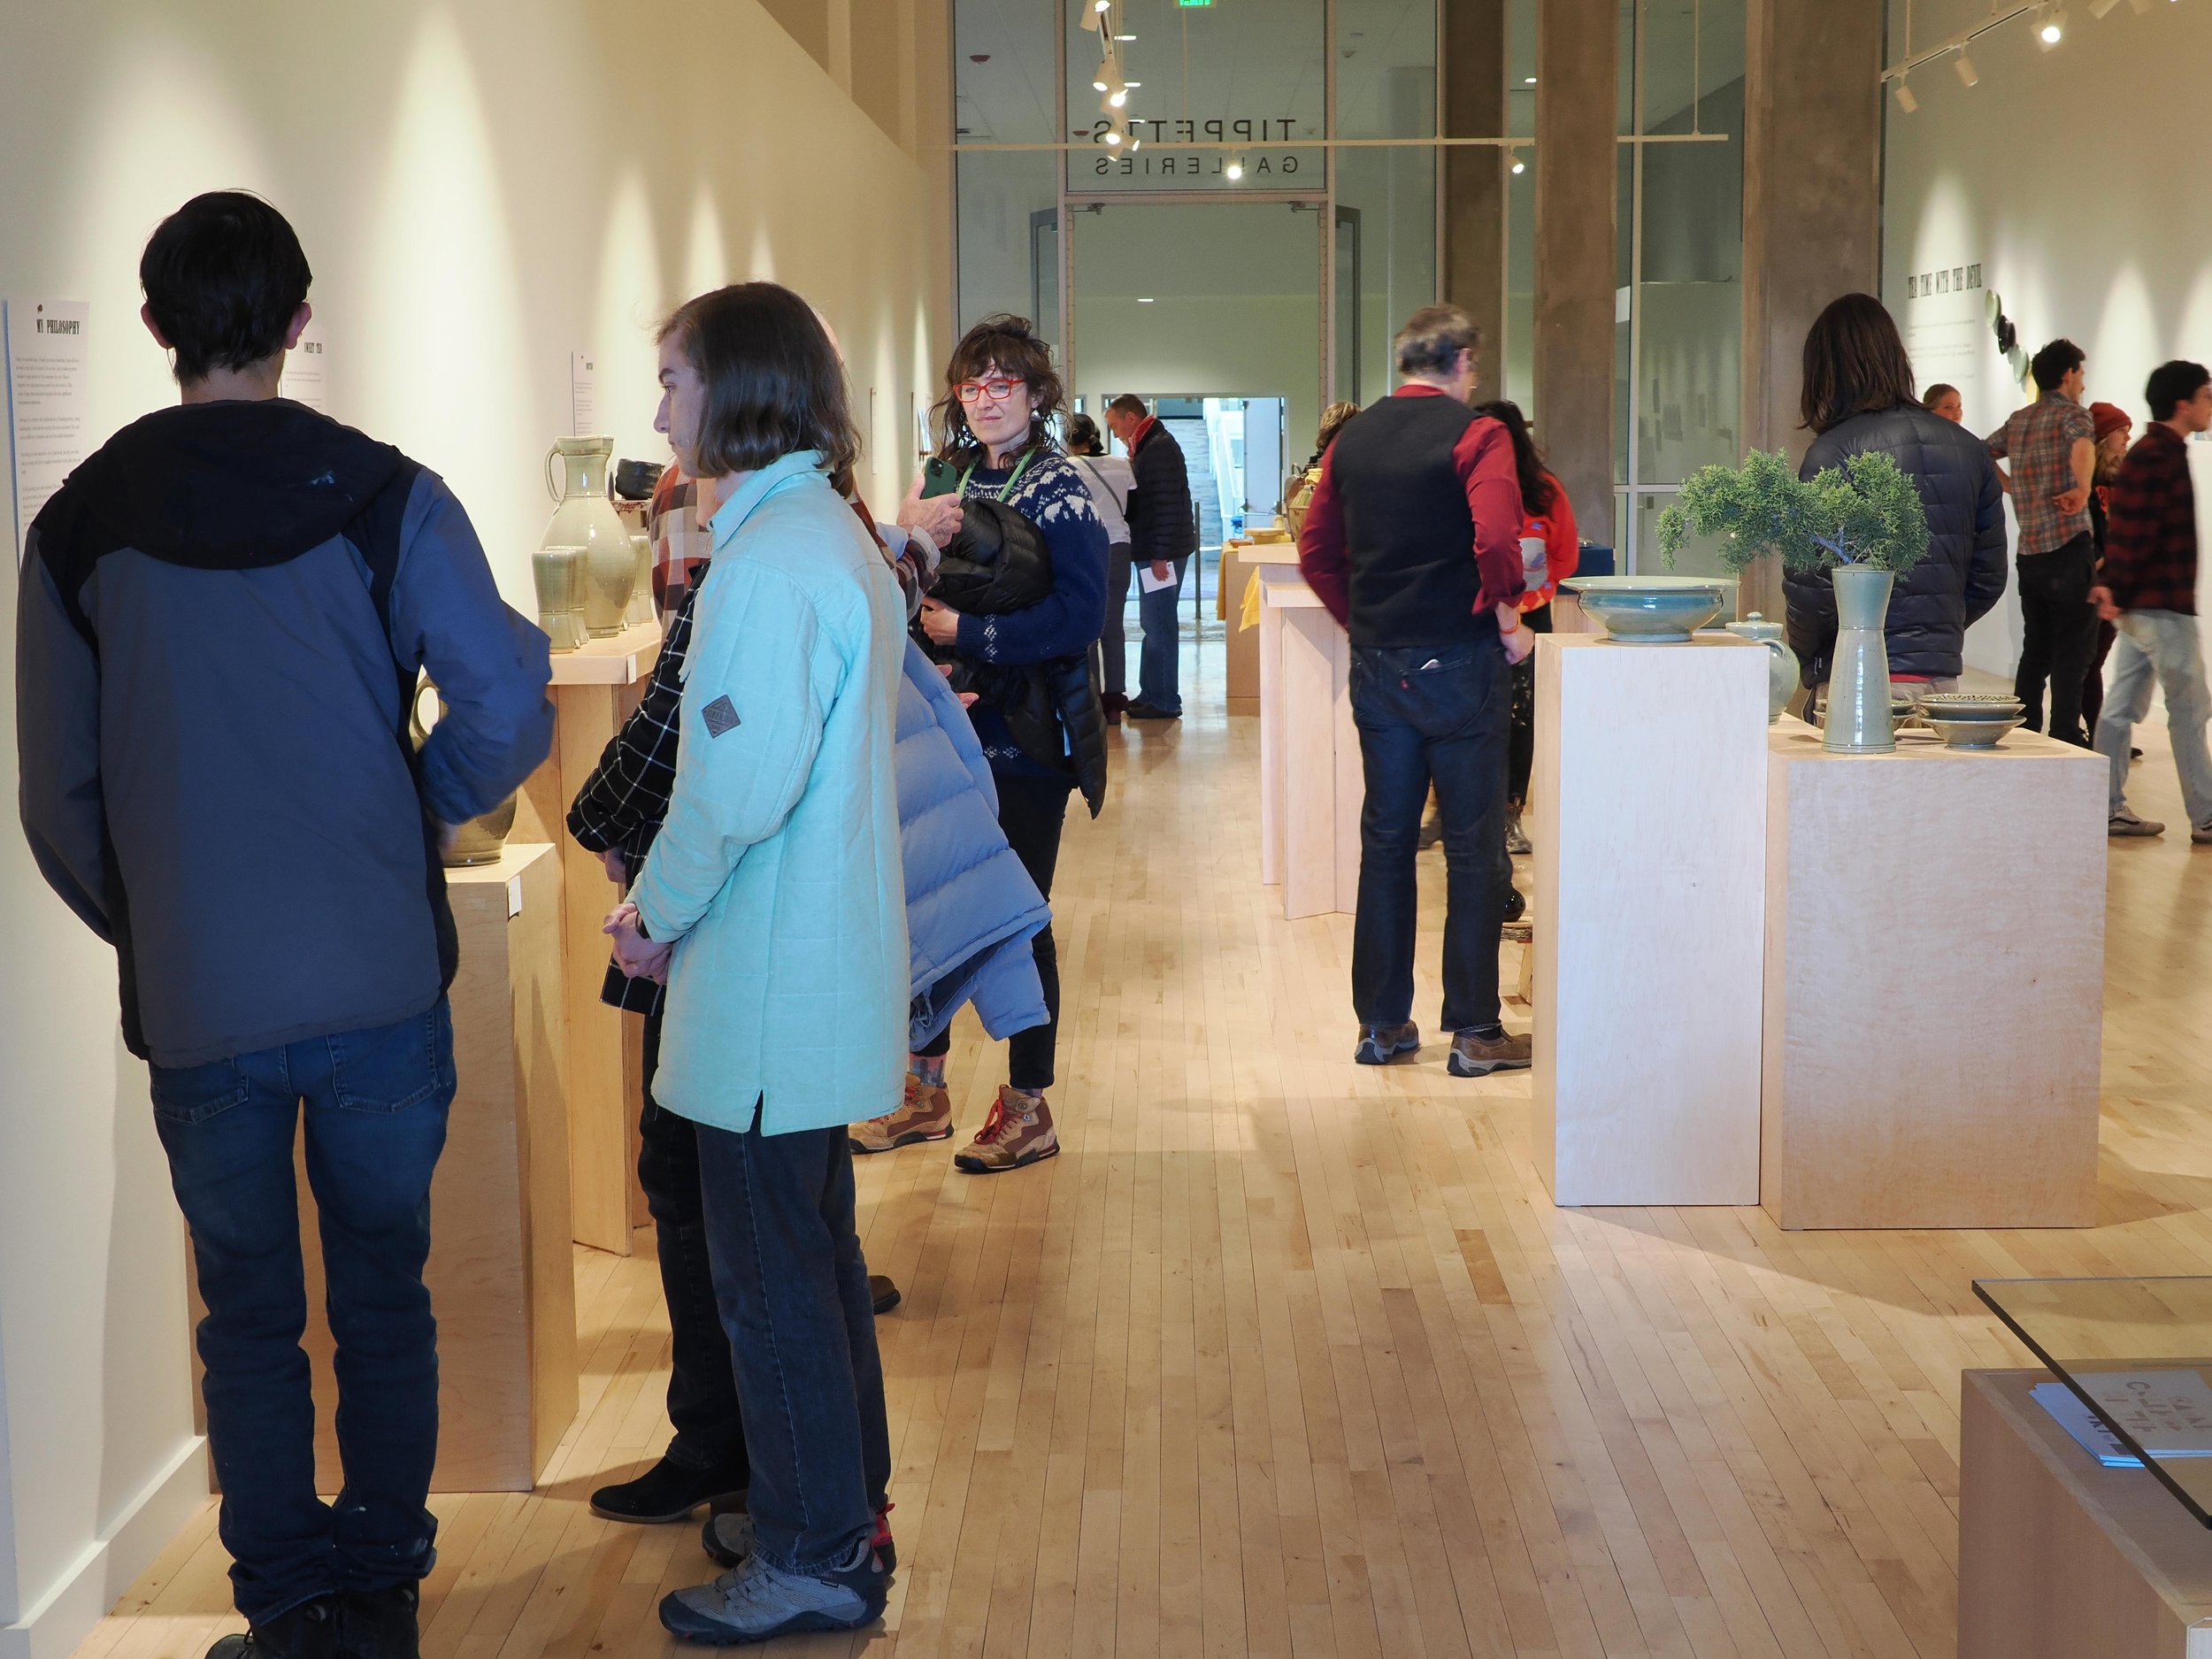
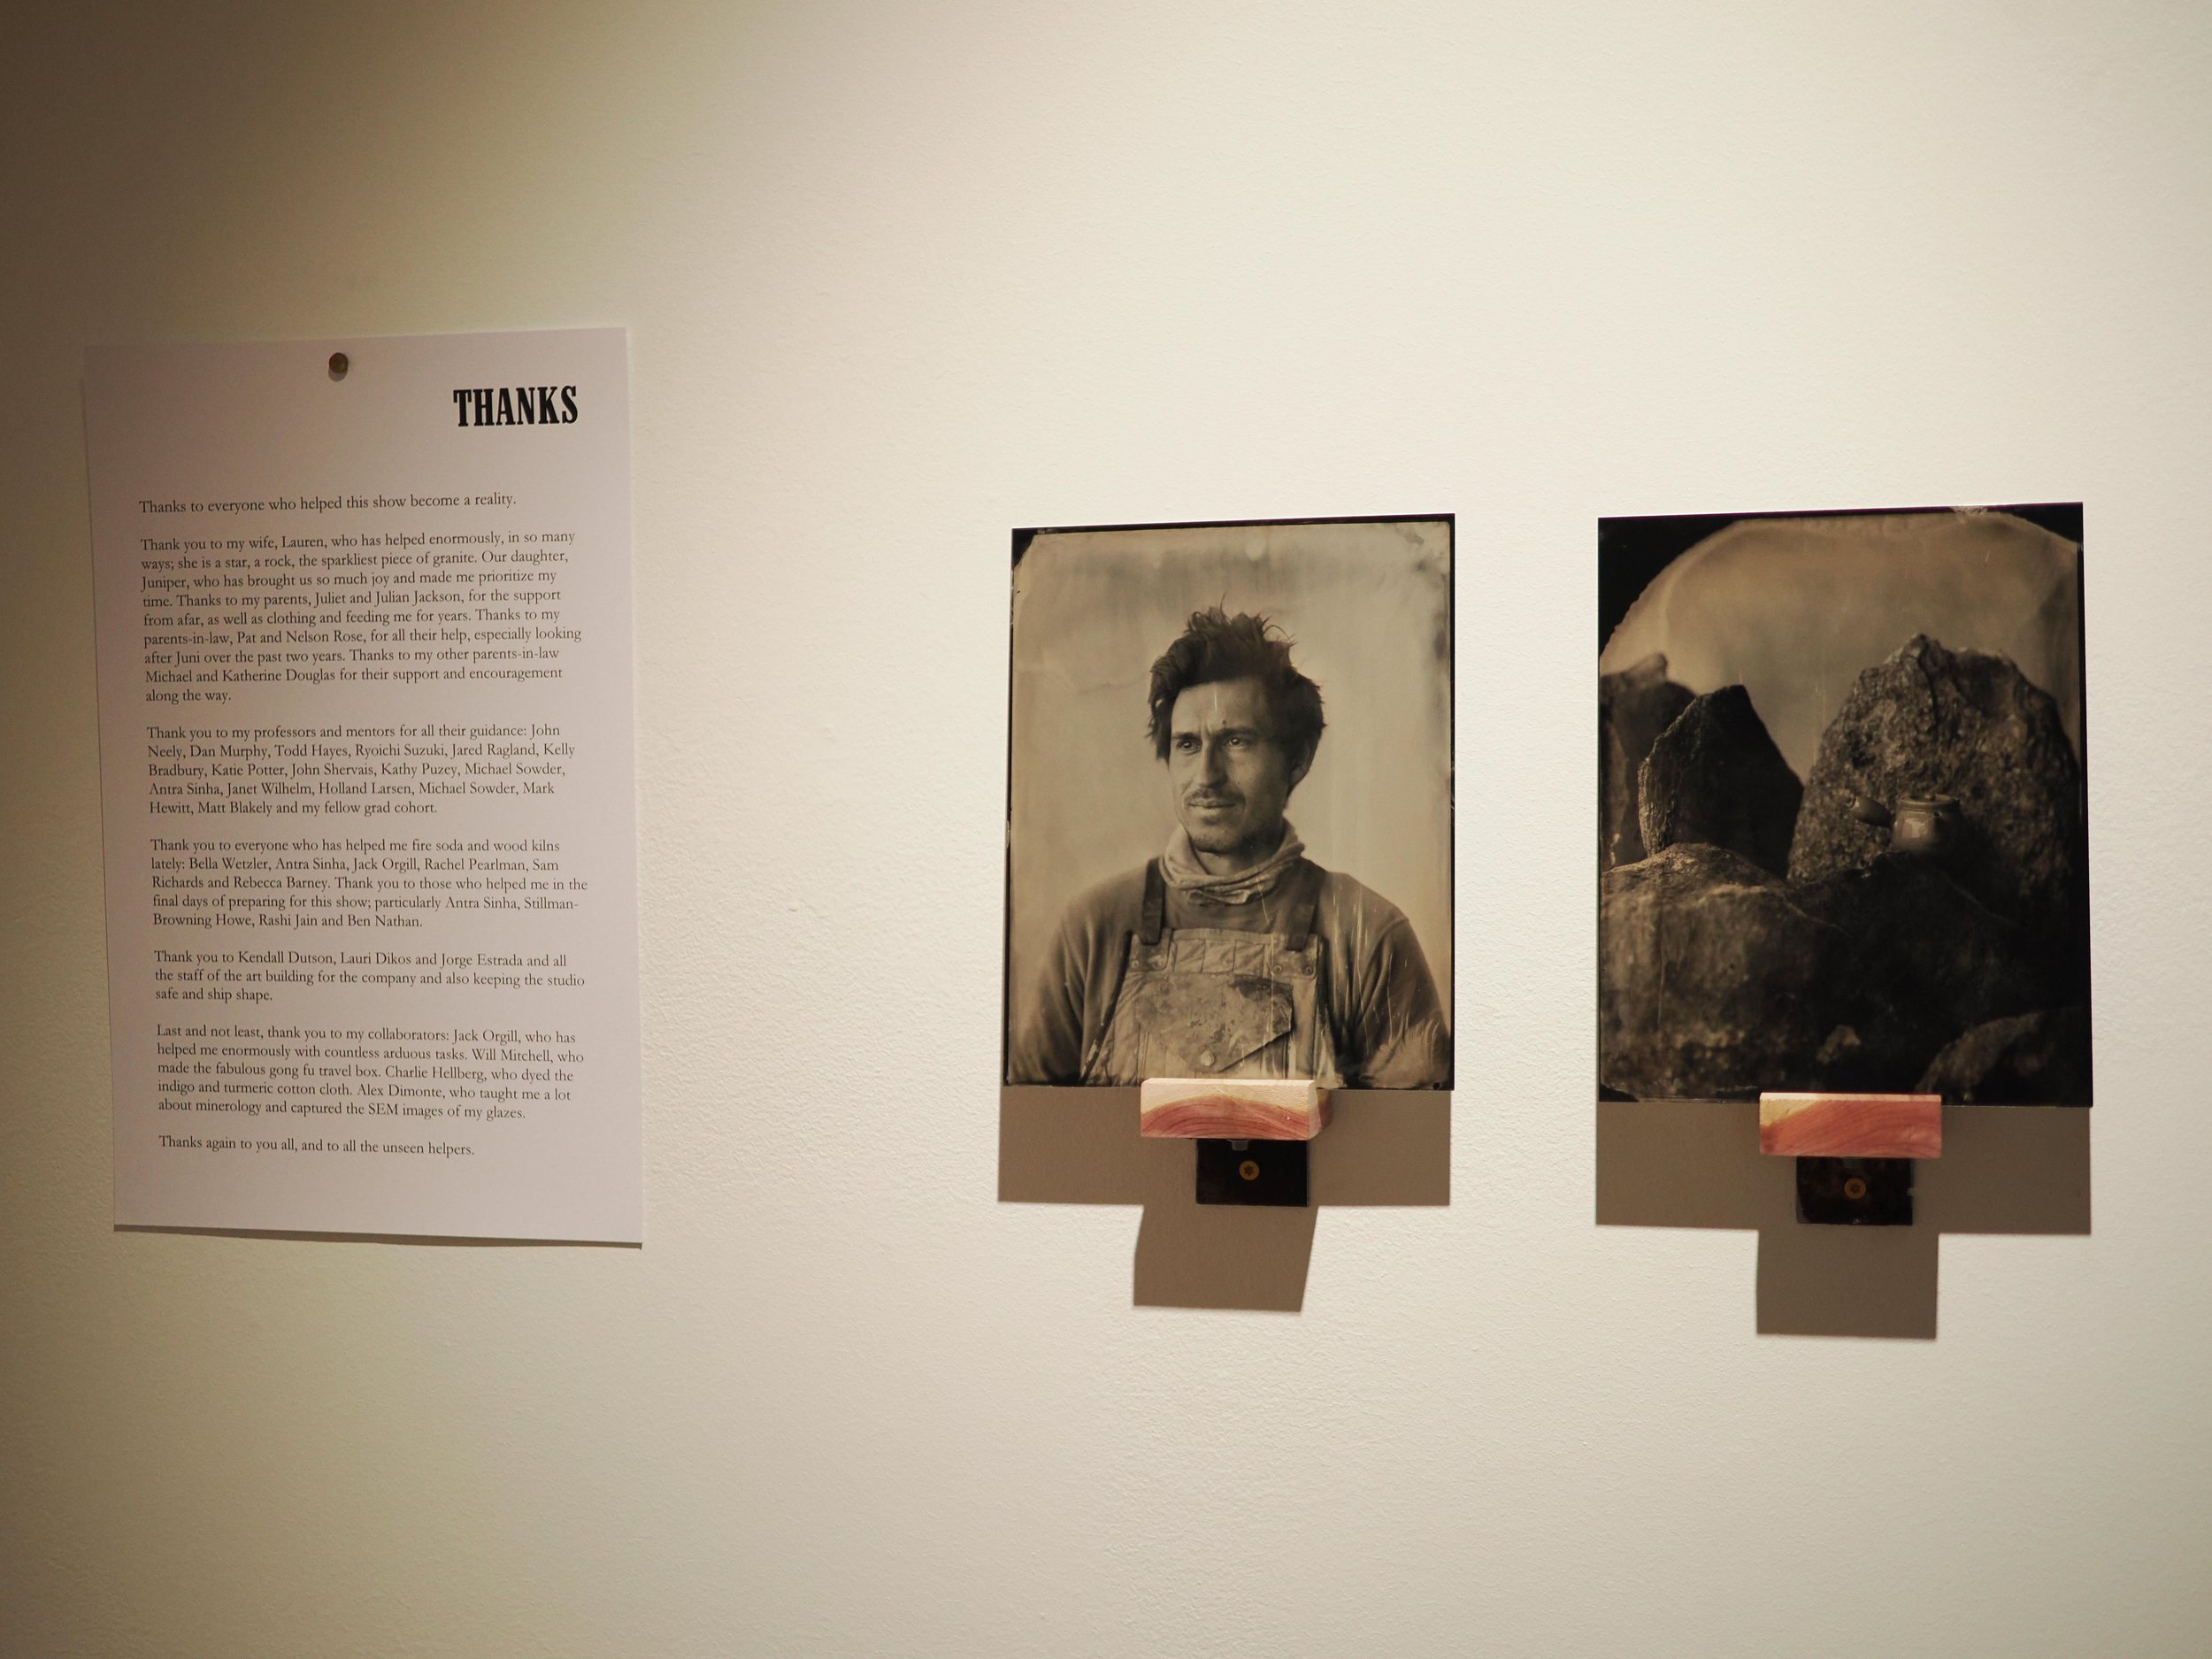
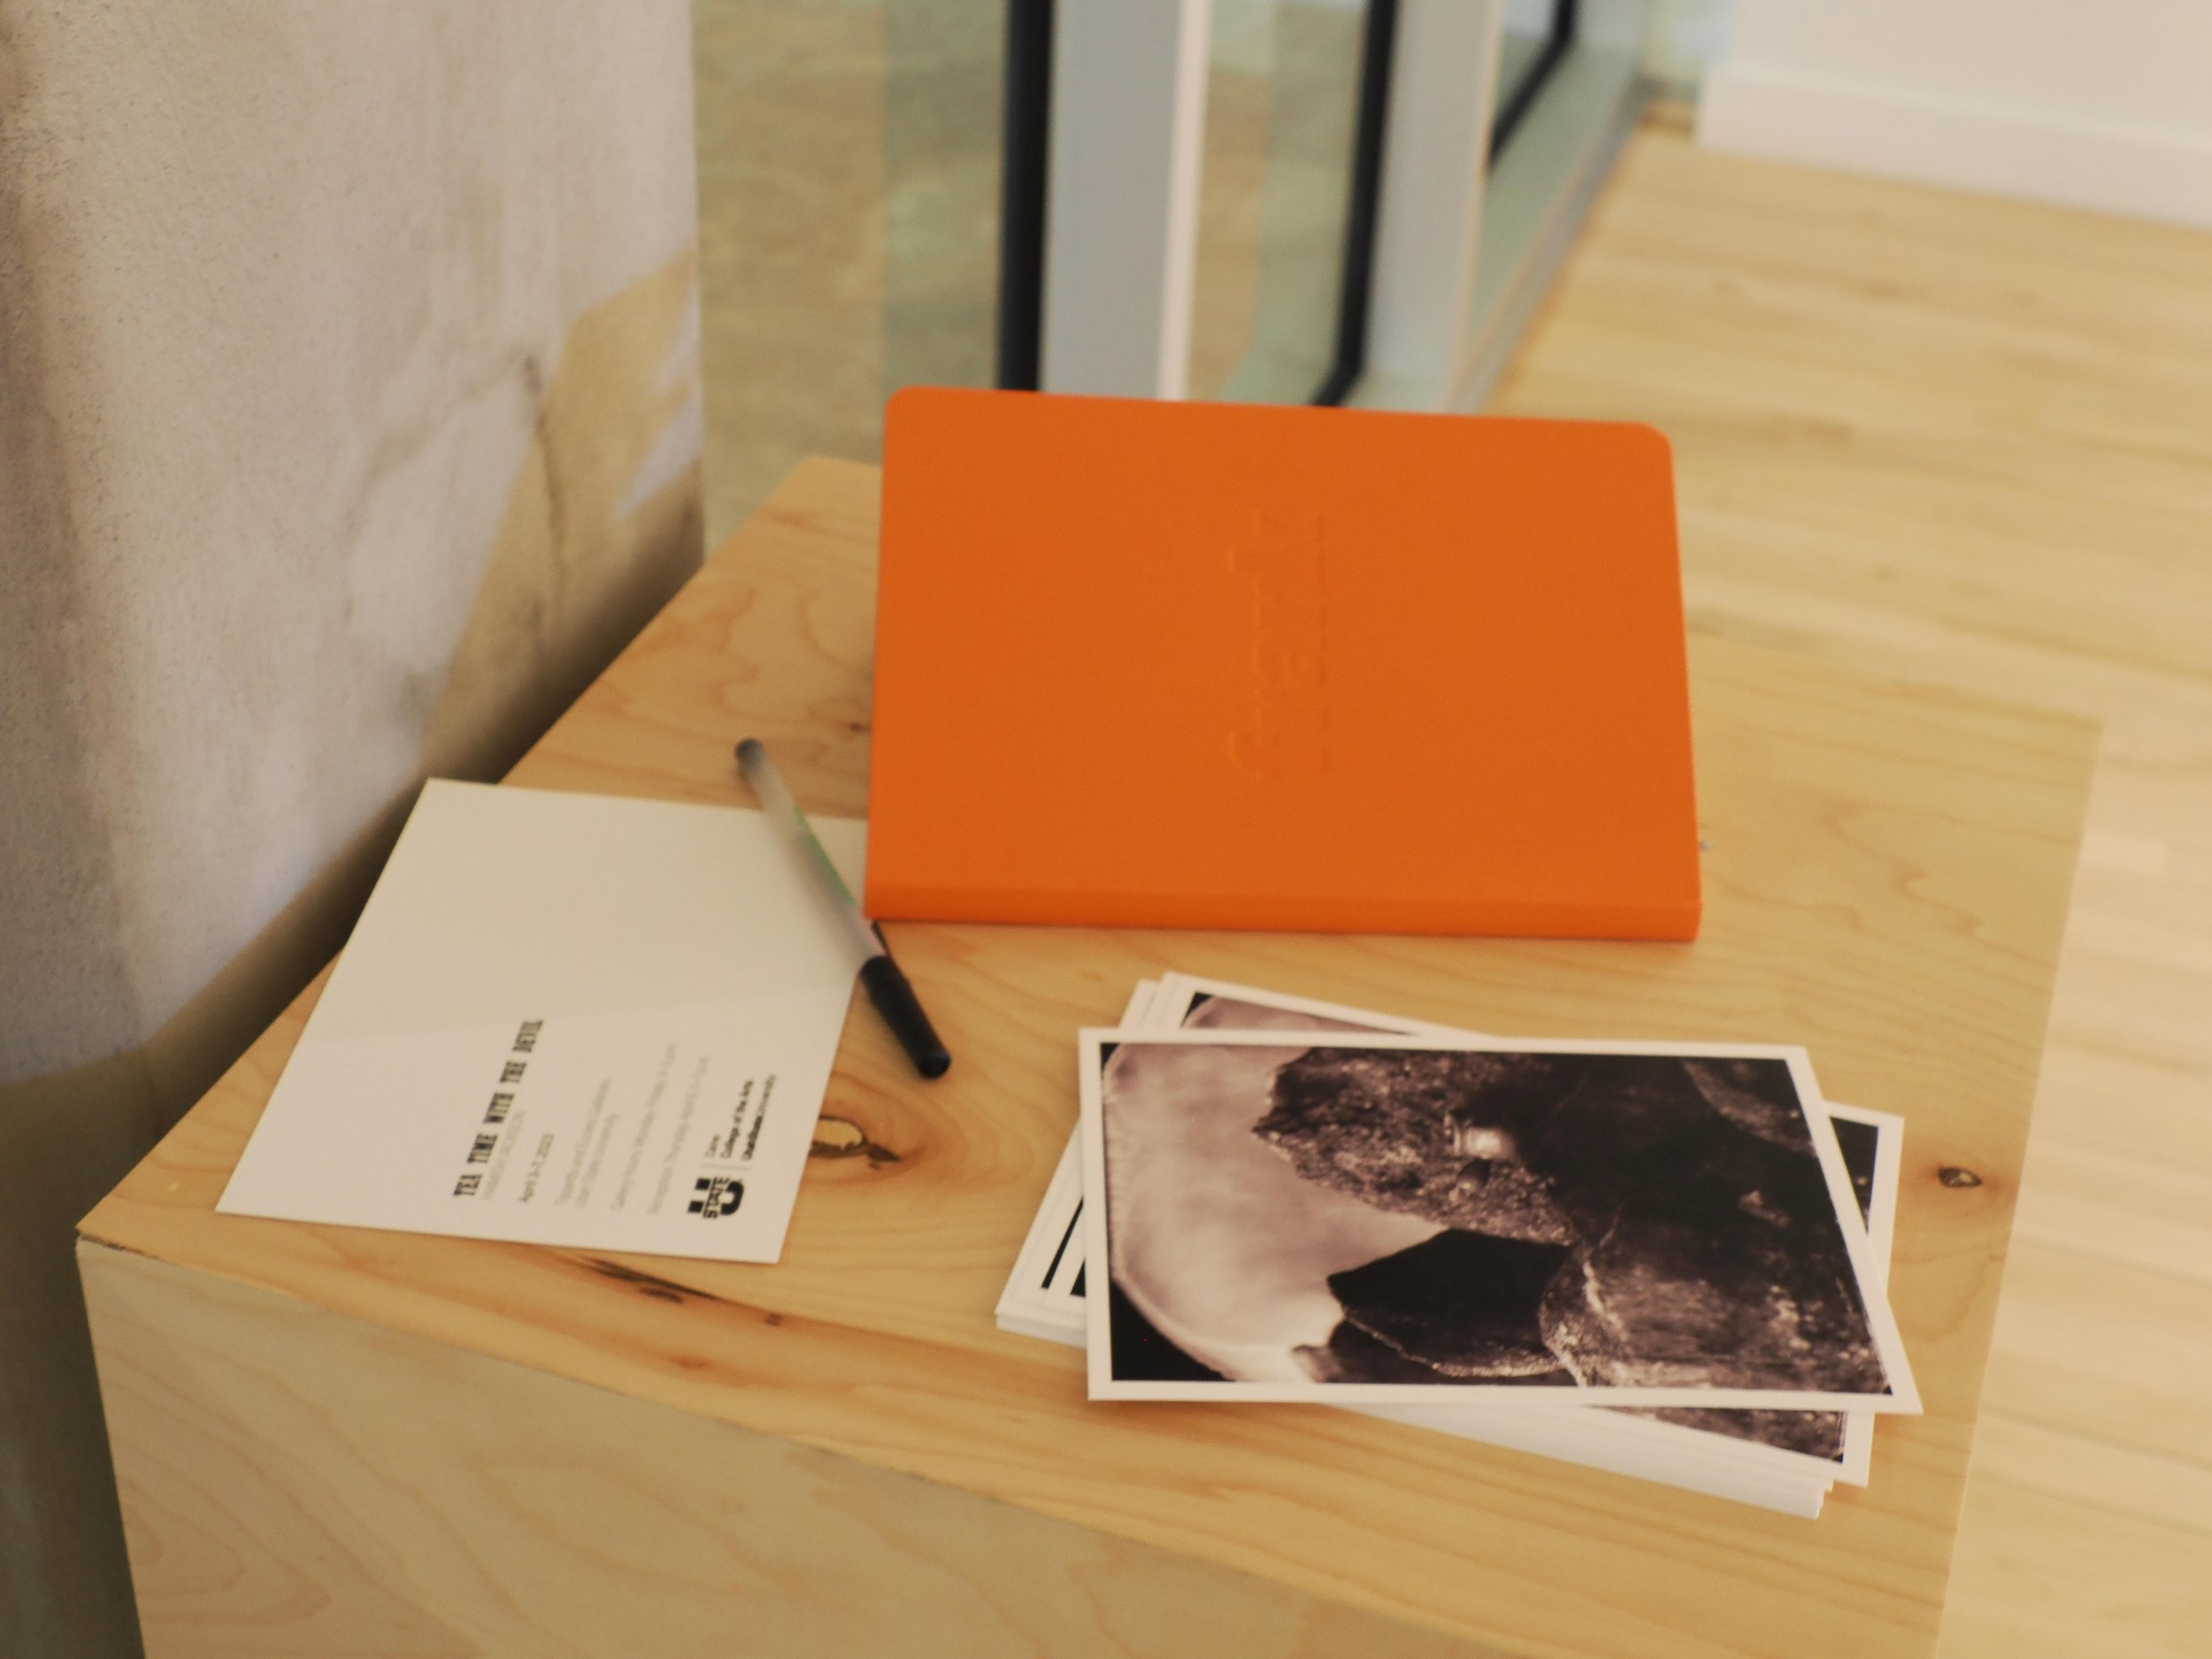
Here is a link to a virtual tour of the show. This allows you to navigate around the gallery so you can see how it was all laid out…
In addition to this virtual tour, and to document the show, I recorded videos within the gallery, explaining the work in each section. Each video is 3-5 minutes long.
I am also including the didactic text I had on the wall of the gallery and some photos of the work, too. I will lead you around in the order in which I intended folks to move through the exhibition.
Lets start with the vinyl on the wall…
Thanks for reading and watching!
If you have any questions or comments, feel free to send me an email through my contact page!
Promising jun (chün) glaze results
I was worried that this firing was not going to yield any successful results because I accidentally over-fired the kiln.
Cone 10 was just starting to melt, so I adjusted the settings (opened the damper a bit) and walked away, thinking it would probably be done in a half hour or so. Normally I set an alarm on my phone to remind me to check back, but this time I did not. Then I became engrossed in making pots and forgot all about the kiln.
I remembered about an hour and a half later. Ran over to the kiln. Found the pyro reading 2357 (way hot). Didn’t even check the cones, I knew it was too hot. Turned the gas and air off as quickly as possible. With a sigh, I pulled out the peephole to check the cones. My regular cone packs read 011, 3, 5, 7, 8, 9, 10, 11. Cone 11 is normally my safety cone. I try to fire cone 10 down and cone 11 just strating. Well, there was no evidence of any cones left standing. Cone 11 was down. Like way down. Flat. So I figure it was probably cone 12 in there.
Exhibit a:
I walked away cursing myself. Mindfulness!!!! I had a lot of tests in the kiln, and was really hoping for some answers, especially with the jun glazes.
Anyway, when I opened the kiln, I found it was actually pretty good. I was shocked. Not many of the glaze tests ran. I have been working toward more stable jun and tenmoku glazes so this was actually a really good test. Especially for firing them in a wood kiln with all that extra flux.
Sometimes mistakes work out! In the cups you see here, I tested various methods of applying copper carbonate to the jun glaze. I love the old Song Dynasty pots that have swathes of purple on them.
These photographs aren’t the best, but overall, the best results were from copper carbonate sprayed on the outer surface of a thick jun glaze.
I basically just mixed the copper carbonate with a small amount of bentonite and water until it was a glaze-like consistency before applying. I noticed that it was way easier to overdo it with a brush than spraying. If you get too much copper on there, it turns the area green.
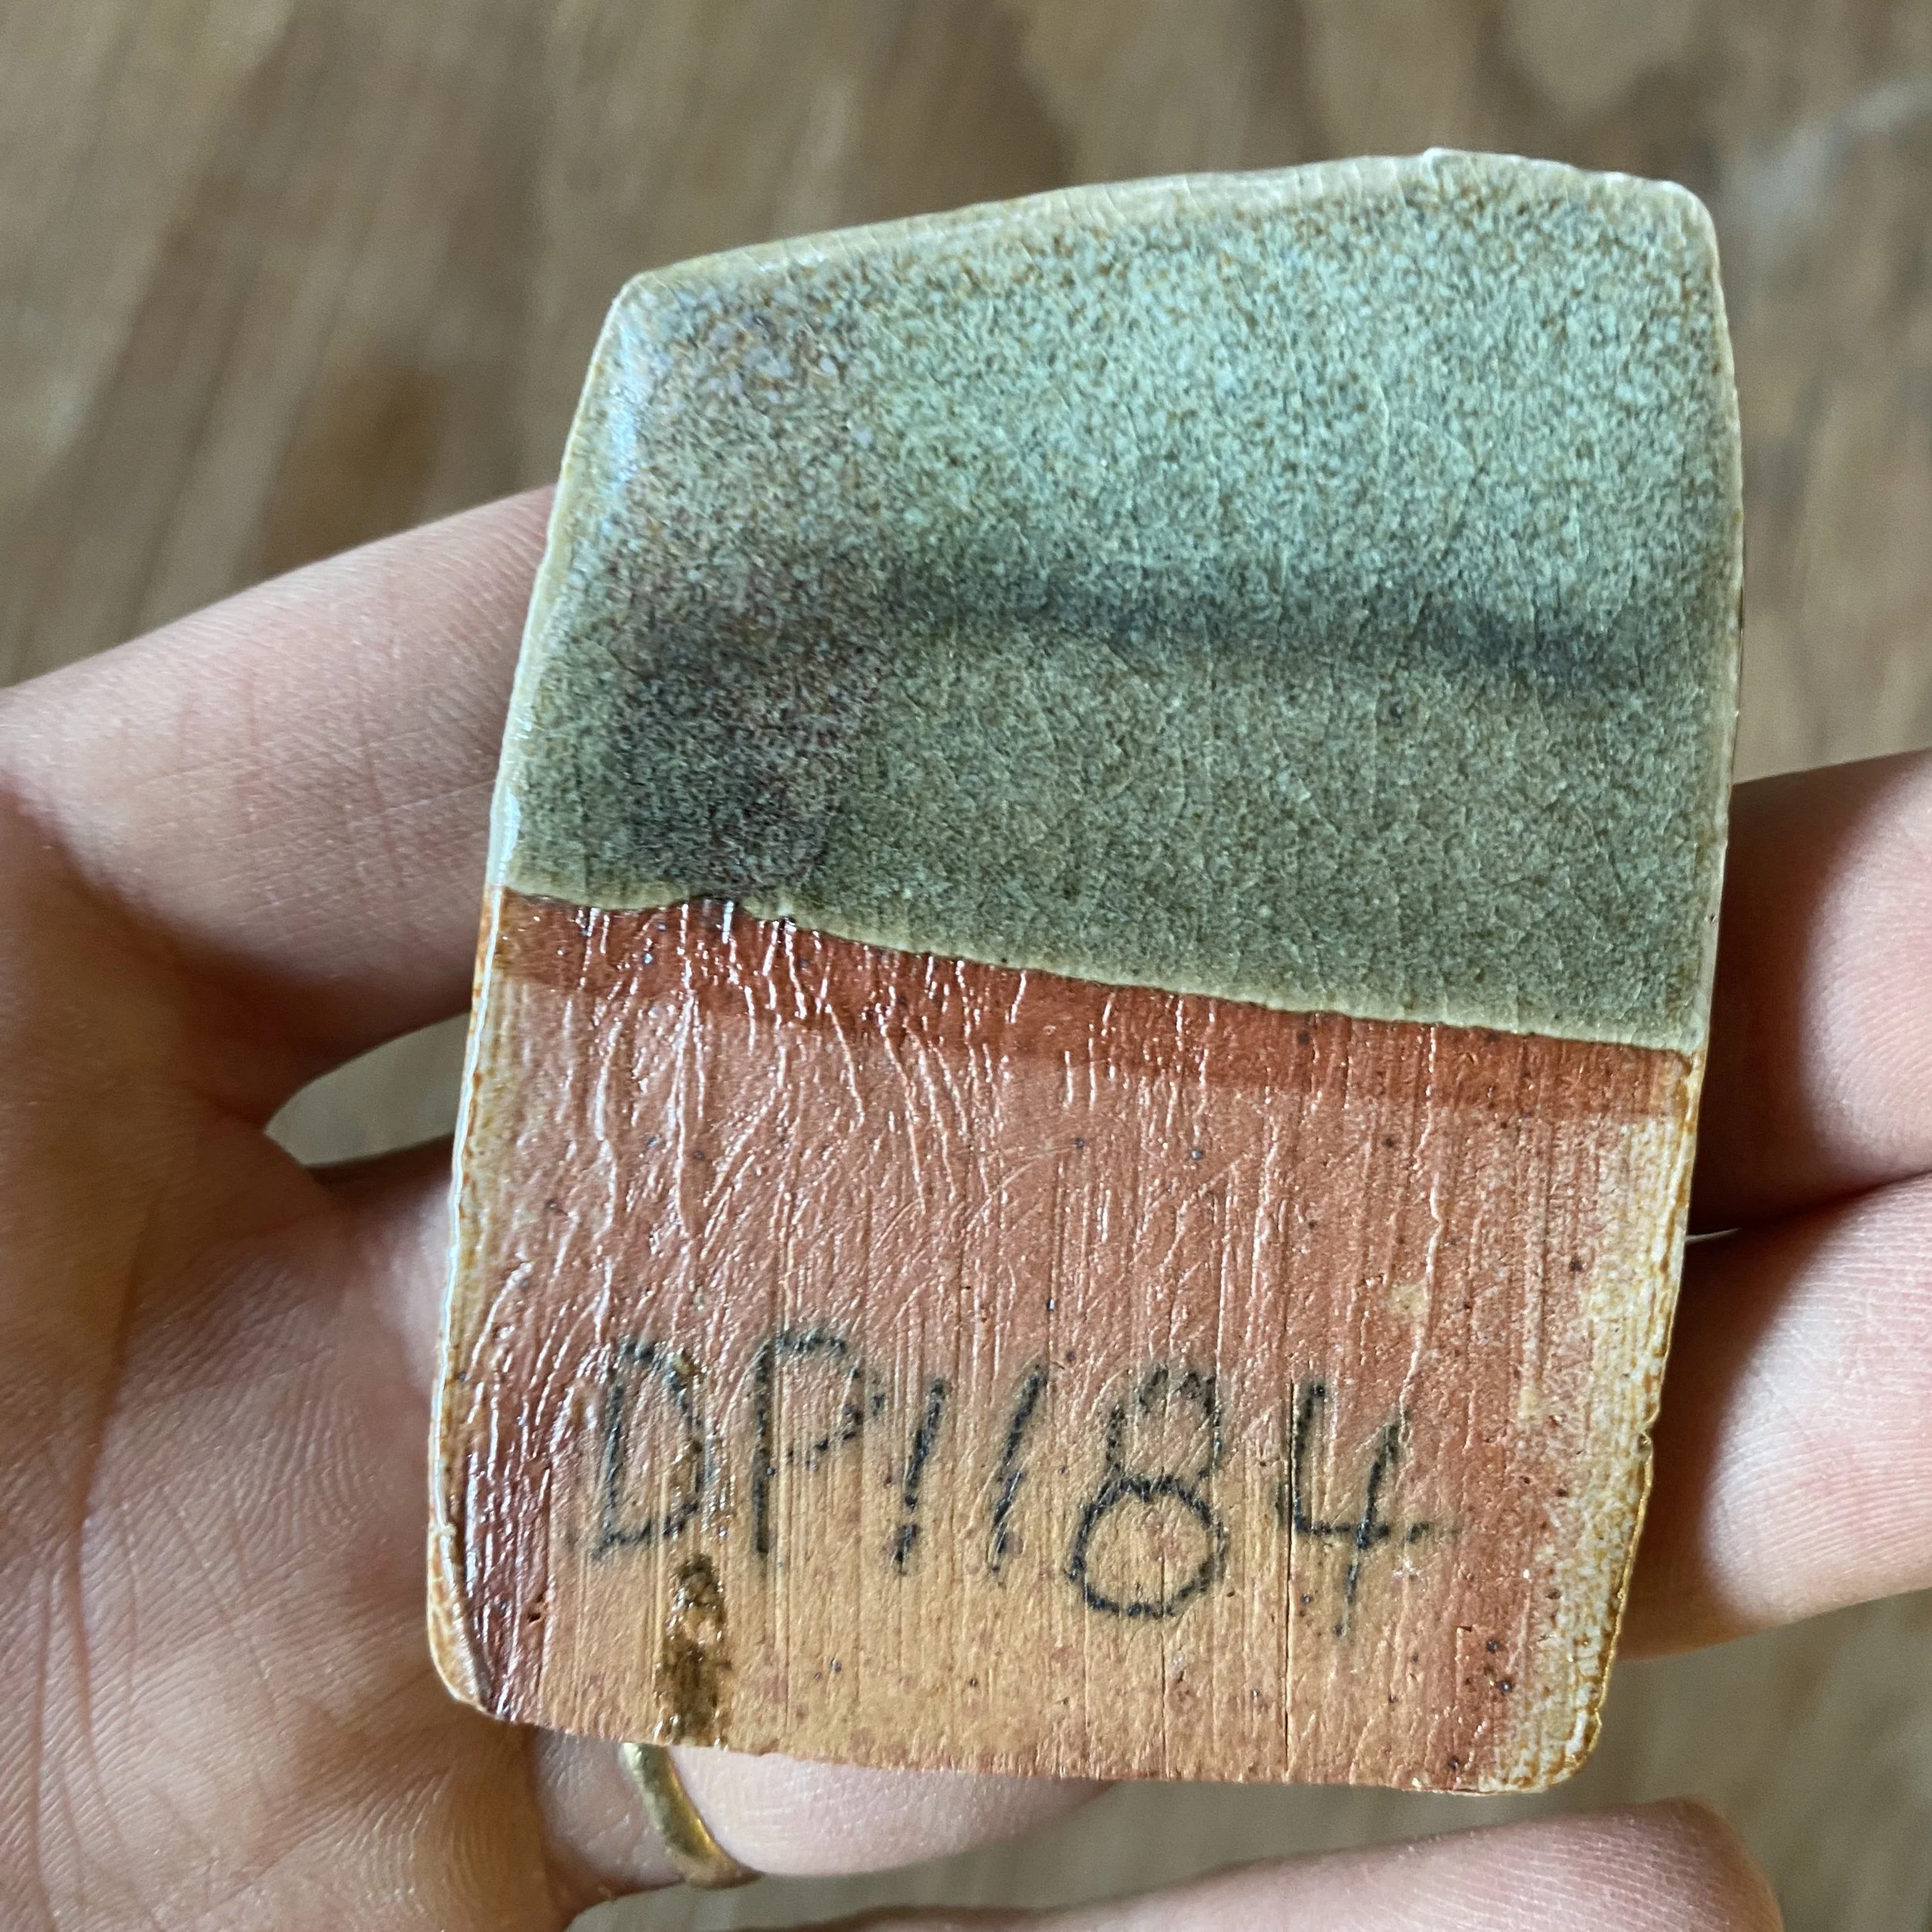
I accidentally dropped one of the cups that had this copper carbonate mix poured on the outside of the jun glaze. Another happy accident! It showed me quite a bit about the effect. Here are the sherds…
It looks so bright under the layer of glaze. I wonder if this is from being more reduced. I am considering trying a firing with some late heavy reduction. This firing was more of as neutral atmosphere towards the end.
Other interesting finding… The bowls that I have fired twice already came out brilliantly this time:
These results are much bluer than previously. I would say from this that refiring these jun glazes can really improve them.
Here are some more test tiles…
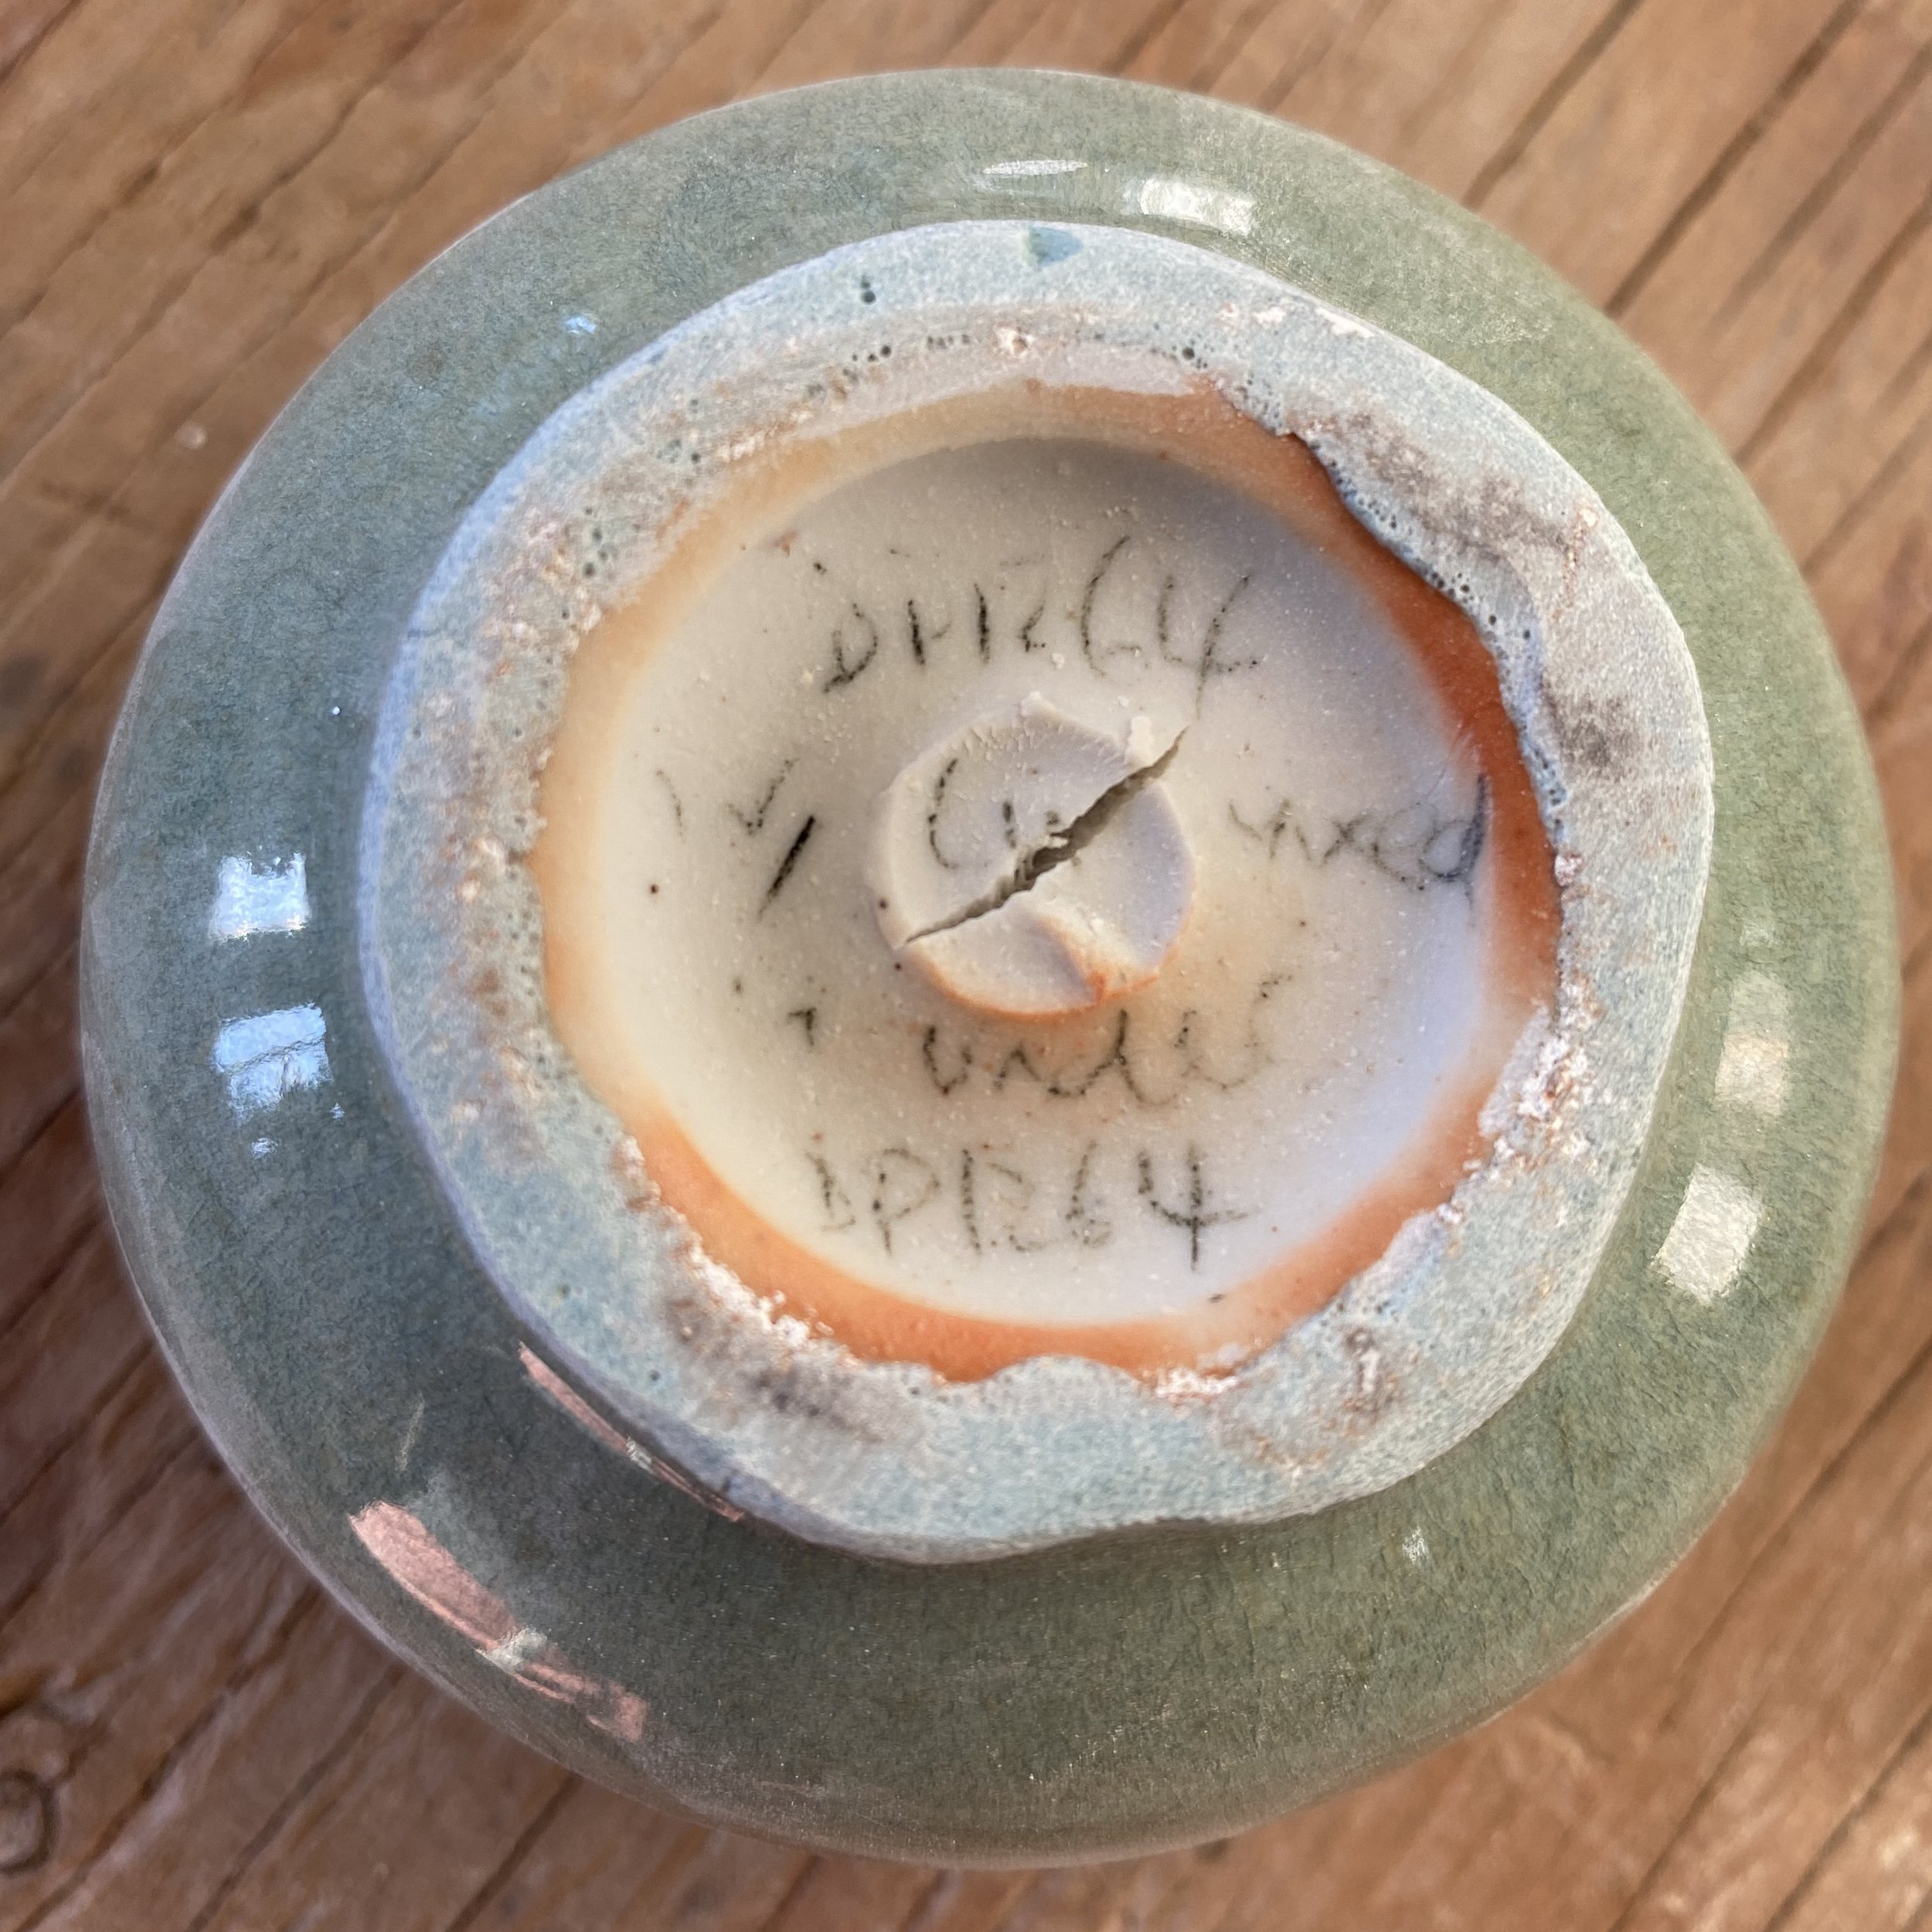
I have decided to mix a large batch of DP1264. The composition is as follows:
50% Devil’s a playground granite, 20% Wollastonite, 20% silica, 10% mahavir feldspar, + 2% bentonite, 2% bone ash, 1.5% red iron oxide and 1.5% Dolomite.
DP1264 seems to work. It is a solid glaze that doesn’t run, appears opalescent if reduced well and does not require a special cooling cycle. I think that the greenish cast is more to do with the firing than the composition, but I may be wrong. I could try to lower the silica and raise the mahavir potash feldspar a little as this seems to produce bluer results (but less reliably opalescent). Perhaps something like 18% of each silica and wollastonite with 14% mahavir might be a touch bluer. I shall try this!
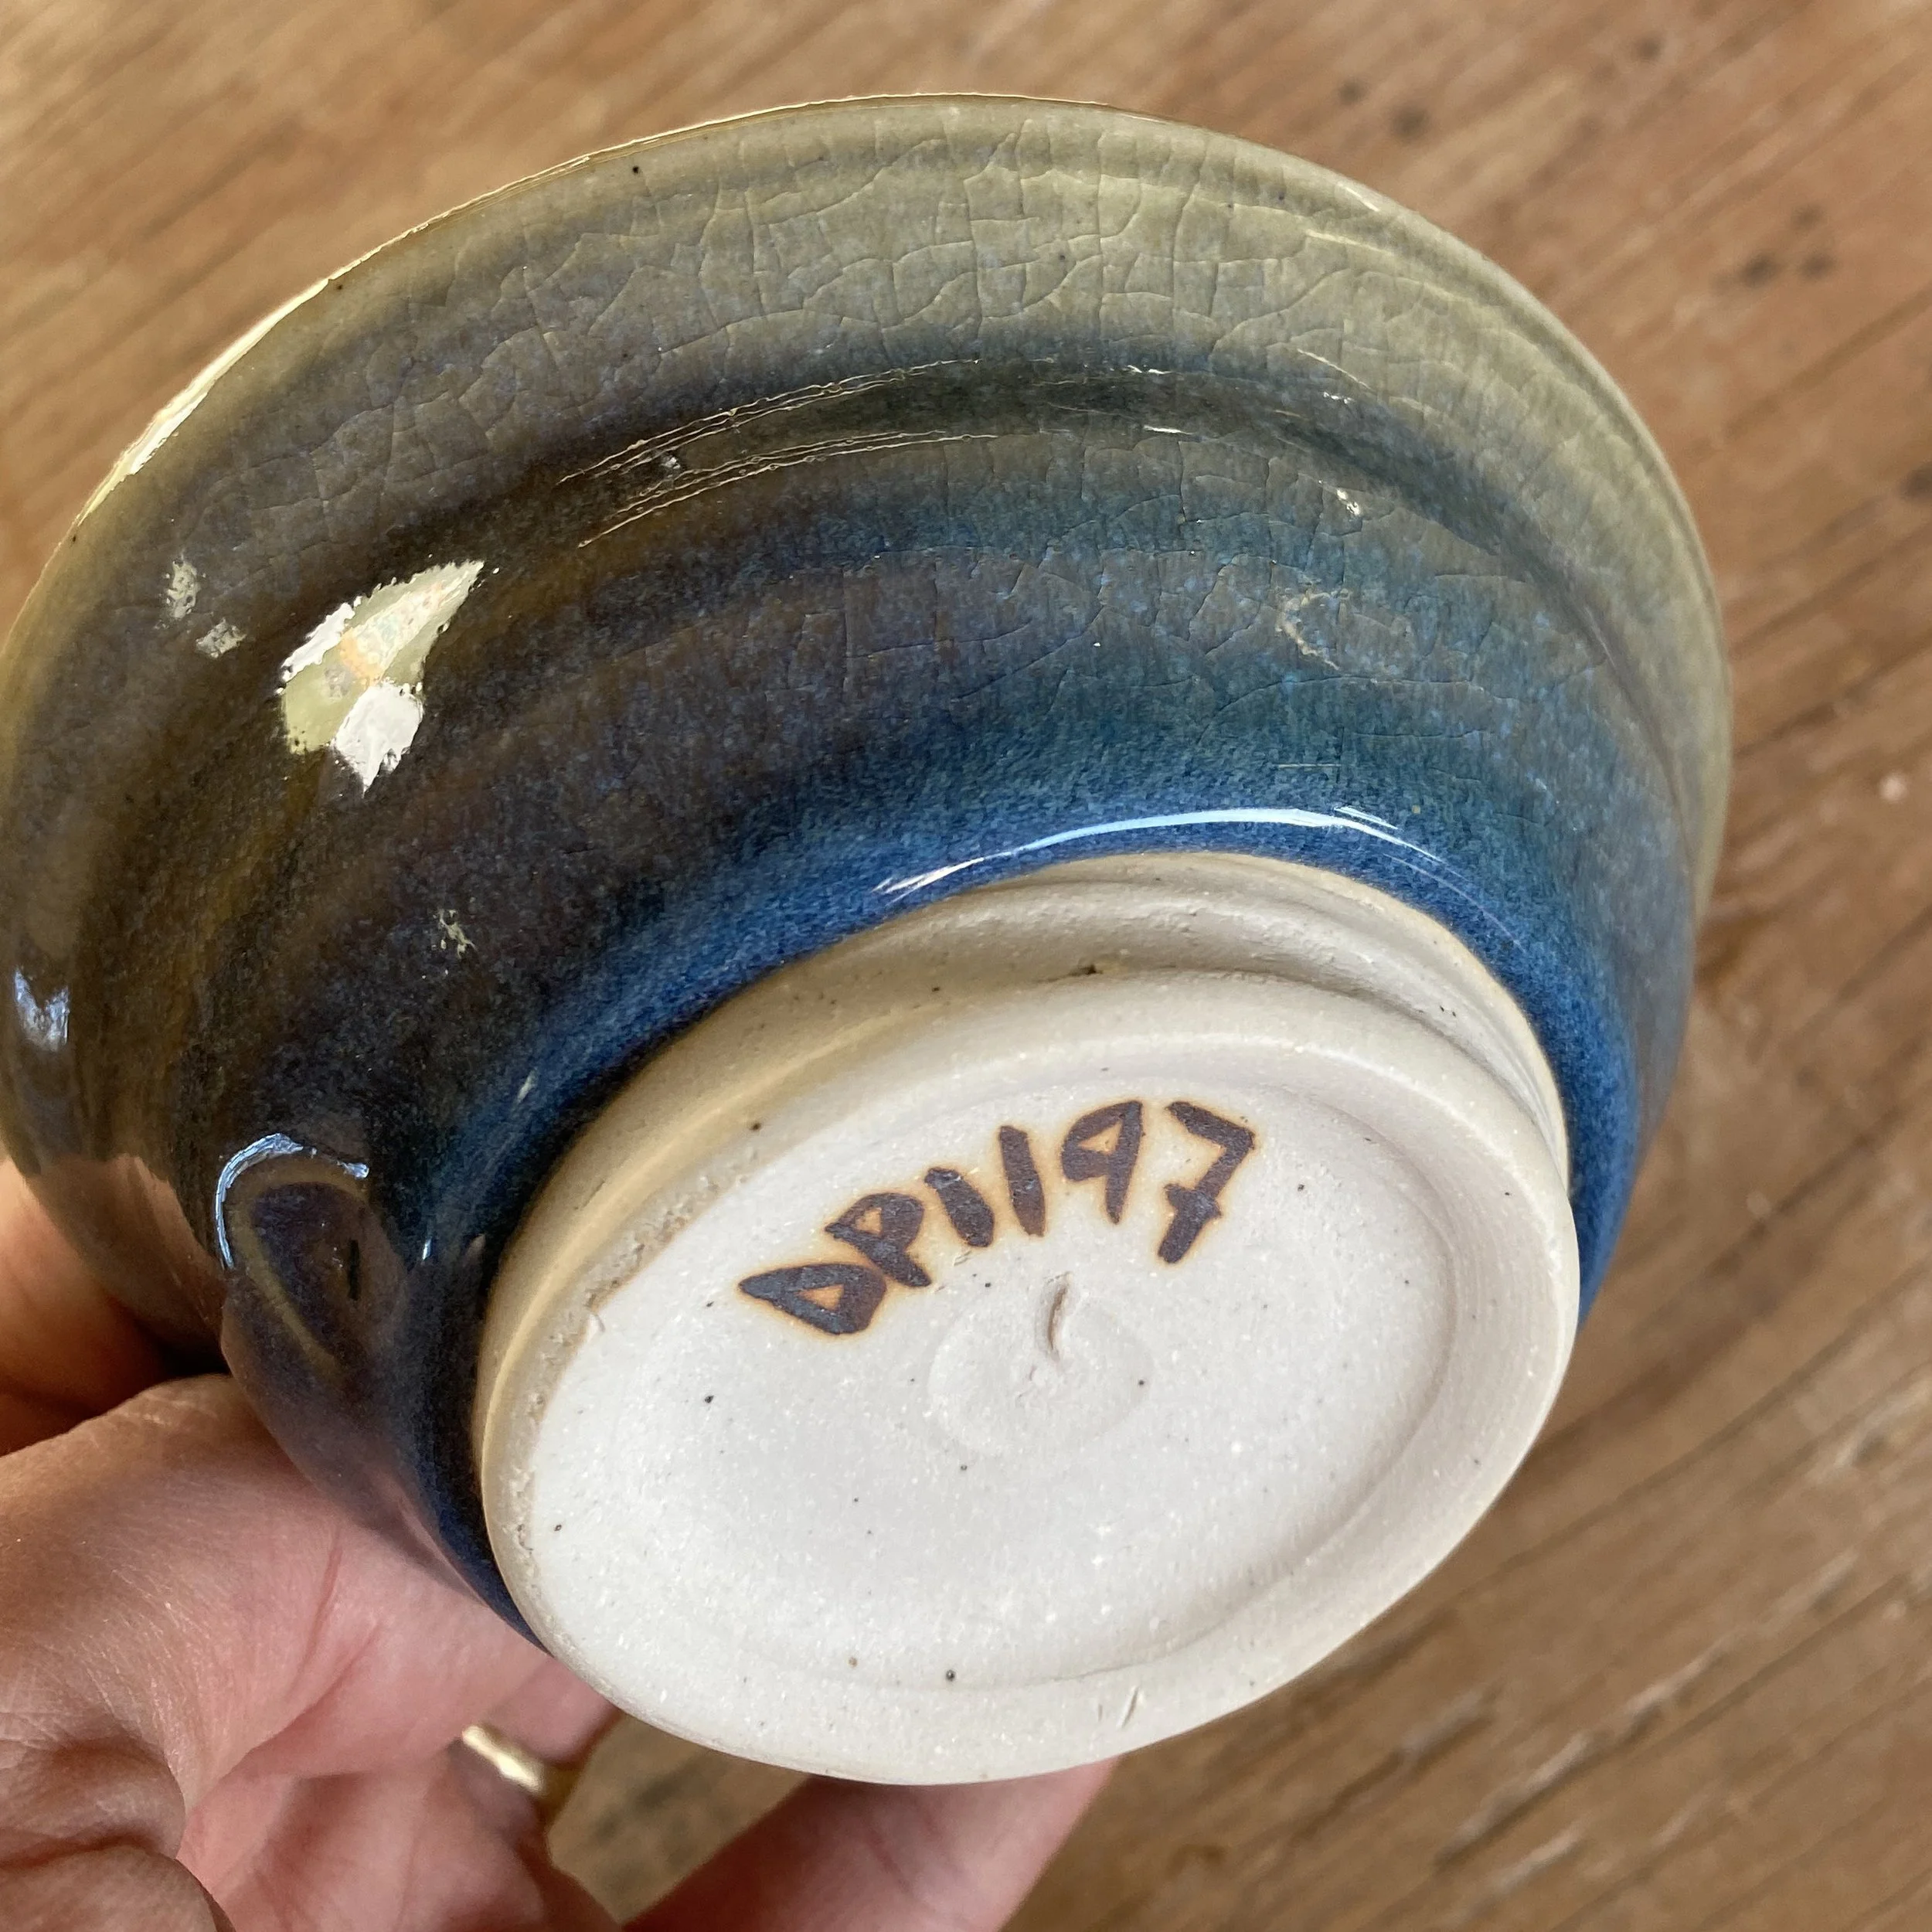
Here’s DP1264 on a bowl…
Other promising results:
Jun over tenmokus. DP1302 is DP1264 over DP …… and DP1303 is DP1264 over ……….
They both worked, but to my eye, the effect is nicer in DP1302. I will definitely be trying this on some teabowls.
Jun (Chün) glaze tests in the soda kiln
This is not necessarily the best set of tests because the results were more oxidised than I would have liked. I also held the kiln for 8 hours between 1830°F and 1750°F. This was a rather specific firing.
I wish I had a smaller soda kiln that I could have reduced hard and not done a cooling cycle to see the results with only the variable of adding soda. But I did not have the luxury of this and they were in a firing which was mostly about yellow glazes wares for my thesis show.
Anyway, aside from that long preamble, lets get to the results.
These results can be compared to the ones from gas reduction which are in the last 4 or 5 blog posts.
Here are my initial jun tests…
Similar to those in gas reduction but perhaps a littl emore drippy and a little jazzier. i think my long hold contributed to some of this crystal growth. I’d love to get these surfaces analysed and see what the composition of these crystals is.
Now on to my grid tests…
Here they are individually…
The second set has the most promising looking results but this may be deceptive. It got the least amount of soda (being on the bottom of the stack). Maybe this suggests that the chun blues do not like soda.
Here are the vertical tiles from grid 2 organised:
And now the ones from grid 3:
It is pretty difficult to make sweepinf statements about these results. So much depends on the atmosphere and how much soda each tile got. Considering this firing was pretty oxidised these results are actually pretty encouraging. I think I could get a working jun glaze in a soda atmosphere.
There were some nice surfaces out of the individual test tiles. Here are some that stood out…
And then here is a small test bowl glazed with DP1266…
As you might be able to tell, these glazes felt really nice. This may have been due to the intentional slow cooling though. It would be worth redoing this test in a regular reduction soda firing with no intentional cool.
I am encouraged to keep putting jun formulations in the soda kiln!


