
Wild glaze making: processing granite into fine granite powder for glazes.
I came to Utah State University to investigate turning rocks and minerals into glazes. Along the way I have also been experimenting with different materials in soda firing. The focus of my thesis show will be to investigate what I can do with one granite as a primary ingredient. I have collected a granite from Devil’s Playground in Western Utah and intend to make four or five distinct glazes from this material. I am setting the parameter for myself that these resulting glazes will contain at least 50% of this Devil’s Playground granite.

Why Devil’s Playground?
Well, a couple of reasons. The first being that the place is fabulous and made me want to keep returning to it. The second is that it makes an acceptable greyish green celadon all on its own with no additions at all. This means that it will provide a good base to experiment with.
Before we get to the processing, here are some pictures of me collecting some granite with my trusty companion Wellington out in Devil’s Playground…


When I was collecting the granite I tried to get pieces that were already not too large. Once I had the granite back in the studio the hard work began. I wish I had a hammer-mill but the one at USU is currently out of action. Thankfully I had the help of my friend Jack Orgill who is an undergraduate student at USU. He is a rock crushing machine! So we went for it by hand. Jack and I were both leaving town to go to the NW Woodfire Pottery Conference so time was of the essence. We only had a few days to get the granite crushed up, milled and set out to dry. It was a bit hectic but we managed it!
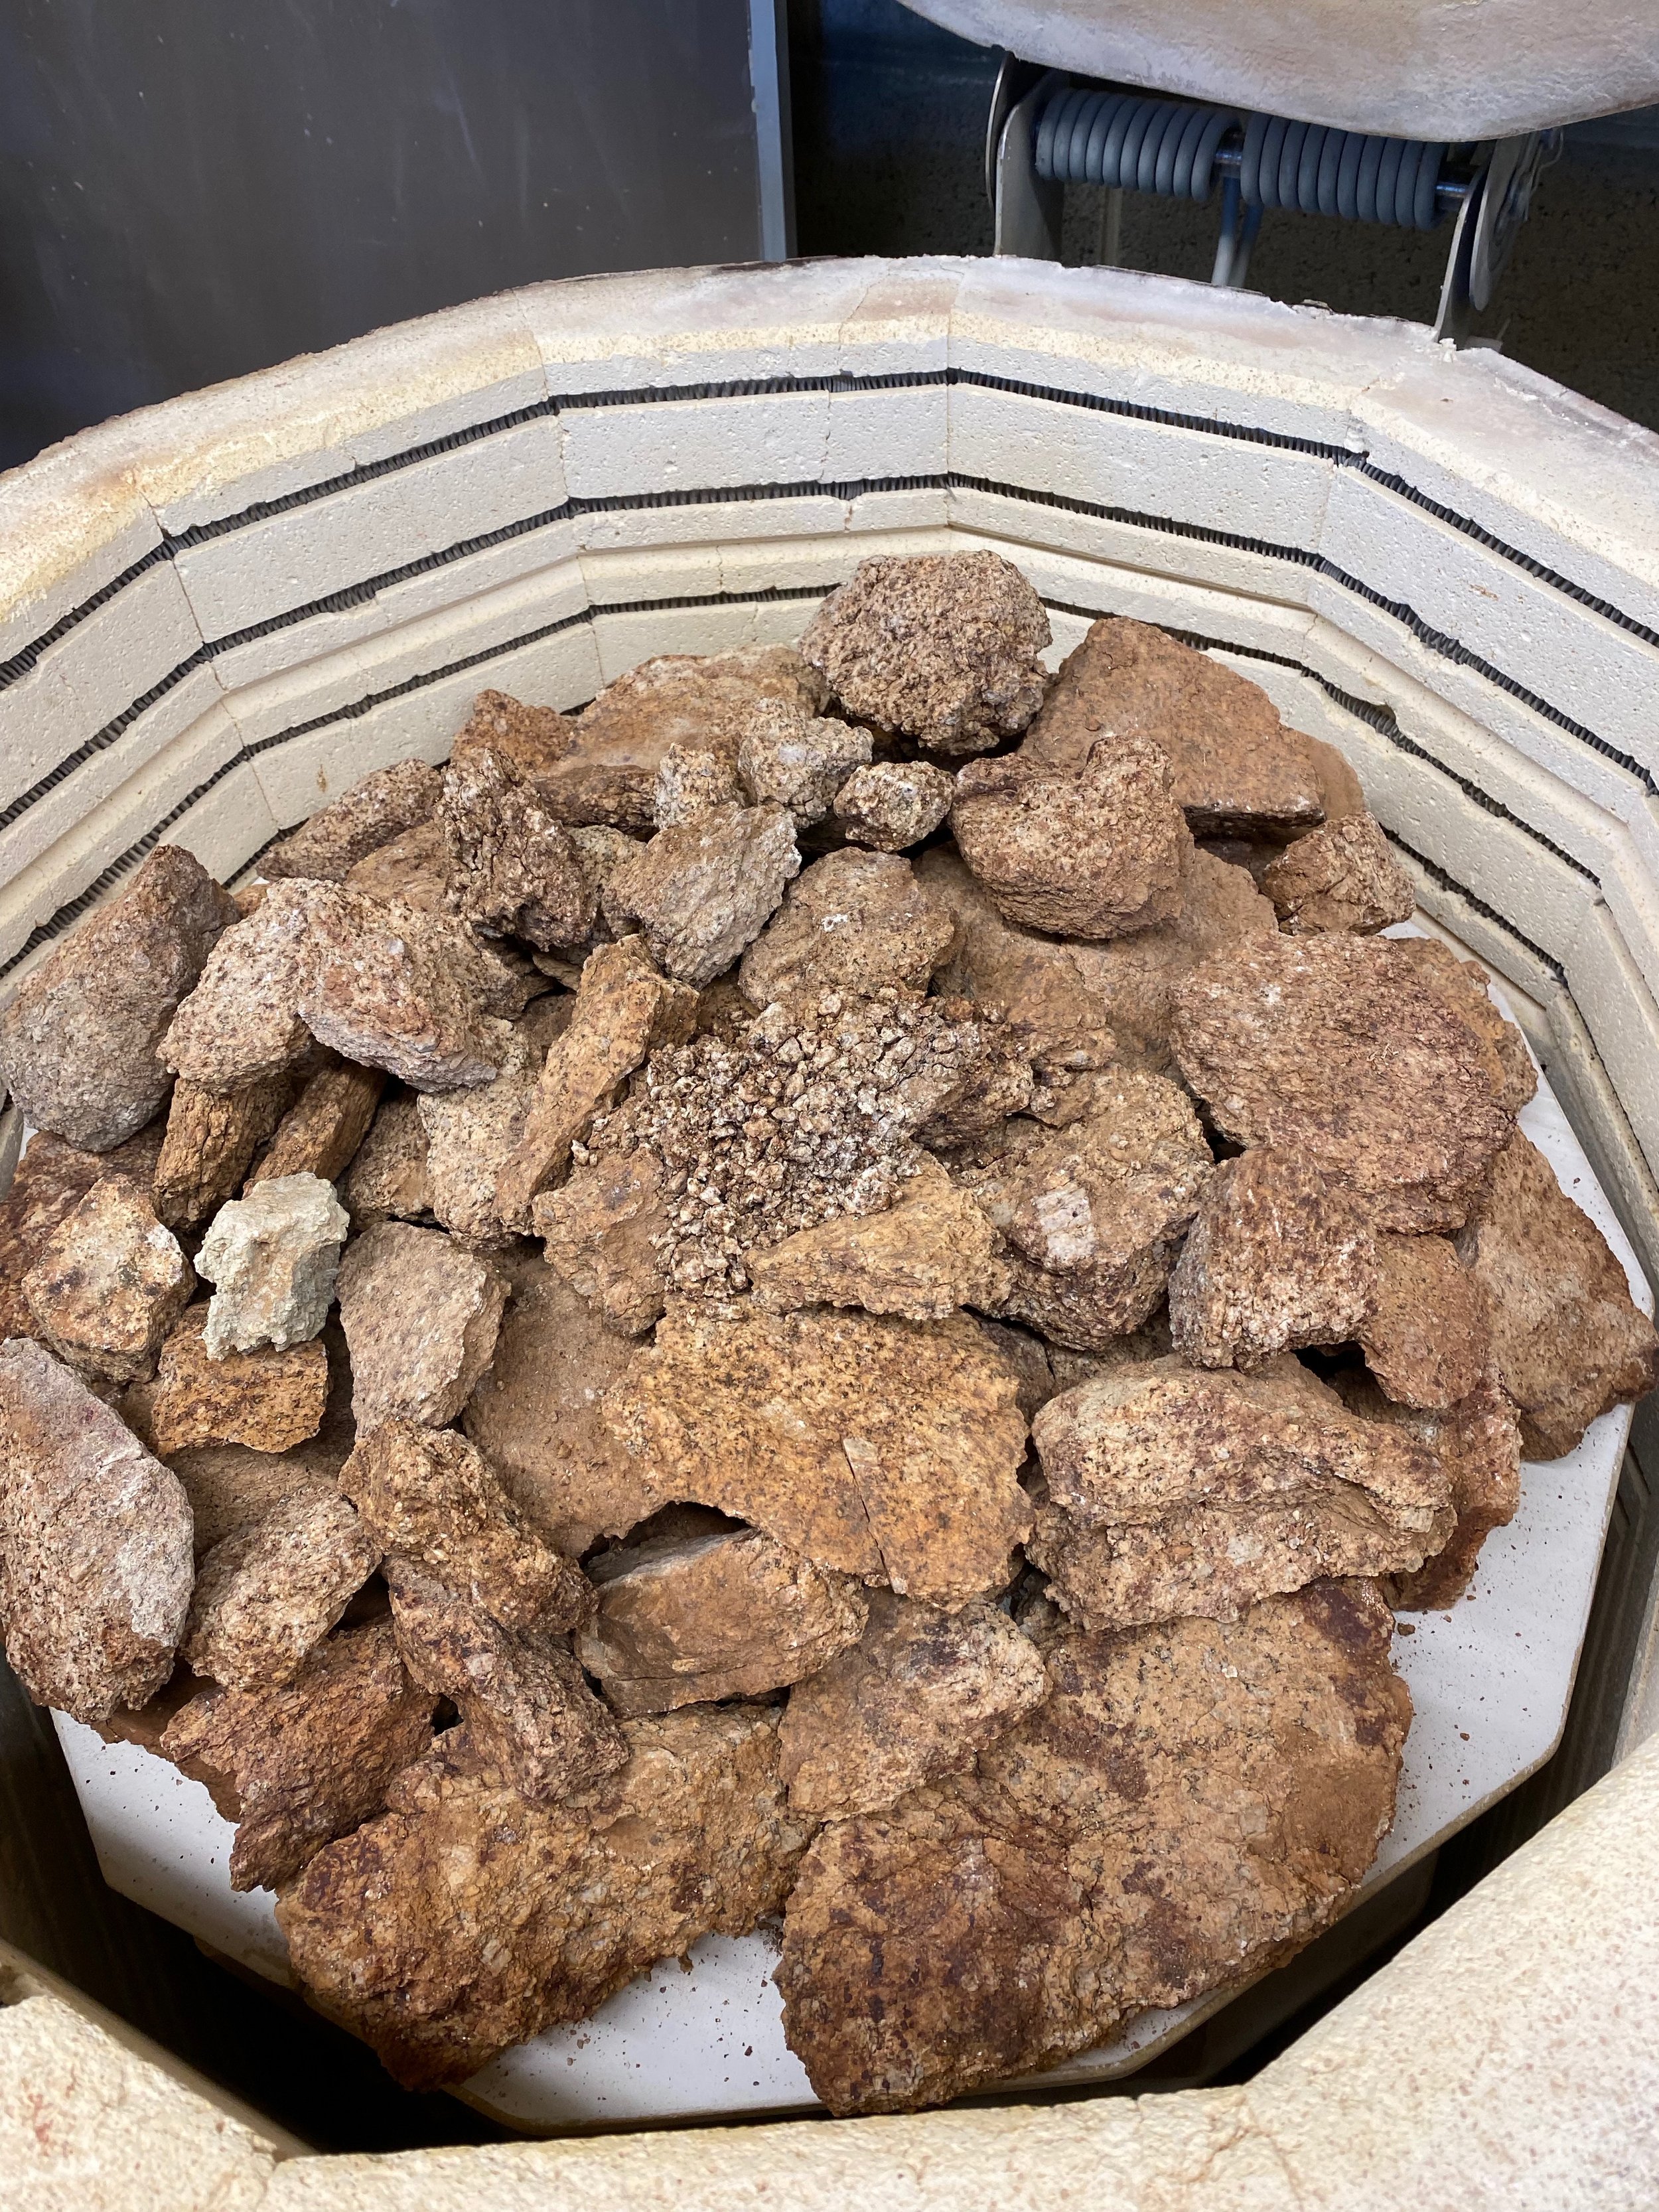
The first step was to calcine the granite. This makes the rock expand and contract and loosens the bonds between the minerals present in the granite. I loaded an electric kiln full with the rock and fired it slowly to 1400°F. When I say slowly here is the schedule: 50°F an hour ramp up to 180°F, held for 3 hours. 50°F ramp up to 480°F, hold for 3 hours, then 100°F an hour ramp up to 1400°F. No hold at the top. I did not experience any major blow ups. Some of the rocks did crumble and break apart but there was no high drama! You can see how the color changed: the redder rock on the right has been calcined.

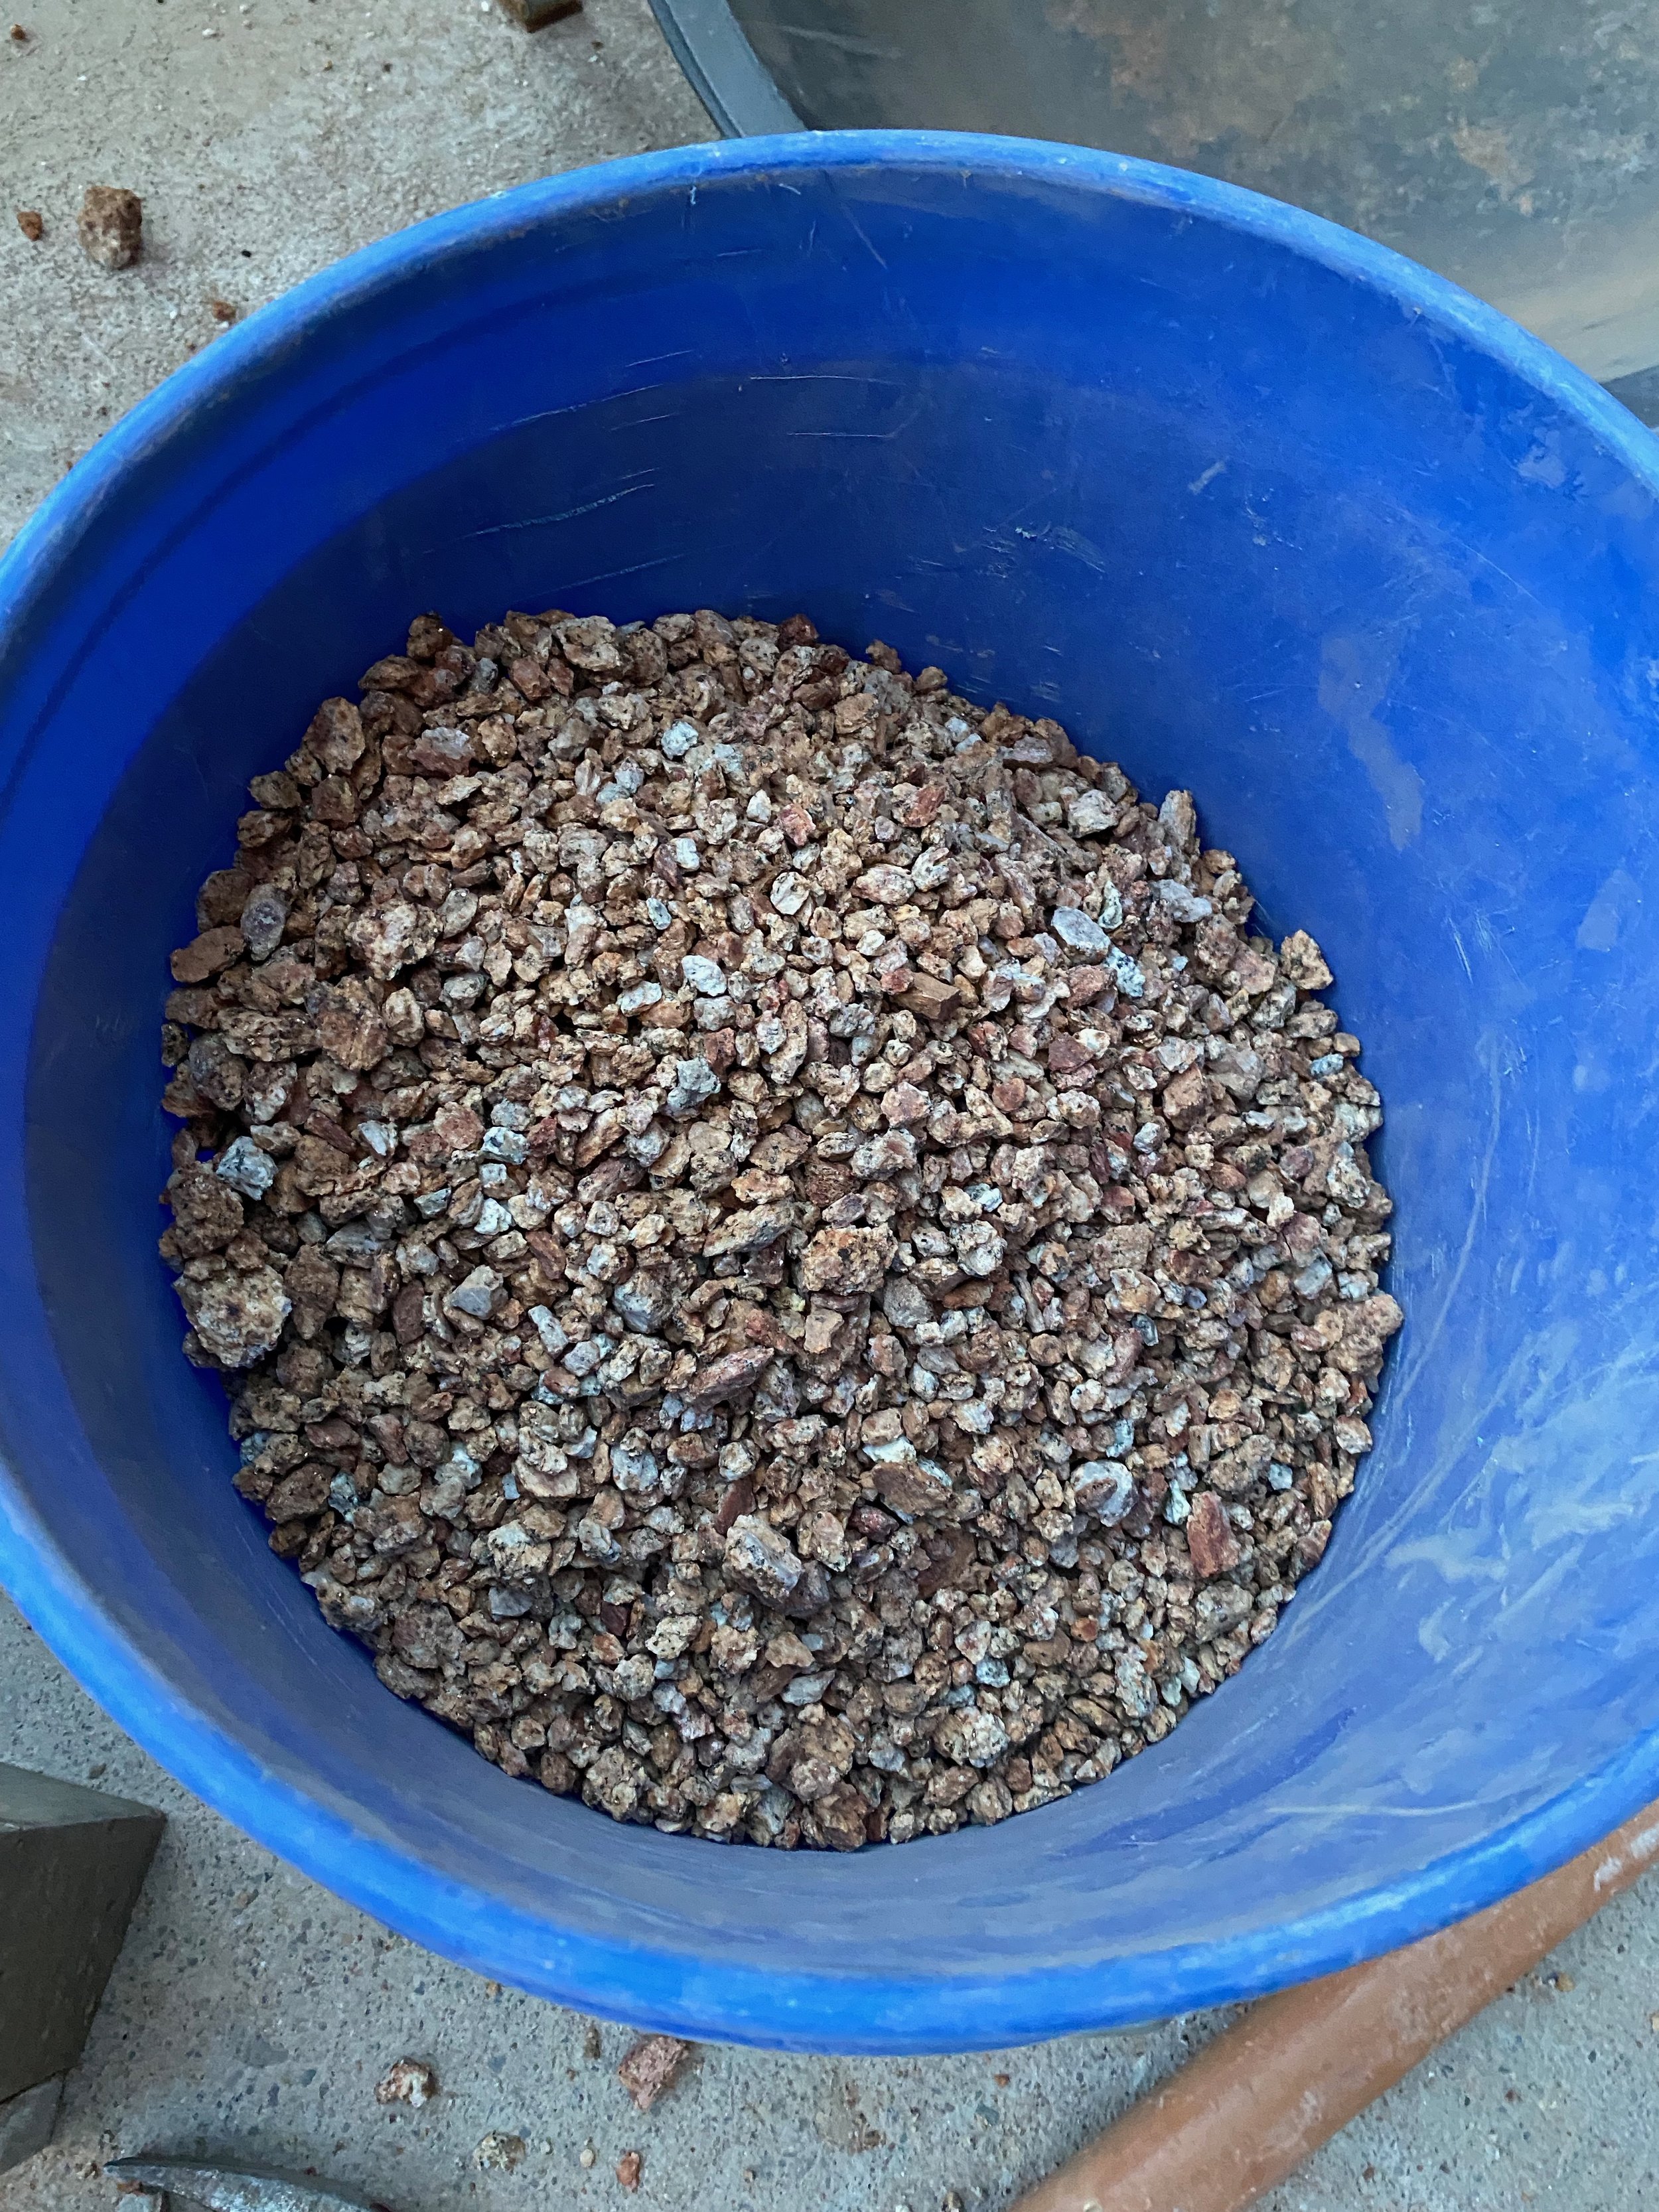
The calcined granite is much easier to break up. I know from trying both! Definitely much easier calcined. Here are some pictures of Jack going at the calcined granite with hammer and brick. He did an initial crush to break up the large chunks into smaller ones with a hammer and then took a brick to these smaller chunks to get them down to pea size. The brick worked well as it had a larger surface area. The calcined granite did not need heavily pummeling to get it to break up, just lots of small bashes. I have a sieve that lets through pea size pieces so we sieved the rock and re-crushed the ones that did not fit through. The yellow bucket at the end of this sequence shows the rock after the first crush and the smaller pea sized granite in the blue bucket.


After this step the small pea sized granite was small enough to go into the ball mill. We ground the granite overnight (10 hours or so) and then strained it, sieved it and cleaned out the ball mill thoroughly.


After sieving the granite through a 40 mesh screen we set the granite out to dry on home made racks, lined with sheets…


A few weeks later I came back and found beautiful dry granite dust waiting for me. Ready to turn into a multitude of glaze test!
Here is a video showing this whole process:
And finally, this is where Devil’s Playground is in case you want to visit…
